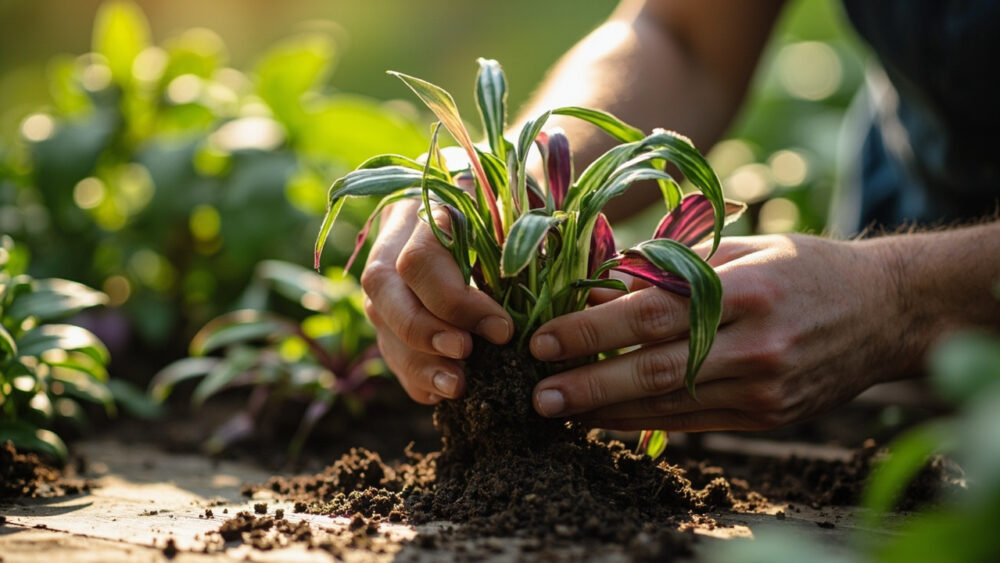
The method that actually works for how to propagate inch plant is a stem cutting rooted in plain water or moist potting mix, taken just below a leaf node. Skip the node and the cutting sits there doing nothing while it slowly rots. Get the node right and you will have visible roots in seven to ten days, sometimes less.
Inch plant, also called tradescantia or wandering jew depending on which nursery tag you grew up reading, is about as forgiving a houseplant as exists. That reputation causes most of the failures. People get careless about the one detail that actually matters.
Before you cut anything, there are a few things worth knowing: the mistake that quietly kills more cuttings than anything else, the sign people misread as failure when it is actually normal, and the honest answer to whether you even need rooting hormone for this plant. The full at-a-glance card with timing, depth, and light is waiting at the bottom, save it before you head out to the plant.
Why Stem Cuttings Beat Every Other Method
You can technically divide an inch plant at the root ball, but it is not worth the trouble. The roots are shallow and tangled, and division stresses the parent plant for weeks with no real payoff.
Stem cuttings root faster on this plant than on almost anything else you will ever propagate. Tradescantia roots from the nodes, those slightly swollen bumps where a leaf meets the stem, and it does this so eagerly that roots sometimes start forming while the cutting is still attached to the mother plant if a stem is touching soil.
That is the whole reason this plant has such a reputation for being unkillable. It is not that it never struggles, it is that it propagates itself faster than most problems can catch up to it.
Here is exactly how to take advantage of that.
Step by Step: Taking the Cutting and Getting It to Root
Cut in the right place
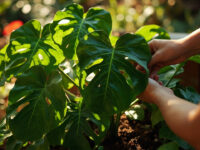
Choose a healthy stem with several leaves and no flowers on it. Cut 4 to 6 inches back from the tip, making the cut just below a node.
Strip the lowest one or two leaves off so you have a bare inch of stem to submerge or bury. That bare section is where the roots will actually form.
Choose water or soil, both work
Water rooting lets you watch progress, which is satisfying and also genuinely useful for beginners. Use a small glass or jar, keep the node submerged, and change the water every four to five days so it does not go cloudy or start to smell.
Soil rooting skips the transplant shock later, since the cutting never has to adjust from water roots to soil roots. Push the stripped end about an inch into lightly moist potting mix, firm it in so it does not wobble.
Rooting hormone is not necessary here. If you assumed you need it because every propagation guide mentions it, that assumption is not wrong exactly, it is just irrelevant for a plant this eager to root on its own.
Give it warmth, light, and patience
Bright, indirect light and a spot that stays above 65°F is all this cutting asks for. Direct sun on a cutting in water will cook the stem or fuel algae growth in the jar, so keep it a few feet back from a south or west window.
Set it, forget about it for a few days, then start checking.
Week by Week: What You Should Actually See
Days 1 to 4: nothing visible happens, and this is the point where most people panic and start moving the cutting around or adding fertilizer. Leave it alone.
Days 5 to 10: tiny white or pale pink root nubs appear at the node, right where you stripped the leaves. In soil, you will not see this, but a gentle tug will meet slight resistance if roots have started.
Days 10 to 21: roots lengthen to an inch or more in water, and new leaf growth at the tip signals the cutting has fully committed to living. This is the sign people most often misread. A cutting that drops its lowest original leaf during this stretch is not dying, it is reallocating energy to root growth, and it is completely normal.
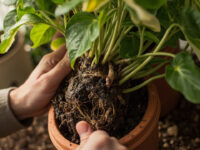
By three weeks you should have a rootball dense enough to pot up.
Potting Up Without Losing Momentum
Wait until water-rooted cuttings have roots at least an inch long, ideally with a few branching side roots, before moving to soil. Pot too early and the plant has to build root mass and adjust to soil at the same time, which slows it down.
Use a well-draining potting mix, a 3 to 4 inch pot for a single cutting, and plant it at the same depth it was rooted, burying the bare node section but keeping the leaves above soil. Water it in well, then let the top inch of soil dry before watering again.
For fuller pots, plant three to five cuttings together spaced about an inch apart, which gives you that lush trailing look right from the start instead of one thin stem.
Keep the new pot out of direct sun for the first week or two while roots finish adjusting.
That adjustment period is also exactly when most of the avoidable failures happen.
Why Attempts Fail, and the Fix for Each
Most failed inch plant propagations trace back to one of a few habits, not bad luck.
- Cutting mid-stem instead of at a node: no node means no roots, ever. Always cut just below one.
- Leaving leaves submerged in water: submerged foliage rots and fouls the water, which then rots the stem too. Strip anything that would sit below the waterline.
- Letting water go stagnant: cloudy, smelly water grows bacteria that attack the forming roots. Change it every four to five days without exception.
- Overwatering after potting up: young roots in soil need to dry slightly between waterings or they suffocate and rot. Check with a finger before watering.
- Not enough light, not too little water: a cutting that stalls out is almost always light-starved, not thirsty. Move it brighter before you water it more.
Fix those five habits and this plant roots almost every single time.
Inch Plant at a Glance
- Best method: stem cuttings taken just below a leaf node, rooted in water or moist potting mix.
- Cutting length: 4 to 6 inches, with the bottom one to two leaves stripped off.
- Rooting time: visible roots in 7 to 10 days, ready to pot up by 3 weeks.
- Light and temperature: bright, indirect light, above 65°F, no direct sun on the cutting itself.
- Water changes: every 4 to 5 days if rooting in water.
- Potting depth: bury the bare stripped node, keep leaves above the soil line.
- Full pot look: group 3 to 5 cuttings about an inch apart in a 3 to 4 inch pot.
Get the node right and give it light, and this plant does most of the work itself.
The rest is just staying out of its way.