Hoya obovata care comes down to four things: bright indirect light, a chunky fast-draining mix, water only after the top two inches of soil dry out, and something to climb or trail from. Get those four right and this thick, saucer-leafed hoya will reward you with the fastest vine growth of any hoya you’re likely to grow. Get the watering wrong, though, and you’ll lose it slowly, over months, in a way that’s hard to trace back to the actual cause.
That’s the first loop worth opening. Most obovata deaths look like a light problem or a pest problem, but they started as a root problem weeks earlier. There’s also a leaf sign almost everyone misreads as thirst when it means the opposite, and a repotting habit that stalls this plant harder than any other hoya on the shelf.
Stick with me through the sections below and you’ll know exactly what your obovata is telling you. At the bottom there’s a save-able Hoya Obovata at a Glance card with the numbers you’ll want to check back against.
Light, Placement, and Temperature
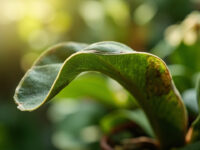
Obovata wants bright, indirect light, several feet back from an east or south window, or right up against a sheer curtain in a west window. Direct midday sun scorches those round, waxy leaves into brown, papery patches that never heal. Too little light and the plant survives but stalls, throwing out small, spaced-out leaves instead of the thick, closely-packed growth this variety is known for.
A few hours of gentle morning sun is ideal if you can give it. Rotate the pot every few weeks so the vine doesn’t grow lopsided toward the window.
Temperature-wise, obovata is a warm-room plant. It’s comfortable anywhere between 65 and 85°F and starts sulking below 55°F, dropping leaves if a cold draft or an unheated porch hits it for more than a night or two.
Next up is the part that actually kills more obovatas than bad light ever does.
Watering: How Much, How Often, and the Sign Everyone Reads Backwards
Water when the top two inches of soil are dry to the touch, then water thoroughly until it runs from the drainage holes. In a bright warm spot that’s roughly every 7 to 10 days; in lower light or cooler rooms it can stretch to every two weeks or longer.
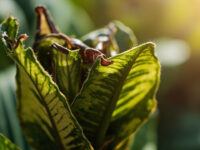
Here’s the mistake: soft, wrinkled leaves get read as a thirst signal, so the instinct is to water more. Sometimes that’s right. But wrinkled leaves paired with soil that’s already damp usually mean the roots have rotted and can’t take up the water that’s there. The leaf looks thirsty because the plant is starving, not dry.
Check the soil before you trust the leaf. If it’s wet and the leaves are still wrinkling, ease off water entirely and check the roots at the next repot.
Obovata also stores water in those thick leaves, which is exactly why it tolerates a missed week better than most houseplants, but that same thickness is what makes overwatering damage so slow and quiet to notice.
Get the soil right and the watering rhythm mostly takes care of itself.
Soil, Pots, and Feeding
Use a chunky, fast-draining mix: a standard peat or coir-based potting soil cut with perlite, orchid bark, and a bit of coarse sand, roughly half potting mix and half amendments. Straight bagged potting soil holds too much water around obovata’s roots and is the quiet cause behind most of the root rot cases people blame on overwatering.
Always use a pot with drainage holes. Terracotta helps if you tend to water on the generous side, since it wicks moisture out through the sides.
Feed during spring and summer with a balanced liquid houseplant fertilizer diluted to about half strength, every 4 to 6 weeks. Skip feeding in fall and winter when growth naturally slows.
Now that the roots have somewhere good to live, let’s talk about the jobs that keep the vine looking full instead of scraggly.
Pruning, Repotting, and Cleaning
Obovata vines fast and can get leggy and bare near the base if left alone for a year or two. Pinch or cut back leggy growth in spring, right above a node, and you’ll get bushier branching within a few weeks instead of one long bare runner.
Repotting is where most people overcorrect. Obovata actually blooms and fills out better when it’s slightly pot-bound, so resist repotting every year out of habit. Move up one pot size only when roots are visibly circling the drainage holes or pushing up out of the soil, typically every 2 to 3 years.
Wipe those big glossy leaves down with a damp cloth every month or so. Dust buildup blocks light the plant is already working hard to catch.
Even with all this right, a few problems show up often enough that you should know them on sight.
Problems You’re Likely to Meet
- Mealybugs and scale: small white cottony clusters or brown bumps along stems and leaf undersides. Treat with insecticidal soap or a horticultural oil, following the product label exactly, and repeat every 7 to 10 days until they’re gone.
- Root rot: mushy brown stems near the soil line, wrinkled leaves in damp soil, a sour smell from the pot. Unpot, trim away any soft brown roots, and repot into fresh dry mix.
- Yellowing lower leaves: often just old leaves dying off naturally, but paired with soggy soil it’s an early overwatering sign, not a nutrient problem.
- No blooms: obovata blooms less readily than many hoyas and needs to be mature and slightly pot-bound with strong light before flower clusters show up. Patience matters more than fertilizer here.
If you’re a cat or dog household, note that hoyas are generally considered non-toxic, but any plant ingestion that causes vomiting, drooling, or lethargy is worth a call to your veterinarian rather than waiting it out.
Once you’ve ruled those out, here’s what a genuinely happy obovata actually looks like.
Signs Your Obovata Is Actually Thriving
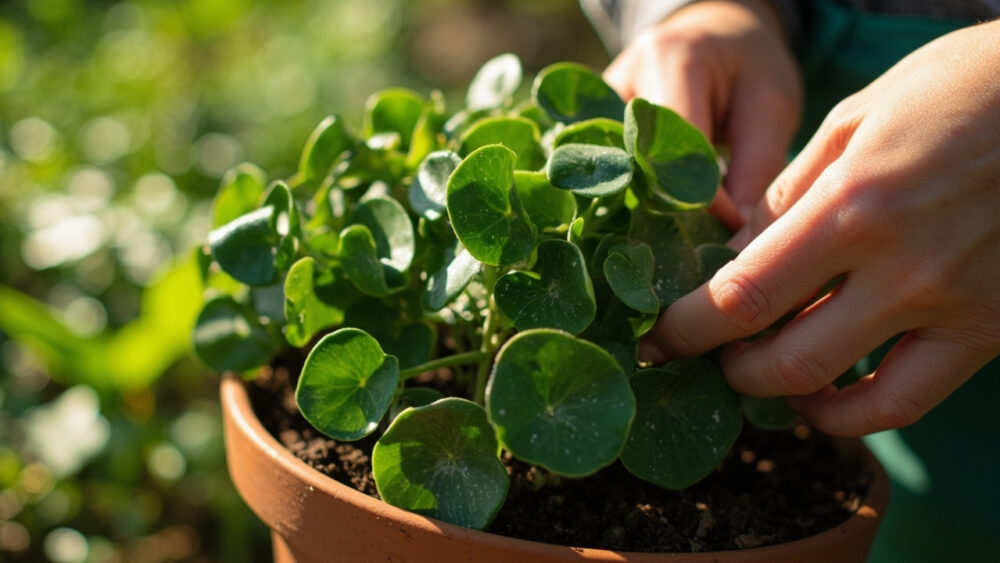
A thriving obovata pushes out new leaves that are noticeably bigger than the ones before them, with tight, close spacing between nodes instead of long bare stretches of vine. The leaves sit thick, glossy, and slightly cupped, not flat and thin.
New growth tips often show a reddish-bronze tint before hardening off to green, which is a good sign of strong light, not a stress response. If your plant has been in the same pot for a couple years and is finally sending up flower peduncles, that’s the clearest signal it’s mature and content.
Everything else you need to keep it there is on the card below.
Hoya Obovata at a Glance
- Light: bright indirect light, a few feet from an east or south window, no direct midday sun.
- Watering: water thoroughly when the top two inches of soil are dry, roughly every 7 to 14 days depending on light and season.
- Soil: chunky, fast-draining mix, half potting soil and half perlite, bark, and coarse sand, always in a pot with drainage holes.
- Temperature: 65 to 85°F, protect from anything below 55°F.
- Feeding: balanced liquid fertilizer at half strength every 4 to 6 weeks, spring through summer only.
- Repotting: only every 2 to 3 years, when roots circle the pot; obovata blooms better slightly pot-bound.
- Watch for: mealybugs, scale, and root rot from overly wet, dense soil.
If you remember one thing, remember to check the soil before you trust the leaf.
Everything else about this plant is forgiving as long as the roots stay dry between drinks.