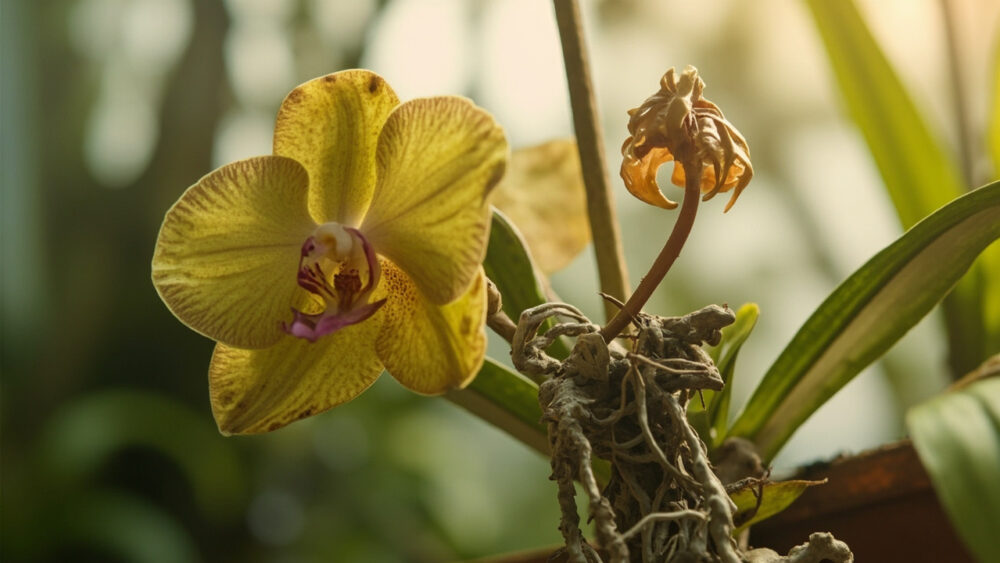
If your orchid’s leaves have gone yellow and mushy or the roots look brown and hollow, the most likely cause is root rot from overwatering, and the fix is to cut away the dead roots and repot into fresh, fast-draining bark immediately. That single mistake, keeping orchid roots wet instead of letting them dry between waterings, kills more orchids than every other problem combined. Most people don’t even know they’re doing it, because they think an orchid is watered like other houseplants.
Here’s the loop worth opening right away: the symptom everyone panics over first, dropping flowers, is usually the plant behaving completely normally. The real tell of trouble is somewhere else on the plant, and once you know where to look, you can name your specific cause in under two minutes.
Below you’ll find every likely cause ranked by how often it actually happens, how to confirm each one, and the fix. Stick around for the honest recovery outlook too, because not every orchid comes back, and I’ll tell you straight when to stop trying. At the bottom is a full diagnosis checklist you can run right now, standing at the plant.
Most Likely Causes, Ranked
1. Root Rot from Overwatering
Confirm it: slide the orchid out of its pot. Healthy roots are firm and green or white with a green growing tip. Rotten roots are brown, black, or gray, mushy, and the outer layer slips off when you pinch it, leaving a thin wiry cord behind.
This is by far the most common killer, especially in the first year someone owns an orchid.
Fix it: remove the plant, snip off every dead root with clean scissors, and let the cut ends dry for an hour. Repot into fresh orchid bark or a bark-and-perlite mix in a pot with drainage holes, and hold off watering for about a week to let the wounds callus.
Once the roots are handled, the potting mix itself is usually the next thing working against you.
2. Old, Broken-Down Potting Mix
Confirm it: if the bark looks like dark mush, smells sour or swampy, or crumbles into fine wet dust instead of chunky pieces, it has decomposed. Orchid bark breaks down every one to two years and starts holding water like a wet sponge instead of draining.
This alone can cause root rot even if your watering habits are otherwise fine.
Fix it: repot into fresh bark mix on the same schedule, roughly every 12 to 18 months, regardless of whether the plant looks like it’s struggling.
But rot and old bark aren’t the only way an orchid can end up dry and stressed.
3. Too Little Water or Too Much Direct Sun
Confirm it: leaves that are thin, wrinkled, and leathery rather than yellow and mushy point to underwatering or too much light. Check leaf color too: bright yellow-green or leaves with a sunburned bleached patch mean too much direct sun.
Underwatered orchids often have shriveled pseudobulbs, the fat storage stems some orchids have at the base.
Fix it: water thoroughly once the mix is completely dry, usually every 5 to 10 days depending on pot size and humidity, and move the plant to bright, indirect light rather than a south-facing window with direct rays hitting the leaves.
Light and water problems are common, but low humidity causes a symptom people almost always misread.
4. Low Humidity or Dry Indoor Air
Confirm it: crispy brown leaf tips and edges, especially in winter when heaters are running, point to humidity that’s too low rather than a watering problem. Most orchids want humidity in the 40 to 60 percent range, and average home air often sits well below that.
This is the cause that gets blamed on watering more often than any other.
Fix it: group plants together, set the pot on a tray of pebbles and water, or run a small humidifier nearby. Don’t respond to dry air by watering more often, since that just adds root rot to your original problem.
Once humidity is sorted, the next most common issue is one almost nobody checks for.
5. Fertilizer Buildup or Nutrient Burn
Confirm it: look for blackened, crispy root tips alongside a white or yellowish crust on the bark surface or pot rim. This is salt buildup from fertilizer, and it damages roots in a way that looks a lot like rot but starts at the tip rather than throughout the whole root.
Fix it: flush the pot with room-temperature water for a full minute, letting it run through and out the drainage holes, once a month. Fertilize at quarter strength rather than full strength, and only when the plant is actively growing.
Now that you’ve got the individual suspects, here’s how to line them up against what you’re actually seeing.
How to Tell the Causes Apart
Start with the roots, not the leaves. Mushy, brown, hollow roots mean rot from overwatering or dead mix. Firm roots with only blackened tips point to fertilizer salt burn instead.
Next, look at which leaves are affected. Lower, older leaves yellowing and dropping one at a time is often just normal aging. All leaves going soft and yellow at once, especially new growth, signals rot.
Leaf texture matters too. Wrinkled and thin means underwatering or heat stress. Mushy and translucent means overwatering. Crispy and brown at the tips only means low humidity or salt buildup.
Once you’ve matched the pattern to a cause, the next question is whether the plant can actually come back from it.
Will It Recover?
Root rot has a real recovery rate as long as some healthy white or green roots remain after trimming. If you cut away the dead ones and even two or three firm roots are left, most orchids rebuild a root system over a few months.
If every root is gone and only the leaves and crown remain, recovery is possible but slow and not guaranteed. Keep the plant in high humidity, mist occasionally, and wait, but be honest with yourself about the odds.
Underwatering, sunburn, and humidity stress resolve quickly, usually within a few weeks of correcting the conditions, since the plant itself was never structurally damaged.
Salt burn recovery depends on how many roots were affected; mild cases bounce back within a couple months of flushing and correct feeding.
Cut your losses if the crown, the center point where leaves emerge, has turned black and mushy. That kills the growing point, and no amount of care brings it back.
Knowing the odds is one thing, but preventing the repeat is what actually saves your next orchid.
How to Keep It From Happening Again
Water by weight and feel, not schedule. Lift the pot. If it feels heavy and the bark is still damp, wait. Most orchids want to dry out almost completely between waterings.
Always use a pot with drainage holes, and never let the pot sit in standing water in a decorative sleeve or saucer.
Repot into fresh bark every 12 to 18 months before it breaks down, not after you notice a problem.
Keep the plant in bright, indirect light, and aim for humidity above 40 percent, especially through dry winter months.
Prevention here is really just discipline around water, since almost every failure traces back to it one way or another.
Diagnosis Checklist
- Slide the orchid out of the pot and check root color: white or green and firm means healthy, brown or black and mushy means rot.
- Pinch a root gently: if the outer layer slides off leaving a thin wire core, that root is dead and needs trimming.
- Smell the bark: sour or swampy means the mix has broken down and needs replacing regardless of root condition.
- Check leaf texture: mushy and yellow points to overwatering, thin and wrinkled points to underwatering or heat stress.
- Look at leaf tips and edges: crispy and brown means low humidity, especially if it’s winter and the heat has been running.
- Check for a white or crusty residue on the bark surface: that signals fertilizer salt buildup needing a flush.
- Inspect the crown at the base of the leaves: if it’s black and mushy, the plant’s growing point is likely lost.
- Count remaining healthy roots after trimming: two or more firm roots means good recovery odds, none means a slow, uncertain recovery.
Most dying orchids are telling you a simple story about water, not a mysterious disease.
Fix the roots, fix the routine, and the next one usually lasts for years.