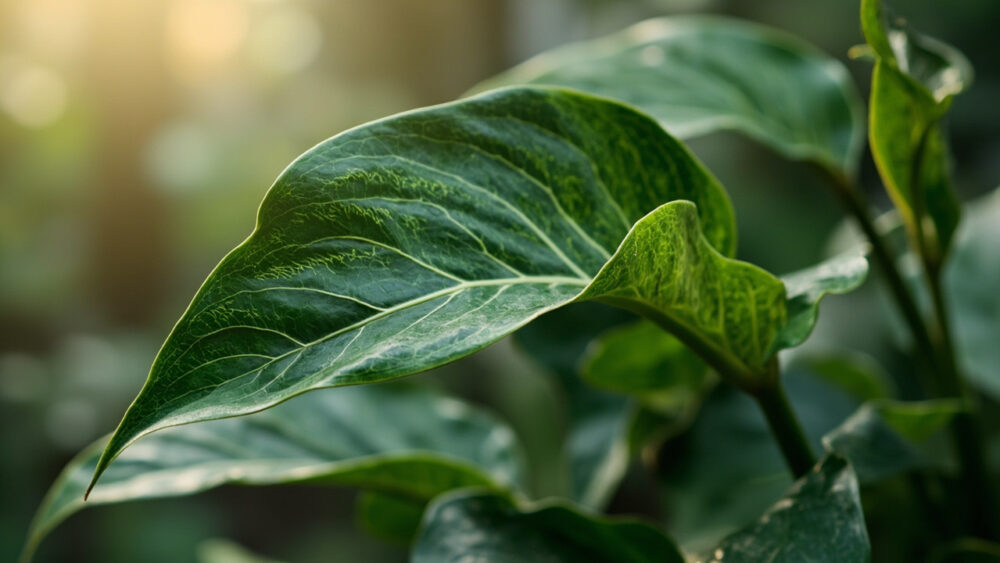
Curling leaves on an Alocasia Polly almost always mean the plant is losing water faster than its roots can replace it, and the fix is usually to check soil moisture and humidity before you touch anything else. That sounds too simple, but underwatering and low humidity together cause the vast majority of curling on this plant. Alocasia Polly leaves curling is one of the most common complaints with this species, right up there with drooping after repotting.
Here is where it gets tricky. Most people assume curling means the plant needs more water, so they drown it, and that guess makes things worse if the real problem is root rot from a previous overwatering binge. The leaf itself will tell you which one you have if you know where to look, and I will walk you through that test in a minute.
You’ll also want the honest answer on recovery, because a curled leaf does not always uncurl even after you fix the cause. Stick with me through the causes below, and save the two-minute diagnosis checklist at the very bottom for the next time this happens.
Causes of Curling Leaves, Most to Least Likely
1. Underwatering or Uneven Watering
This is the number one cause, especially in spring and summer when the plant is actively pushing new leaves. Alocasia Polly has thin leaves and a fast-growing habit, so it wilts and curls fast when the soil dries out completely between waterings.
Confirm it: stick a finger two inches into the soil. If it comes out bone dry and the pot feels light, that is your answer.
Fix it: water thoroughly until it runs from the drainage holes, then get on a schedule where you check the top two inches every 4 to 6 days rather than waiting for wilting to tell you.
Water is the obvious suspect, but too much of it causes the same symptom.
2. Low Humidity
Alocasias come from humid tropical understories, and Polly is no exception. Indoor air below 40 percent humidity, especially near heating vents or air conditioning, causes leaf edges to curl inward even when soil moisture is fine.
Confirm it: check a hygrometer if you have one, or just notice if curling gets worse in winter when the heat runs.
Fix it: group plants together, run a humidifier nearby, or set the pot on a pebble tray with water below the pot’s base. Aim for 50 to 60 percent humidity if you can manage it.
If the soil is wet but the leaves still curl, the problem has moved underground.
3. Overwatering and Early Root Rot
Soggy, oxygen-starved roots cannot absorb water even when there is plenty in the pot, so the leaves curl and often go a bit dull or yellow at the same time. This is the one people misdiagnose most, because curling looks like thirst.
Confirm it: the soil feels wet or swampy days after watering, and you may notice a sour smell or dark, mushy patches near the stem.
Fix it: unpot and check the roots. Firm and white or tan means you caught it early, just let the soil dry out more between waterings. Brown, mushy, or hollow roots mean you need to trim them back to healthy tissue and repot into fresh, fast-draining soil.
The next cause hides in plain sight because it looks a lot like sunburn.
4. Too Much Direct Sun
Alocasia Polly wants bright, indirect light. Direct afternoon sun through an unfiltered window scorches and curls leaf edges, usually on the side of the plant facing the window.
Confirm it: curling and crisping is worse on one side of the plant, and you might see bleached or brown patches on the leaf surface itself, not just the edges.
Fix it: move the plant a few feet back from the window or add a sheer curtain. East-facing windows are usually safe as is; south and west windows need filtering in the growing season.
Temperature swings cause a similar but distinct version of this stress.
5. Cold Drafts or Temperature Shock
Alocasia Polly is tropical and unhappy below 60°F. A draft from a door, an air conditioning vent, or a cold windowsill at night causes curling paired with a slightly droopy, deflated look to the whole plant.
Confirm it: think about where the pot sits relative to doors, vents, or drafty glass, and whether the curling appeared right after a cold snap or a move.
Fix it: relocate away from drafts and keep the plant somewhere that stays between 65°F and 80°F consistently.
Sometimes the cause is not the environment at all but something you fed it.
6. Fertilizer Burn
Too much fertilizer, or feeding a dry plant, builds up salts in the soil that pull moisture out of the roots. This shows up as curling combined with crispy brown leaf tips or margins, usually on the most recently fed schedule.
Confirm it: check if you have fertilized in the past two weeks and whether you see a white, crusty buildup on the soil surface or pot rim.
Fix it: flush the soil with plain water, running several times the pot’s volume through the drainage holes, and hold off feeding for a month. Feed at half strength going forward, only when the soil is already moist.
One more cause worth ruling out before you settle on a diagnosis.
7. Pests
Spider mites and thrips feed on leaf undersides and cause localized curling, stippling, or fine webbing, usually starting on one or two leaves rather than the whole plant at once.
Confirm it: flip the curled leaves over and look closely, ideally with a magnifier, for tiny moving specks, webbing, or sticky residue.
Fix it: isolate the plant, rinse leaves under lukewarm water, and treat with insecticidal soap or a horticultural oil, following the product label exactly on frequency and coverage.
Now that you know the suspects, here is how to line them up against what you’re actually seeing.
How to Tell the Causes Apart
Where the curling starts matters. Underwatering and low humidity tend to hit the whole plant fairly evenly, older and newer leaves both affected.
Root rot usually shows up on the oldest, lowest leaves first, since those are fed by the roots that failed first.
Sun scorch and cold drafts are directional, worse on whichever side faces the window, vent, or door.
Fertilizer burn and pests are patchy and leaf-specific rather than whole-plant, with visible tip burn or actual bugs to confirm.
If two causes still seem to fit, the soil and root check settles it every time.
Will It Recover?
A curled leaf itself rarely uncurls back to its original flat shape, so do not expect cosmetic reversal on damaged leaves. What matters is whether new growth comes in normal.
Underwatering, low humidity, sun stress, and drafts have the best outlook. Fix the condition and the plant typically pushes healthy new leaves within 3 to 6 weeks.
Fertilizer burn recovers about as well, once the salts are flushed and the roots have time to recover.
Root rot is the honest exception. Mild cases caught early bounce back after a repot, but if more than half the root mass is gone, the plant may need to regrow from a surviving rhizome, which can take months, and severe cases sometimes do not make it. That is the point where cutting your losses on the leaves, not the plant, and focusing on saving the rhizome is the right call.
Recovery odds are good across the board, but only if you stop guessing and start preventing.
How to Keep It From Happening Again
Water on a check-first schedule, not a calendar. Feel the top two inches of soil every few days and water only when it is dry there, not bone dry throughout.
Keep humidity above 50 percent if your home runs dry, especially in winter, since this single fix prevents a huge share of repeat curling.
Use a pot with drainage holes and a chunky, fast-draining aroid mix so excess water actually leaves the root zone instead of sitting there.
Give it bright, indirect light, and keep it a few feet clear of heating vents, cold windows, and exterior doors.
With those habits in place, most Alocasia Polly plants stop curling altogether and stay that way.
Diagnosis Checklist
- Check the top two inches of soil: if bone dry, water thoroughly and recheck in 3 days.
- Check if soil is wet days after watering: if yes, unpot and inspect roots for brown, mushy tissue.
- Check humidity, by hygrometer or by feel: if the air feels dry or heat is running, add a humidifier or pebble tray.
- Check which side of the plant is worse: if it faces a window, move it back or add a sheer curtain.
- Check for nearby vents, doors, or drafty glass: if present, relocate the plant to a stable 65 to 80°F spot.
- Check leaf tips and soil surface for crusty white buildup: if present, flush the soil and skip fertilizer for a month.
- Flip curled leaves and inspect undersides with a light: if you see webbing or moving specks, isolate and treat with insecticidal soap per the label.
- If none of these match, recheck root health first, since early rot is the easiest cause to miss.
Most curling traces back to a dry pot or dry air, both fixed within a week or two.
Run the checklist once, and you will know exactly which fix to make before you touch the watering can again.