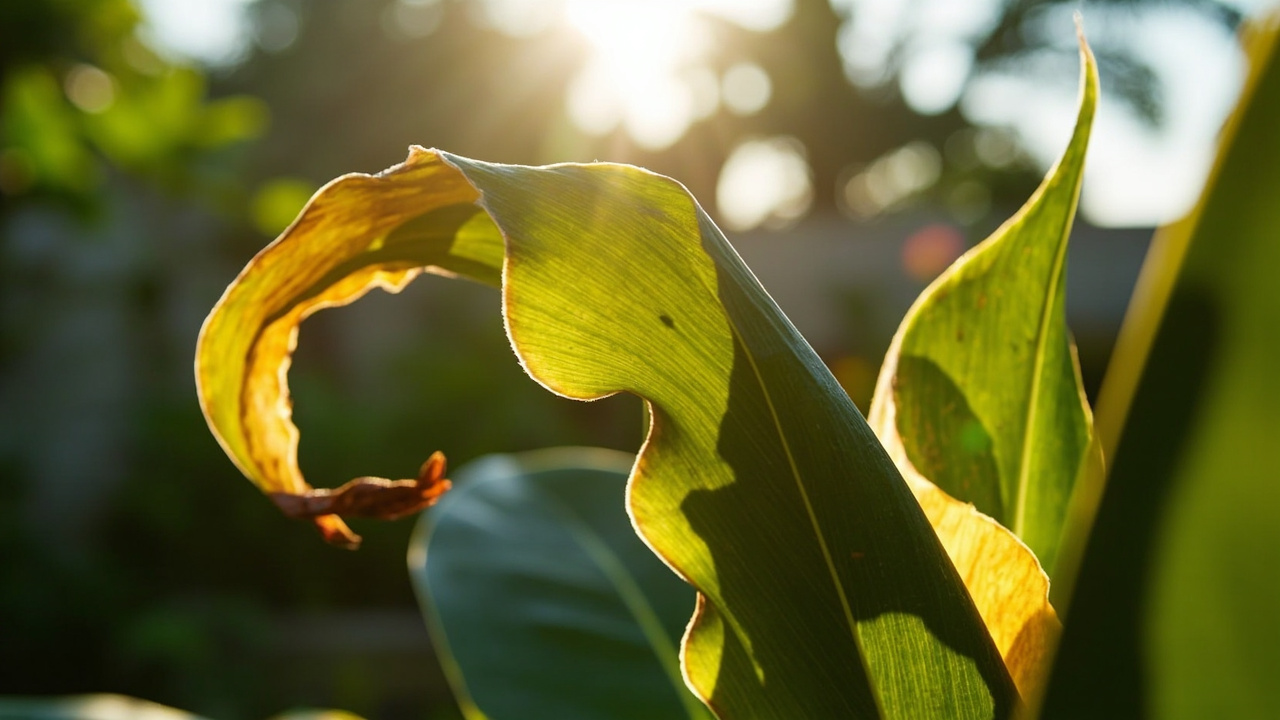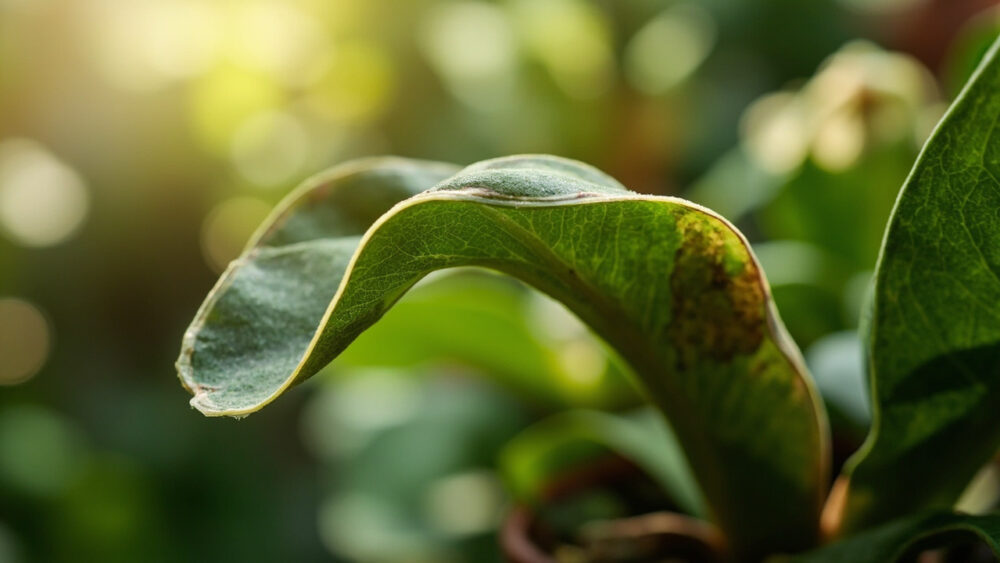
Orchid leaves curling almost always comes down to a root problem, not a leaf problem. When roots can’t take up water, either because they’ve rotted from overwatering or dried out from underwatering, the leaves pucker and curl lengthwise to conserve moisture. Check the roots before you touch anything else, because that’s where this actually starts.
Most people blame low humidity first. It’s the easy, obvious guess, and it’s usually wrong. Humidity can contribute, but it rarely causes curling on its own unless your orchid is sitting next to a heating vent or in a bone-dry office.
The real tell is one detail most growers skip: whether the curling shows up on old leaves, new leaves, or both, and whether it comes with color change. That one detail narrows this down fast. Stick around, because the full diagnosis checklist you can run in two minutes is waiting at the bottom of this page.
Most Likely Causes, Ranked
1. Root rot from overwatering
This is the number one cause of curling leaves on orchids, especially phalaenopsis grown in bark or moss that’s stayed wet too long. Slide the plant out of its pot and look at the roots: healthy ones are firm and green or white, rotted ones are brown, mushy, and slide off in your fingers when you squeeze.
Trim away any dead roots with clean scissors, repot into fresh bark with excellent drainage, and let the medium approach dryness between waterings from now on.
Fixing the roots is only half the job, the watering habit that caused it has to change too.
2. Underwatering or roots too dry for too long
Confirm this by lifting the pot. If it feels suspiciously light and the bark or moss is bone dry an inch down, the roots have been rationing water and the leaves are curling to shrink their surface area.
Soak the pot in room-temperature water for 10 to 15 minutes, let it drain fully, and go back to watering on a schedule that matches how fast your specific medium dries, not a fixed number of days.
Both overwatering and underwatering point straight at the roots, which is why the next section matters so much.
3. Low humidity combined with heat
Check the air, not just the soil. If the orchid sits near a heat vent, a sunny window that runs hot, or a drafty AC unit, and humidity in the room is consistently under 30 percent, the leaf edges will curl inward as the plant loses water faster than the roots can replace it.
Move it away from the vent or draft, group it with other plants, or run a small humidifier nearby to get ambient humidity into the 40 to 60 percent range most orchids prefer.
If the roots looked fine in step one, this is usually the next place to look.
4. Too much direct light or heat stress
Look at the leaf color first. Curling paired with a bleached, yellowish, or reddish tint, especially on the side facing the window, points to light stress rather than a watering problem.
Pull the plant back from direct sun, especially hot afternoon light through south or west windows, and give it bright but indirect light instead.
A sunburned orchid and a thirsty orchid can look confusingly similar, which is exactly what the next section untangles.
5. Fertilizer buildup or salt burn
Check the bark surface and pot edges for a white or crusty residue. That’s mineral salt buildup from fertilizer, and it damages the fine root hairs that take up water, producing the same curling symptoms as drought stress.
Flush the pot thoroughly with plain water every few weeks, run enough water through to overflow the pot several times, and cut fertilizer strength in half going forward.
This one hides in plain sight because the leaves look thirsty even though you’ve been watering on schedule.
6. Cold shock or temperature swings
Think about where the plant has been in the last week or two. A ride home from the nursery in a cold car, a spot too close to a drafty window in winter, or a sudden cold snap can all cause leaves to curl and sometimes feel slightly limp or rubbery.
Move the orchid to a spot that stays reliably between 65 and 80 F, away from cold glass and drafts, and give it a few weeks to settle before judging recovery.
Temperature stress is usually a one-time event rather than an ongoing problem, which changes the outlook quite a bit.
How to Tell the Causes Apart
Where the curling starts tells you a lot. Rot and overwatering usually show up on lower, older leaves first, since those are fed by the oldest, most compromised roots. Light and heat stress tend to hit whichever leaf faces the sun hardest, old or new.
Underwatering and salt burn often affect the whole plant fairly evenly, because every root is stressed at once rather than just the damaged ones.
Texture matters too: rot-related curling often comes with soft, yellowing, or blackened leaf bases, while dehydration curling keeps the leaf firm but wrinkled, almost like a raisin.
Once you’ve matched the pattern to a cause, the next question is whether the plant is going to make it.
Will It Recover?
Root rot has the widest range of outcomes. Caught early, with some firm white roots still intact, orchids recover well over the next few months once repotted correctly. If every root is mush and there’s no green left at the crown, that plant is not coming back, and it’s fair to cut your losses.
Underwatering, low humidity, and cold shock are the easiest fixes. New growth typically looks normal within a few weeks, though the already-curled leaf usually stays curled for its lifetime since leaf tissue doesn’t uncurl once damaged.
Salt burn and light stress recover at the root level fairly fast, but damaged leaves are cosmetic casualties, not full recoveries.
The honest truth: you’re not un-curling existing leaves, you’re setting up healthy new ones.
How to Keep It From Happening Again
Get a finger into the medium before every watering instead of watering on a fixed schedule. Bark should feel nearly dry, moss should feel just barely damp, before you water again.
Use a pot with real drainage holes and a see-through pot if you can, so you can actually watch root color instead of guessing.
Keep the plant out of direct hot sun and away from vents, aim for humidity around 40 to 60 percent, and flush the pot with plain water every third or fourth watering to prevent salt buildup.
Prevention here is boring on purpose, and boring is exactly what keeps orchids alive.
Diagnosis Checklist
- Slide the orchid out of its pot and look at the roots: firm and green or white means healthy, brown and mushy means rot.
- If roots are rotted, trim the dead ones, repot in fresh bark, and cut back watering frequency going forward.
- If roots look fine, lift the pot to check weight: unusually light and dry means underwatering, so soak and drain thoroughly.
- Check the room for heat vents, drafts, or humidity under 30 percent, and relocate the plant if any of those are present.
- Look at leaf color: yellow, bleached, or reddish tint facing the window points to too much direct light, so move it back.
- Check the bark surface and pot rim for white crusty residue, and flush the pot with plain water if you find it.
- Recall recent temperature swings, like a cold car ride or drafty window, and if that’s the trigger, just relocate and wait.
- Note whether curling started on old leaves, new leaves, or all at once, and match that pattern to the causes above.
Run through those eight checks in order and you’ll land on the real cause almost every time. Fix the root cause, be patient with new growth, and the curled leaf you’re worried about right now will simply become old news.