The method that actually works is a stem cutting with at least one node and one aerial root, rooted in water or damp sphagnum moss, kept warm and bright until roots hit 1 to 2 inches long. Skip the node and it will sit there doing nothing for months. That single detail is why so many people propagate monstera “wrong” without ever knowing it.
How to propagate monstera successfully comes down to reading the stem correctly before you ever pick up shears, then giving the cutting conditions it can’t get on the parent plant. Most failed attempts aren’t killed by bad luck. They’re killed in the first thirty seconds, by a cut made in the wrong spot.
Below I’ll walk through why this method beats the alternatives, the exact steps, what a healthy cutting looks like week by week, and the mistakes that quietly stall people out for months. Save-able specifics, including depth, timing, and root length to watch for, are in the Monstera at a Glance card at the bottom.
Why Node-and-Root Cuttings Beat Every Other Method
Monstera doesn’t propagate from a random chunk of stem or a leaf with no stem attached. It grows from nodes, the slightly swollen bumps along the stem where aerial roots and new leaves emerge. No node, no new plant, period.
Air layering and division both work too, but they’re solving different problems. Air layering roots the cutting while it’s still attached, which is slower to start but gives you a fully rooted piece with zero shock when you finally cut it free. Division works only if your plant already has multiple stems coming from the soil.
For one healthy plant with a single climbing stem, the node cutting is simpler, faster, and just as reliable when you do it right.
Here’s exactly how to make that cut count.
Step by Step: Taking and Rooting the Cutting
Find and Take the Cutting
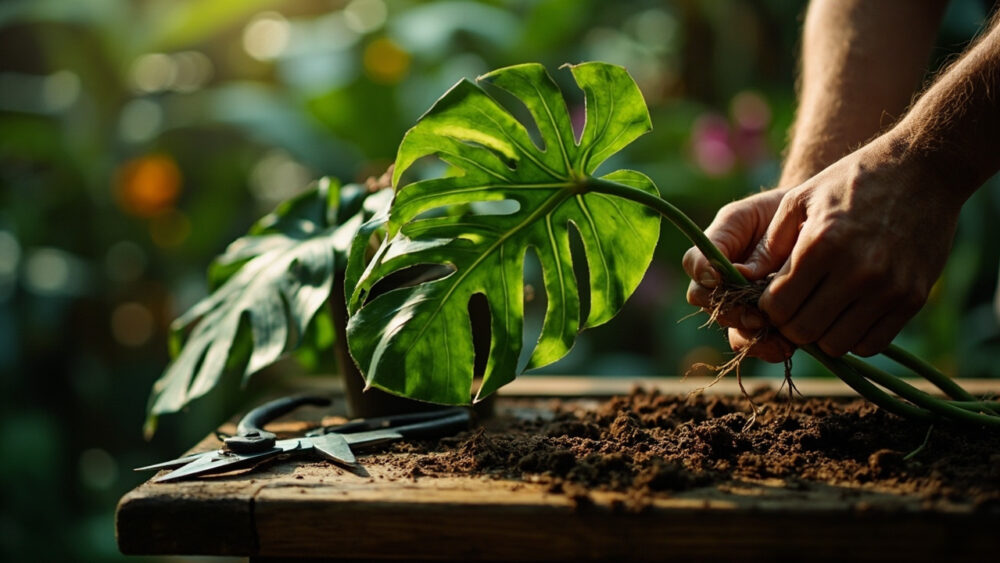
Look for a node with a visible aerial root, that brown, finger-like growth poking out of the stem opposite a leaf. Cut about 1 inch below that node using clean, sharp shears or a knife.
Each cutting should have one node, ideally one leaf, and one aerial root. Two or three nodes on a longer cutting is fine too, and gives you a backup if one node stalls.
Choose a Rooting Medium
Water works well and lets you watch root progress, but roots grown in water need a slower transition to soil later. Sphagnum moss, kept damp but not soggy, tends to grow sturdier roots that adjust to potting mix with less shock.
Either way, submerge or bury the node and aerial root, keeping the leaf above the surface.
Set Up the Right Conditions
Bright, indirect light and warmth in the 70 to 80°F range speed rooting dramatically. Below 65°F, cuttings can sit for months with no visible progress.
Change water every 4 to 5 days if rooting in water, and keep moss consistently moist, never dried out, never dripping.
Get the setup right and the waiting game becomes mostly predictable, which is the next thing worth knowing.
The Timeline: What to Actually Expect
Week 1 to 2, nothing visible happens above the surface, but the node is callusing and beginning to root underneath. This is the stretch that makes people panic and start “helping” by poking at the cutting, which does nothing but damage it.
Week 3 to 4, if conditions are warm and bright, you’ll usually see the first pale root threads emerging from the node.
Week 5 to 8 is where real roots form, typically reaching 1 to 3 inches. New leaf growth may lag well behind root growth, and that’s normal, not a bad sign.
Cooler rooms, low light, or a node without an aerial root can stretch this timeline to 10 to 12 weeks or longer. Some cuttings never root at all, and that’s usually a medium or node problem, not something you did wrong today.
Once roots reach a couple of inches, the next decision is when and how to move it.
When and How to Pot Up
Pot up once roots are 2 to 3 inches long, with at least two or three individual roots rather than one lone thread. Moving too early, before roots can actually anchor the plant, is a common way to lose a cutting that had otherwise done everything right.
Use a chunky, well-draining aroid mix, something with bark, perlite, and coco coir rather than dense potting soil. Plant at the same depth the node was sitting at in water or moss, no deeper.
Water-rooted cuttings need a transition week: keep the new pot’s soil quite moist for the first 7 to 10 days so the roots don’t dry out and shock before they adjust to soil.
Give it bright indirect light, skip fertilizer for the first month, and expect the first new leaf in 3 to 6 weeks if conditions stay warm.
That successful pot-up is exactly where most people expect the hard part to be over, but the real failure point is earlier than that.
Why Most Attempts Actually Fail
If you assumed rotting cuttings are the main killer, that’s a reasonable guess, and it’s wrong more often than you’d think. The number one failure is cutting without a node at all, taking a piece of stem or a leaf petiole that looks fine but has nothing capable of producing roots.
The second most common failure is cold. A cutting sitting on a windowsill at 60°F in winter isn’t dying, it’s just frozen in place, and people give up on it around week 6 assuming it’s dead.
Rot does happen, but it’s usually a symptom of dirty water or waterlogged moss, not an inevitable risk. Change water regularly, let moss dry slightly between soakings, and use clean tools for the initial cut.
Get the node right and the temperature right, and you’ve already solved the two things that end most attempts before they start.
Monstera at a Glance
- When to take cuttings: anytime indoors, but late spring through summer roots fastest thanks to natural active growth.
- What to cut: one node with a visible aerial root and ideally one leaf attached, cut about 1 inch below the node.
- Rooting medium: water, changed every 4 to 5 days, or damp sphagnum moss, for sturdier transition roots.
- Ideal conditions: bright indirect light, 70 to 80°F, no direct sun on the cutting itself.
- Timeline: first roots in 3 to 4 weeks, ready to pot in 5 to 8 weeks at 2 to 3 inches of root length.
- Potting mix: chunky aroid blend with bark and perlite, planted at the same depth the node was rooted.
- Most common failure: cutting without a node, followed closely by rooting in a cold room below 65°F.
Get the node right, keep it warm, and be patient through the invisible first two weeks.
That’s the whole method, everything else is just details.