Learning how to grow irises comes down to three things: plant the rhizomes shallow with the top exposed to the sun, give them at least six hours of direct light, and keep them out of soggy soil. Get those three right and irises are close to foolproof, coming back bigger every year with almost no fuss. Get the depth wrong, and you can do everything else perfectly and still get a plant that sits there for two years refusing to bloom.
That planting depth is the single mistake that ruins most attempts, and almost nobody guesses it correctly the first time. There’s also a sign of trouble that most gardeners misread as a watering problem when it’s actually something else entirely, and an honest answer about how long you can actually leave a clump before it needs dividing.
All of that is coming up, and at the bottom you’ll find a save-able Irises at a Glance card with the numbers you’ll want to check again the next time you’re standing in front of the bed.
When to Plant Irises
The best window for bearded irises is late summer into early fallroughly six to eight weeks before your first hard frost, when soil temperatures are still warm but the worst heat has broken. That timing lets the rhizome root in before winter without pushing tender new growth into a freeze. In most of the country that lands somewhere between late July and early October, earlier in cold zones, later in mild ones.
Bearded iris rhizomes are typically sold and divided in that same late-summer stretch, which is not a coincidence. If you’re working with potted iris starts instead of bare rhizomes, spring planting after your last frost works fine too, though you’ll wait a full extra year for a strong bloom.
Siberian and Japanese irises are more forgiving and can go in spring or fall as long as the ground isn’t frozen or waterlogged.
Timing gets you rooted before winter, but placement is what decides whether they bloom at all.
Choosing the Spot and Prepping the Soil
Irises want full sun, at least six hours a day, and soil that drains fast. Wet feet are the top killer of bearded iris rhizomes, more so than cold, more so than neglect. If water still sits on the surface five minutes after a hard rain, either pick another spot or build a raised bed six to eight inches high.
Work the bed eight to ten inches deep and mix in a couple inches of compost, but skip fresh manure or anything nitrogen-heavy. Rich, loose, slightly acidic to neutral soil (pH 6.0 to 7.0) is the sweet spot. Aim for loose, crumbly soil, not a compacted clay pad.
If your soil is heavy clay, work in coarse sand or grit along with the compost rather than fighting it with more organic matter alone.
Once the bed drains and the sun exposure is right, the planting itself takes ten minutes.
Planting Irises Step by Step
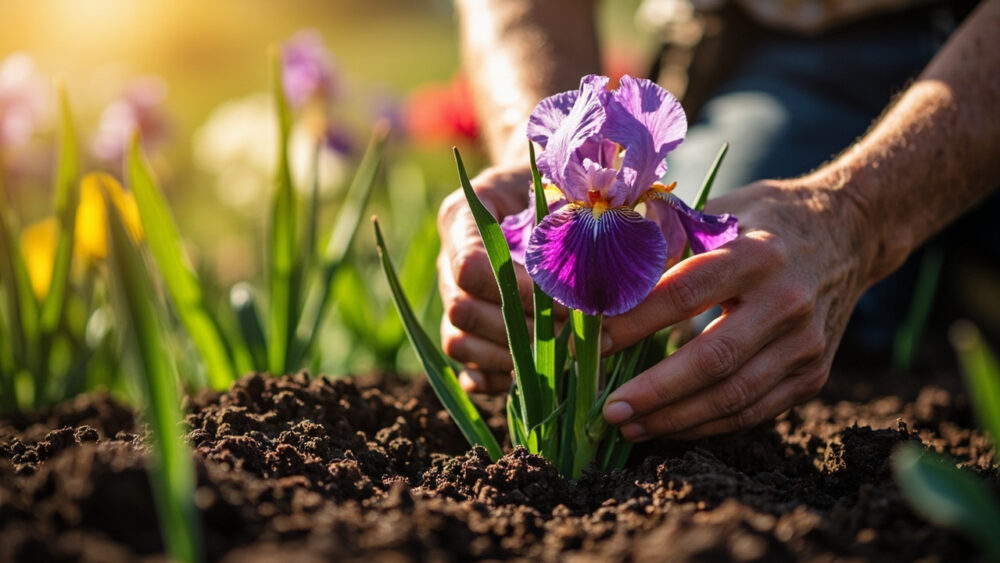
This is where most people lose a season without ever knowing why. Bearded iris rhizomes get planted shallow, with the top surface visible above the soil linenot buried like a bulb. Bury it and you’ll get leaves but no flowers, sometimes for years.
Steps for planting bearded iris rhizomes
- Dig a shallow hole or trench about 3 to 4 inches deep, then mound soil in the center so the rhizome sits on a small ridge.
- Set the rhizome on top of the ridge with roots draped down into the sides of the hole.
- Cover the roots fully with soil, but leave the top third to half of the rhizome exposed to open air and sun.
- Space rhizomes 12 to 18 inches apart, point the leaf fan away from the center if planting a cluster so they grow outward.
- Water in well once at planting, then hold off until you see new growth.
For Siberian and Japanese iris, which grow from fibrous roots rather than fat rhizomes, plant them like a normal perennial, crown just at or barely below the soil surface, no exposed top needed.
Get the depth right at planting and the next mistake you have to avoid is overwatering, which is the opposite instinct most people have.
Watering and Feeding Through the Season
Water deeply once a week during the first growing season, then taper off. Established bearded irises are genuinely drought-tolerant and would rather be slightly dry than sitting wet. Check the top two inches of soil with a finger; if it’s still damp, wait.
Feed lightly in early spring as new growth starts, using a low-nitrogen, higher-phosphorus fertilizer (something closer to a 5-10-10 ratio). Too much nitrogen gives you lush leaves and soft rhizomes that rot and attract borers, and produces fewer blooms, not more.
A second light feeding right after bloom helps rebuild the rhizome for next year.
Skip feeding entirely if your soil is already rich from compost; irises are lighter feeders than most gardeners assume.
Fed right, the plant puts its energy into flowers instead of foliage, which matters when trouble shows up.
The Problems That Actually Strike, and How to Head Them Off
Here’s the sign everyone misreads: soft, mushy, foul-smelling rhizomes with collapsing leaf fans look like a watering problem, so people water more. That’s backwards. It’s almost always bacterial soft rot, caused by wet soil and often started by iris borer damage, and more water makes it worse, not better.
The fix is to dig up the affected rhizome, cut away all soft tissue with a clean knife until you hit firm white flesh, and let the cut dry in the open air for a day before replanting in drier soil.
Iris borers are the other main threat, tunneling into leaves in early summer and working down into the rhizome. Watch for water-soaked streaks or ragged notches on leaves in late spring. Cleaning up old foliage in fall removes the eggs before they overwinter.
Leaf spot fungus shows up as small brown blotches in humid weather. It’s cosmetic more than fatal. Removing affected leaves and improving airflow between clumps usually handles it without needing a fungicide.
Beyond rot and borers, the biggest long-term threat isn’t a pest at all.
When Irises Bloom, and the Honest Truth About Dividing
Bearded irises bloom in mid to late springwith each rhizome producing one strong bloom stalk per year once established. Newly planted rhizomes often skip flowering the first spring while they root in. Siberian and Japanese types tend to bloom slightly later, into early summer.
The honest answer to the question you’re about to ask: yes, they need dividing, and no, you can’t skip it forever. Every 3 to 4 years the center of the clump gets crowded, old rhizomes stop flowering, and bloom counts drop even though the foliage looks fine.
Divide in that same late-summer window, six to eight weeks before frost. Lift the whole clump, snap or cut healthy rhizomes with a fan of leaves attached away from the old woody center, trim leaves to about a third of their length, and replant using the same shallow method as before.
Skipping division isn’t a mistake that shows up right away, it’s one that shows up two years later as a full bed of leaves and almost no flowers.
Irises at a Glance
- When to plant: late summer to early fall, six to eight weeks before first frost, or spring for potted starts.
- Sun and soil: at least six hours of direct sun, fast-draining soil, pH 6.0 to 7.0.
- Planting depth: bearded iris rhizomes shallow, top third to half exposed above soil, never fully buried.
- Spacing: 12 to 18 inches apart, leaf fans pointed outward.
- Water: deep weekly watering the first season, then only when the top two inches of soil are dry.
- Feeding: light low-nitrogen feed in early spring, optional second feed after bloom.
- Bloom time: mid to late spring for bearded types, divide every 3 to 4 years in late summer.
If you remember one thing, remember the depth: exposed on top, roots buried below.
Everything else about growing irises well is just patience and staying out of their way.