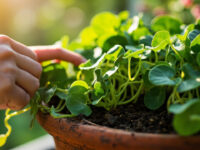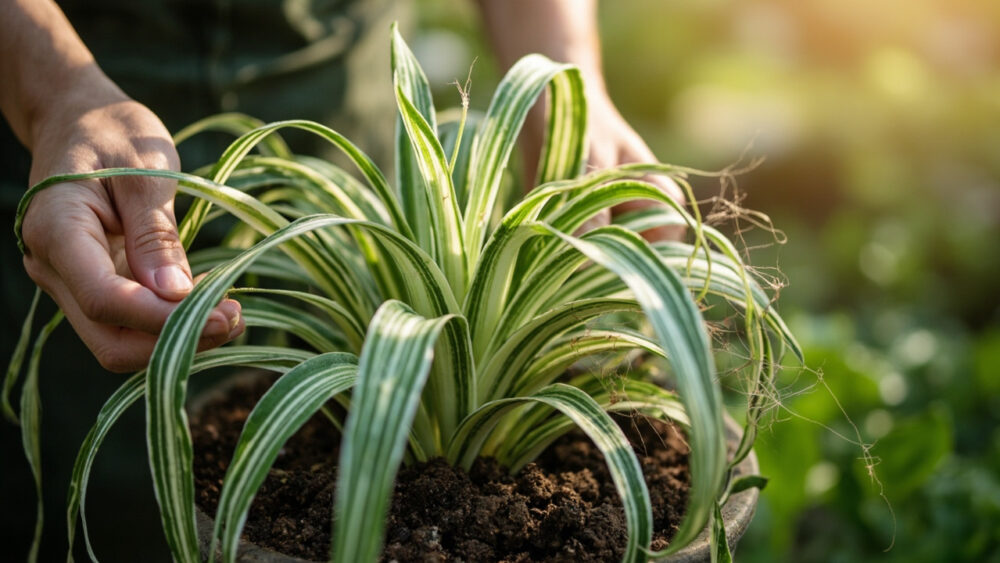
Knowing how to care for spider plant comes down to four things it actually demands: bright, indirect light, water only when the top inch or two of soil goes dry, a pot it can slightly outgrow before you repot, and temperatures that stay above 50°F. Get those right and the plant nearly cares for itself. Get one wrong, usually the watering, and you will see it in the leaf tips before anything else falls apart.
Most people kill spider plant confidence, not the plant itself, over one specific mistake: treating brown tips as a disaster instead of the plant telling you something fixable. There is also a sign almost everyone misreads about when a spider plant is actually ready to produce babies, and it is not just “it got bigger.”
Stick around for the part on fluoride and tap water too, since it is the honest answer to a question a lot of new owners do not know to ask yet. Everything you need, including the save-able Spider Plant at a Glance card, is waiting at the bottom of this guide.
Light, Placement, and Temperature
Bright, indirect light is the sweet spot, think a few feet back from an east or west window, or a north window right up close. Direct hot afternoon sun through south or west glass will scorch the leaves into pale, bleached streaks.
Too little light will not kill it, but growth slows and the white variegation fades toward solid green. Spider plants also tolerate low light better than almost any houseplant on the market, which is exactly why they end up in office corners and still survive.
Temperature-wise, aim for 65 to 80°F. Anything below 50°F for an extended stretch causes real damage, and a plant left near a drafty winter windowsill will show it in dark, mushy patches.
Where you put the plant decides half of everything else, but water is where most people actually go wrong.
Watering: How Much, How Often, and How to Tell
Water when the top 1 to 2 inches of soil feel dry to your finger, then soak thoroughly until water runs from the drainage hole. In most homes that lands somewhere between once a week and once every ten days, less in winter.
If you assumed brown, crispy leaf tips mean the plant needs more water, that guess is backward more often than not. Brown tips are usually a sign of fluoride or chlorine buildup from tap water, overwatering, or dry indoor air, not thirst.
The honest fix: let tap water sit out overnight before using it, or switch to filtered or distilled water if tips keep browning despite good watering habits. Trim the brown ends with clean scissors for looks; it will not reverse the damage but it stops the eye from going straight there.
Soggy, mushy, translucent roots or a sour smell at the soil line means overwatering has gone too far, and that one is about pulling back, not adding more water to compensate.
Get the water right and the soil underneath it matters just as much.
Soil, Potting Mix, and Feeding
A standard, well-draining potting mix works fine, nothing exotic required. If you want to hedge against overwatering, mix in a handful of perlite for extra drainage.
Spider plants are not heavy feeders. Feed with a balanced liquid houseplant fertilizer diluted to about half strength, once a month during spring and summer, and skip it entirely in fall and winter when growth slows.
Over-fertilizing is a quieter version of the same brown-tip problem tap water causes, since excess salts build up in the soil and burn the roots and leaf edges. If tips keep browning even with good water, cut fertilizer in half before you cut anything else.
Feeding sets the pace of growth, but a few hands-on tasks decide how the plant actually looks.
Pruning, Repotting, and Cleaning: The Routine Tasks
Snip off brown or damaged leaves at the base anytime you see them, there is no wrong season for cleanup pruning. Cut back leggy or overly long leaves in spring if you want a fuller-looking plant.
Repot when roots start circling tightly at the drainage hole or pushing the plant up out of the pot, typically every 1 to 2 years. Spider plants actually bloom and produce babies more reliably when slightly root-bound, so do not rush to upsize a plant that still has room to breathe.
Wipe dust off the leaves every few weeks with a damp cloth. Dust blocks light and gives pests a place to hide, and it is the single easiest task people skip.
Now for the sign almost everyone misses about when this plant is actually ready to reproduce.
When (and Why) Babies Show Up
Those little plantlets, often called spiderettes, show up on long stems once the parent plant is mature and, usually, mildly root-bound. A plant repotted into a huge pot every year may never flower or produce babies at all, because it is too busy filling out roots to bother.
The honest answer to “why won’t mine make babies” is almost always light and pot size, not some special trick or fertilizer. More bright indirect light plus a slightly snug pot is the real combination that triggers it.
Once plantlets appear, you can leave them attached, snip and root them in water, or pin them into soil while still attached to the mother plant until they root, then cut free.
Reproduction is a sign of health, but a few other problems are far more likely to show up first.
Problems Most Likely to Strike
- Brown leaf tips: tap water minerals, overwatering, dry air, or fertilizer buildup. Switch water source, ease off watering, or run a humidifier nearby.
- Pale, washed-out leaves: too much direct sun. Move back from the window or add a sheer curtain.
- Yellowing lower leaves: normal aging in small numbers, overwatering if it happens fast and across many leaves at once.
- Spider mites: fine webbing and stippled leaves, especially in dry winter air. Rinse the plant off and treat with insecticidal soap or neem, following the product label exactly.
- Mealybugs or scale: small white or brown bumps clustered at leaf bases. Wipe off with alcohol-dipped cotton swabs or treat per label instructions.
None of these are usually fatal if you catch them early, which is exactly why knowing what “thriving” actually looks like matters.
How to Tell It Is Genuinely Thriving
A thriving spider plant pushes out new arched leaves steadily through spring and summer, holds crisp leaf tips without much browning, and eventually sends out flower stalks or plantlets on its own timeline. The variegated stripe stays crisp white or cream, not faded green.
Slow, steady growth in fall and winter is normal, not a warning sign. The plant is resting, not struggling, as long as leaves stay firm and green.
One more note worth knowing if there are pets in the house: spider plant is generally considered non-toxic to cats and dogs, though it can act as a mild stimulant that draws cats to chew on it obsessively. Watch for vomiting or unusual behavior after ingestion and call your veterinarian if anything seems off.
Everything above collapses into one card you can save right now.
Spider Plant at a Glance
- Light: bright, indirect light is ideal, tolerates low light, avoid direct hot afternoon sun.
- Water: water when the top 1 to 2 inches of soil are dry, roughly every 7 to 10 days, less in winter.
- Temperature: keep between 65 and 80°F, protect from anything below 50°F.
- Soil and feeding: well-draining potting mix, feed monthly at half strength in spring and summer only.
- Repotting: every 1 to 2 years, or when roots circle the drainage hole, slightly root-bound is fine.
- Common problem: brown leaf tips, usually tap water minerals or overwatering, not thirst.
- Pet safety: generally non-toxic to cats and dogs, but call your vet if a pet eats a large amount and seems unwell.
If you remember nothing else, remember this: brown tips mean back off the water and check your water source, not add more.
Everything else about this plant is forgiving, which is exactly why it has survived on windowsills for generations.