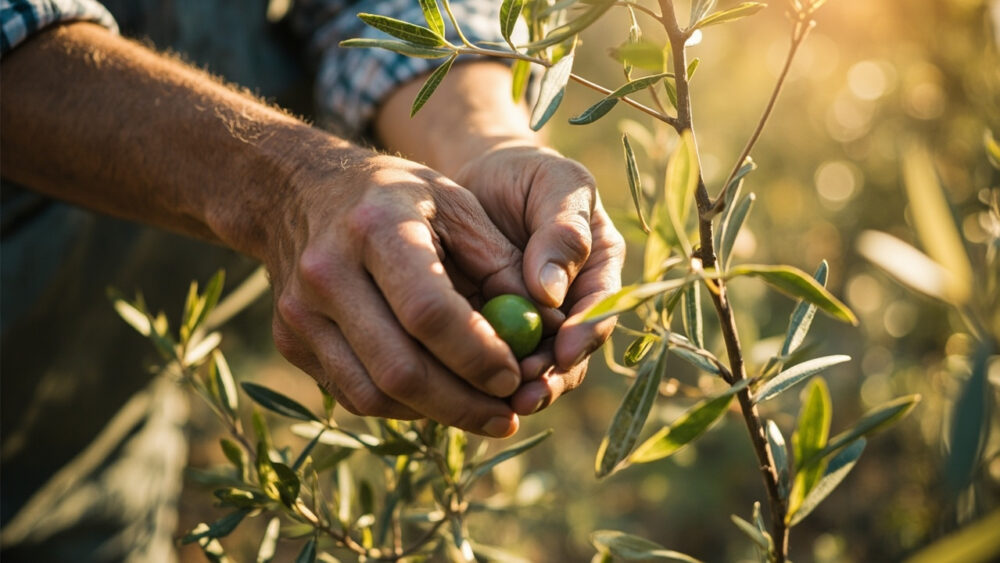
You grow olives by planting a nursery tree, not seed, in well-drained soil after your last frost, giving it full sun and room to spread, and then waiting. That last part is the honest catch: learning how to grow olives is really learning patience, since most trees need three to five years before they set a real crop and eight to twelve before they hit full production. It is not hard to keep an olive tree alive. It is hard to keep one alive in the wrong climate, which is the mistake that sinks more attempts than bad soil ever does.
Before you plant anything, there is a cold-weather math problem you need to solve, and almost nobody solves it before buying the tree. There is also a pruning habit that looks helpful and quietly costs you years of fruit, and a harvest-timing question that trips up first-timers who assume black olives are simply riper than green ones picked later off the same tree.
Stick with me through the growing steps and I will settle all three, plus hand you a save-able Olives at a Glance card at the very bottom with the numbers worth keeping on your phone.
When to Plant Olive Trees
Plant in spring after your last frost date once nighttime temperatures reliably stay above the mid 20s Fahrenheit, or in early fall in mild-winter regions where frost is rare. Olives want soil that has warmed, not soil that is still cold and wet from winter.
Here is the cold math nobody checks first. Olive trees are reliably hardy in USDA zones 8 through 11, and most fruiting cultivars take damage below about 15 to 20 F, with hard freezes killing young trees outright. If you are outside that range, you are growing a container patio plant, not an orchard tree, and that changes everything downstream.
That single zone check decides more about your success than any planting technique does.
Choosing the Spot and Prepping the Soil
Olives want the sunniest, driest-draining spot on your property, full sun for at least six to eight hours, and soil that a hose could never turn to mud for more than a day. They tolerate poor, rocky, even mildly alkaline soil far better than they tolerate wet feet.
Soggy roots are the number one killer of young olive trees, more than cold ever is in marginal zones. If your native soil is heavy clay, plant on a mound or raised berm 8 to 12 inches high rather than fighting the drainage with amendments alone.
Check the soil pH if you can. Olives are happiest in the 6.0 to 8.5 range and genuinely do not need rich soil to thrive.
Get the spot right and the tree does most of the rest of the work itself.
Planting an Olive Tree Step by Step
Buy a grafted or rooted nursery tree, not seed. Olive seeds are slow, unreliable, and usually will not reproduce the fruit quality of named cultivars like Arbequina, Mission, or Frantoio.
Steps to plant
- Dig a hole twice as wide as the root ball and no deeper, so the root crown sits at or just slightly above the surrounding soil line.
- Loosen the sides of the hole so roots can push outward into native soil rather than circling in a soft pocket.
- Set the tree in, backfill with the native soil you dug out, and firm it gently without compacting it hard.
- Space trees 12 to 20 feet apart depending on the cultivar’s mature spread, or 20 to 25 feet for full-size traditional varieties.
- Water in deeply right after planting, then mulch 2 to 3 inches deep, kept a few inches back from the trunk itself.
- Stake only if the site is windy, and remove the stake within a year once roots anchor.
Skip nitrogen-heavy fertilizer at planting time. It pushes soft top growth before the roots can support it, and that mismatch is what topples young trees in their first windstorm.
Get the tree in at the right depth and spacing and you have already dodged the two most common planting mistakes.
Watering and Feeding Through the Season
Water young trees deeply once or twice a week through their first two summers, enough to soak the root zone 12 to 18 inches down, then let the top few inches dry before watering again. Established trees, three years and older, are genuinely drought-tolerant and often need only occasional deep watering through a dry summer.
Overwatering established trees is a far more common problem than underwatering, and it shows up as yellowing leaves and dropped fruit that gets blamed on pests instead of on soggy soil.
Feed lightly. A balanced fertilizer or finished compost applied once in early spring is usually enough; olives grown in rich, heavily fed soil produce more leafy growth and less fruit.
That leafy-growth trap connects straight to the pruning mistake almost everyone makes next.
The Pruning Habit That Costs You Years of Fruit
Olives fruit on wood that grew the previous year, so heavy pruning in late winter or early spring, right before bloom, removes the exact wood that was about to flower. If your tree looks great but never fruits, over-pruning is the first thing to suspect, not the soil and not the weather.
Prune lightly, right after harvest instead, opening the canopy for air and light rather than shearing it into a hedge shape.
Thin crowded interior branches so sunlight reaches the center, since shaded wood rarely sets fruit even on an otherwise healthy tree.
Get the timing of the cut right and the timing of the harvest gets a lot easier to predict too.
Problems Most Likely to Strike
Olive knot, a bacterial disease causing rough galls on branches, spreads through pruning wounds made in wet weather. Prune only during dry stretches and disinfect tools between cuts to keep it out.
Olive fruit fly and scale insects show up in warm, humid regions more than dry Mediterranean-style climates. Watch for small entry holes in ripening fruit or sticky residue on leaves, and treat according to the product label if an infestation takes hold.
Verticillium wilt, a soil fungus causing sudden branch die-back, has no cure once established; the honest fix is removing badly infected trees and avoiding replanting olives in that exact spot.
- Yellow leaves, dropped fruit: usually overwatering or poor drainage.
- No fruit despite healthy growth: usually over-pruning or too little winter chill.
- Rough galls on branches: olive knot, prune it out in dry weather.
- Sudden branch die-back: possible verticillium wilt, remove affected wood.
Most of these problems are preventable with the same fix: better drainage and lighter, drier-season pruning.
When and How to Harvest Olives
Here is the harvest question almost everyone gets backward. Black olives are not simply green olives left longer on the same picking date. Color and ripeness are a sliding scale, and you choose when to pick based on the flavor and cure you want, not on some fixed maturity line.
Green olives are picked underripe, firmer and more bitter, typically in early to mid fall depending on climate. Black, fully ripe olives are picked later in the same season, into late fall or even early winter in mild climates, once they’ve turned deep purple-black and slightly soften.
No olive, at any color, is edible straight off the tree. All fresh olives are intensely bitter from natural compounds and must be cured, whether by brine, salt, water, or lye, before they are palatable.
Pick by hand or lay tarps and gently shake or rake branches for larger harvests. Bruised fruit spoils fast, so handle it gently and start curing within a day or two of picking.
That curing step is also where the payoff card below becomes genuinely worth saving.
Olives at a Glance
- When to plant: spring after last frost, or early fall in mild-winter zones with no hard freeze risk.
- Climate needed: USDA zones 8 through 11, reliable damage below about 15 to 20 F.
- Spacing: 12 to 20 feet for most cultivars, up to 25 feet for full-size traditional trees.
- Planting depth: root crown at or slightly above the surrounding soil line, in fast-draining soil or a raised mound.
- Watering: deep weekly soakings for the first two years, occasional deep watering once established.
- Pruning: light, right after harvest, never heavy right before bloom.
- Harvest window: early to mid fall for green-cured olives, late fall into early winter for black, fully ripe fruit. All olives require curing before eating.
Get the zone and the drainage right and an olive tree will outlive you. Everything else on this list is just keeping it fed, dry-footed, and lightly pruned along the way.