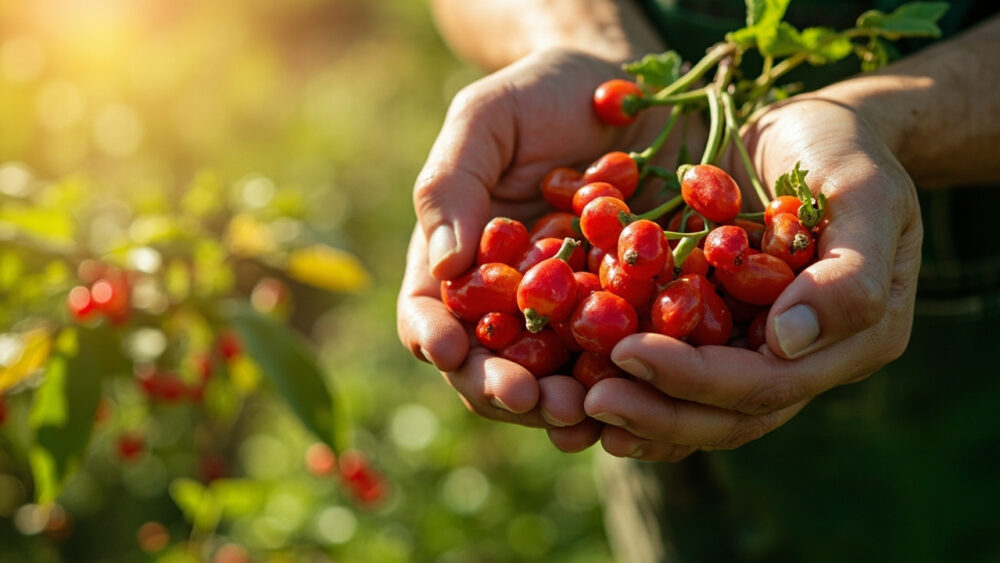
Goji berries grow best planted in early spring after the ground thaws, or in fall about six weeks before your first hard frost, in full sun with well-drained soil. If you’re learning how to grow goji berries for the first time, the plant itself is tough as nails once established. What usually goes wrong isn’t the growing, it’s everything people assume beforehand.
Most new growers assume goji is a shrub you can ignore like a weed patch, and that assumption costs an entire season of fruit. There’s also a spacing mistake that turns a productive hedge into a tangled mess within two years, and a harvest sign almost everyone misreads because it looks nothing like a ripe raspberry or blueberry.
Stick with me through the planting and care details below, because at the very bottom is a save-able Goji Berries at a Glance card with every number you’ll want on hand at the nursery or out in the yard this weekend.
When to Plant Goji Berries
Spring planting works once soil temperature sits above 45 to 50°F and you’re past your last frost date, typically anywhere from late March in mild zones to late May in colder ones. Goji is hardy in USDA zones 5 through 9, and established plants shrug off winter lows down to about minus 15°F.
Fall planting is actually the better option in zones 6 and warmer, since it gives roots a full season underground before summer heat hits. Give a fall-planted goji at least six weeks before your ground freezes hard.
Bare-root plants go in while dormant. Container-grown plants can go in any time the soil is workable, but spring and fall still beat a July planting in blazing heat.
Get the timing right and the next question is where in the yard this thing actually belongs.
Choosing the Spot and Prepping the Soil
Goji wants full sunsix hours minimum, and tolerates poor, sandy, even mildly alkaline soil better than almost any other fruiting plant you’ll grow. This is a shrub that evolved on rocky slopes in central Asia, not a pampered berry patch plant.
The one thing it will not tolerate is wet feet. Standing water or heavy clay that stays soggy will rot the roots faster than drought ever will.
If your soil is heavy clay, work in compost or plant on a slightly raised mound, 4 to 6 inches high, to keep the crown above standing water. Skip heavy nitrogen fertilizer at planting time. Rich soil pushes lush leafy growth at the expense of fruit, which is the opposite of what you want from a plant built to thrive on neglect.
Once the site is picked, the planting itself takes about ten minutes per shrub.
Planting Goji Berries Step by Step
1. Dig the hole
Dig a hole roughly twice the width of the root ball and just as deep, so the crown sits at the same level it was growing in the pot or nursery bed.
2. Space them right
Space plants 4 to 6 feet apart if you want a hedge, or 6 to 8 feet apart if you want individual shrubs with room to spread. This is the spacing mistake that trips up most beginners: goji suckers aggressively and sends runners outward, and anything closer than 4 feet turns into an impenetrable thicket within two seasons.
3. Set and backfill
Loosen the roots gently if they’re circling the pot, set the plant, and backfill with native soil mixed with a shovelful of compost. Firm the soil but don’t pack it hard.
4. Water in and stake
Water thoroughly right after planting. Young goji canes are floppy and benefit from a stake or small trellis for the first year, since the plant wants to grow as a sprawling vine before it settles into a shrub shape with pruning.
That first watering is generous, but what happens for the rest of the season is where people either overdo it or forget it entirely.
Watering and Feeding Through the Season
If you assumed a berry plant needs regular deep watering like a blueberry, that guess will actually hurt goji. This plant is drought-tolerant once established and would rather be slightly dry than constantly moist.
Water new plants twice a week for the first month, then taper to once a week through the first summer. After year one, established goji only needs supplemental water during extended dry stretches, roughly two weeks with no rain.
Feed lightly. A single application of a balanced, low-nitrogen fertilizer in early spring is plenty. Some growers skip fertilizer entirely after the first year and get better fruit for it, since goji left slightly hungry sets more berries and less foliage.
Prune in late winter or very early spring, cutting back the oldest, woodiest canes and any growth lying flat on the ground, to keep the shrub at 4 to 6 feet and encourage new fruiting wood.
Get the water and feeding right and most goji problems never show up at all, but a few are worth watching for anyway.
Problems Most Likely to Strike
Root rot from poor drainage is the number one killer, and it’s almost always the grower’s fault, not the plant’s. Yellowing leaves paired with soggy soil means pull back on water immediately and check drainage before doing anything else.
Aphids show up on new growth in spring and are mostly cosmetic; a strong water spray or insecticidal soap applied per the label handles most infestations. Spider mites can appear in hot, dry conditions and show up as fine stippling on leaves with tiny webbing underneath.
Powdery mildew occasionally coats leaves in humid climates late in the season. Improve air circulation by thinning crowded canes, and treat with a fungicide labeled for powdery mildew if it’s spreading, following the product directions exactly.
None of these are usually fatal if you catch them early, which is the honest, non-alarming truth about growing goji.
Handle the pests and drainage, and the last real question is what a ripe berry actually looks like hanging on the branch.
When and How to Harvest Goji Berries
Here’s the sign almost everyone misreads: a ripe goji berry is bright orange-red, slightly soft, and comes off the stem with barely a tug. Growers expecting a plump, deep-red, firm berry like a cranberry keep waiting for a stage that never comes, and the fruit overripens and drops.
Goji typically starts fruiting in its second year and hits full production by year three or four. Berries ripen from mid-summer through fall, with plants often producing in flushes rather than one single harvest window.
Never pick with bare hands if you’re processing a large batch for drying, since the fresh fruit can irritate skin for some people; a light glove or gentle shake over a sheet works better for bulk harvest. For fresh eating, pick individual berries by hand straight off the branch once they’re fully colored and slightly soft.
Goji berries are edible and widely sold as a dried snack and supplement, but if you have pets, know that unripe fruit and other parts of the plant aren’t something to let a dog or cat chew on freely. If a pet eats a significant amount of unfamiliar plant material and shows vomiting, lethargy, or stomach upset, call your veterinarian rather than waiting it out.
Everything above gets you from bare soil to a full harvest, and here’s the short version to save before you head out to the yard.
Goji Berries at a Glance
- When to plant: early spring after soil hits 45 to 50°F, or fall about six weeks before your first hard frost.
- Where to plant: full sun, six hours minimum, well-drained soil, even poor or sandy ground.
- Spacing: 4 to 6 feet apart for a hedge, 6 to 8 feet for standalone shrubs.
- Planting depth: same depth the plant was growing at in its container, roots loosened and backfilled with native soil plus a little compost.
- Watering: twice weekly the first month, weekly through year one, then only during extended dry spells once established.
- Feeding: one light, low-nitrogen application in early spring. Skip fertilizer entirely once mature for better fruit set.
- Harvest window: mid-summer through fall starting year two, full production by year three or four, picked when bright orange-red and slightly soft.
Get the drainage and spacing right at planting time, and goji genuinely takes care of itself after that.
Everything else on this list is just refinement around those two decisions.