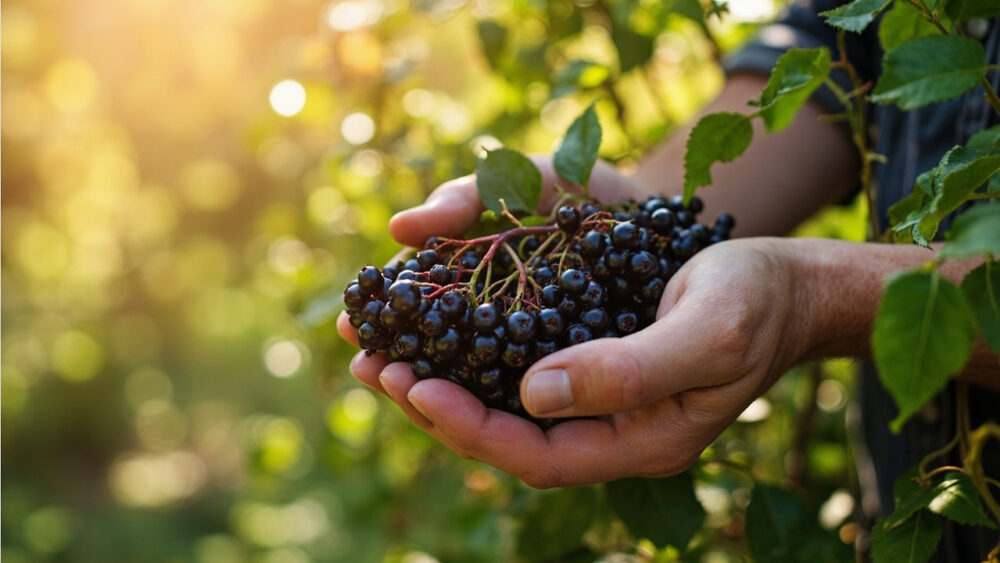
Elderberries are ready when the whole cluster droops downward under its own weight and every berry has turned deep purple-black, with no green or red ones left in the bunch. That usually lands somewhere between late summer and early fall, depending on your climate and the variety you’re growing. Get there too early and you’re stuck with tart, faintly toxic fruit that will fight you the whole way through processing.
Most people ruin their first harvest in one of two ways: they pick the whole cluster the day it looks dark, or they wait for every single berry on the plant to ripen at once, which never actually happens. There’s also a sign almost every new grower misreads, and it costs them a chunk of the crop to the birds before they even notice.
Below is the timing window explained properly, the exact texture and color cues to check with your own hands, the harvest method that doesn’t strip next year’s wood, and what to do in the first hour after picking. Save-able specifics, including how long you actually have once the color turns, are in the Elderberries at a Glance card at the very bottom.
The Real Ready Signs
Color alone lies to you. A cluster can look fully black from three feet away and still have a ring of underripe berries hiding on the shaded side.
Color, checked from underneath
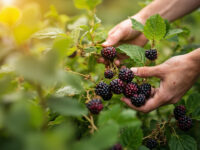
Flip the cluster over and look at the berries facing the interior of the shrub, not just the sun-facing ones. Every berry should be a deep purple-black, almost inky, with no green, red, or dull matte spots left.
The droop test
Ripe clusters hang heavy and bend the stem downward in a visible curve. Unripe clusters still stand up or out fairly straight because the berries haven’t put on their final weight.
The gentle roll
Roll a berry between two fingers. Ripe ones are plump and slightly soft, not firm and not mushy. If it feels hard, it needs more time.
Those three checks together beat color alone, and the next section is where color alone actually backfires on you.
The Mistake That Costs Most Growers Their Crop
If you assumed the safe move is to wait until the entire shrub looks uniformly ripe, that guess is what loses you the harvest. Elderberry clusters on the same plant, even the same branch, ripen on their own schedule, sometimes two or three weeks apart.
Wait for the whole bush and the earliest clusters will have already dropped, shriveled, or gotten stripped by birds and you won’t have noticed because you were watching the late ones. Elderberries are also one of the birds’ favorite late-summer targets, and a flock can clear a shrub in a single morning once the color turns.
The fix is to harvest cluster by cluster as each one hits the droop-and-color test, checking the shrub every 3 to 5 days once the first berries start coloring up. Netting the whole plant works if birds are aggressive in your area, but you’ll need to check under it just as often.
That rolling harvest is also the honest answer to a question you’re probably about to ask next.
The Timing Window, and What Early or Late Actually Costs You
Elderberries typically ripen from late July through September depending on your zone, with cooler northern climates running toward the tail end of that window and warmer regions finishing earlier. There’s no fixed calendar date that works everywhere, so go by the shrub, not the month.
Pick too early and you’re dealing with berries that are still tart, thin-fleshed, and carry a higher concentration of the compounds that make raw, unripe elderberries and the plant’s leaves, stems, and seeds mildly toxic. Fully ripe, properly cooked fruit is the safe target; raw berries and any green plant parts should never be eaten, and if a child or pet eats a quantity of raw or unripe elderberry material, call a doctor or veterinarian rather than waiting to see what happens.
Pick too late and clusters start dropping berries on their own, or the birds and wasps beat you to what’s left. Overripe fruit also ferments slightly on the stem, which shows up as a faintly sour smell and a softer, weepier berry.
Once a cluster passes the droop-and-color test, you generally have about a week before losses start climbing, so that’s your real deadline.
How to Harvest Without Setting Back Next Year’s Crop
Elderberries fruit on wood that grew earlier that same season and on some older canes, so rough handling now can cost you next year’s flowers. Snap or cut off the entire cluster at its stem rather than stripping individual berries by hand, which bruises the fruit and tears at the branch.
Use garden snips or simply bend the stem until it snaps at the natural joint just above where the cluster attaches. Drop whole clusters into a shallow box or basket rather than a deep bucket, since stacking bruises the bottom layer fast.
Work in the cooler part of the day if you can, morning or evening, since elderberries soften quickly in heat and bruised fruit molds faster in storage. Handle the clusters by the stem as much as possible and avoid squeezing them in your hand.
Getting the fruit off the stem cleanly is the next skill, and it’s less obvious than it sounds.
What to Do in the First Hour After Picking
Elderberries do not hold well on the stem, so plan to strip and process or freeze them the same day you pick. The easiest stripping method is to freeze the whole cluster on a tray for a couple of hours first.
Once frozen, the berries knock loose from the stems with a light shake or a gentle rub between your palms, which saves you the tedious job of pulling them off one by one while fresh. Discard the stems, leaves, and any unripe green berries, since all of those parts carry the same mild toxicity concern as raw fruit.
Rinse the loose berries in cold water and pick through for stem fragments, shriveled fruit, or anything moldy. From there they’re ready to cook down into syrup, jam, or juice, or bagged flat and frozen for later, where they’ll hold well for about 8 to 12 months.
Never eat them raw straight off the cluster, no matter how ripe and sweet they look.
Keeping the Harvest Going
A mature elderberry shrub, typically 3 to 4 years old, throws multiple clusters that ripen in waves over 4 to 6 weeks rather than all at once. That stagger is actually good news if you keep checking every few days instead of waiting for one big harvest day.
After the last clusters are picked, resist the urge to prune hard right away. Elderberries set next year’s fruiting wood on growth made this season, so a light cleanup of dead or crossing canes in late winter is safer than a heavy cut in fall.
Keep the base watered through late summer if it’s dry, since a stressed shrub drops fruit early and produces smaller clusters the following year.
All of that adds up to one simple card worth saving before you head back out to the shrub.
Elderberries at a Glance
- When to plant: early spring after the ground thaws and works easily, or in fall about 6 weeks before your first hard frost in mild climates.
- Spacing: 6 to 10 feet apart, since mature shrubs spread wide and need airflow to avoid fungal issues.
- Ripening window: late July through September depending on climate, with clusters ripening in waves over 4 to 6 weeks rather than all together.
- Ready signs: clusters droop downward, every berry is deep purple-black with no green or red ones, and berries feel plump and slightly soft.
- Harvest method: cut or snap off the whole cluster at the stem, never strip individual raw berries by hand.
- Same-day step: freeze clusters briefly to knock berries loose from stems, then discard all stems, leaves, and unripe fruit.
- Storage: rinsed, cleaned berries keep about 8 to 12 months frozen, or process same-day into cooked syrup or jam.
Ripe elderberries are generous and forgiving once you know what you’re looking for. The whole job comes down to checking often, picking cluster by cluster, and never eating the fruit raw.