The honest answer to how to prune clematis depends entirely on which pruning group your vine belongs to, and that single fact is why most people mess it up. Cut a spring-blooming clematis hard in early spring and you will chop off the very flower buds it set last fall, leaving you a leafy vine with no blooms all summer. Cut a late, big-flowered type back too little and it turns into a tangled brown mess with flowers only at the top.
Get the group right and the job is simple: some clematis get cut to 12 inches in late winter, some get a light tidy after their first flush, and some need almost nothing at all. Guess wrong and you lose a whole season of flowers, sometimes two.
Before you touch the shears, there is a mistake nearly every gardener makes at least once, a sign on the vine itself that tells you exactly what to do, and the honest truth about whether a badly pruned clematis will recover. Stick around, because the save-able Clematis at a Glance card at the bottom sums up every group, every timing window, and every cut, so you can screenshot it before you head outside.
Know Your Group Before You Cut Anything
Clematis are sorted into three pruning groups, and the group, not the calendar, drives everything.
Group 1 includes the early spring bloomers like Clematis montana and armandii. They flower on old wood from last year and need almost no pruning beyond shaping right after they finish blooming.
Group 2 covers the large-flowered hybrids that bloom in late spring to early summer, then sometimes again in late summer. They flower on old wood first, then new growth.
Group 3 is the late bloomers, the Jackmanii types and most viticella and texensis varieties, flowering entirely on new growth put out that same year.
If you do not know your variety, the tag from purchase or a photo search of the flower shape usually nails it down fast.
The group tells you the timing, and the timing is where most pruning attempts go wrong.
When to Prune, and When to Leave the Shears in the Shed
Group 1 gets pruned right after flowering finishes, typically late spring, and only to control size or remove dead growth. Prune it in late winter instead and you cut off the buds that were about to open.
Group 2 gets a light pruning in late winter to early spring, once you can see which stems survived and which buds are swelling, followed by a gentle deadheading after the first bloom to encourage a second flush.
Group 3 is the forgiving one. Cut it back hard in late winter to early spring, while the vine is still dormant and before new growth pushes past an inch or two, usually four to six weeks before your last frost date depending on climate.
The one time to never prune any clematis is in fall. Fall pruning strips winter protection from the crown and, on Groups 1 and 2, removes the wood that was going to flower.
Timing tells you when, but the tools and one prep step decide whether the cut heals clean.
Tools and the One Prep Step That Actually Matters
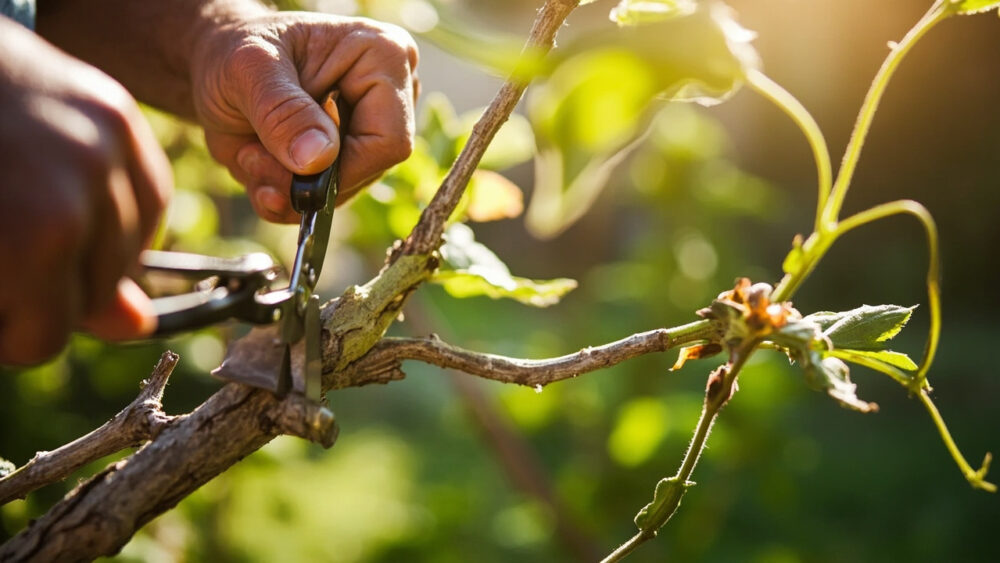
You need sharp bypass pruners for anything pencil-thick or thinner, and loppers for old woody stems near the base on established Group 1 and 2 vines. Wipe the blades with rubbing alcohol before you start, especially if you pruned anything diseased nearby recently.
The prep step everyone skips is tracing each stem back to the ground before cutting anything. Clematis vines twist and cross constantly, and a stem that looks dead at eye level might be very much alive lower down, or vice versa.
Untangling by hand, even loosely, for five minutes before you cut saves you from severing a live stem you meant to keep.
Once you know which stems are which, the actual cutting is the easy part.
Step by Step: Where and How Much to Cut
- Group 1: after flowering, remove dead or damaged stems at the base, and trim overly long stems back to a strong bud to control shape. Take off no more than a third of the total growth in one go.
- Group 2: in late winter, cut each stem back to the highest pair of healthy, swelling buds, removing dead tips above that point. This is often just 6 to 12 inches off the top of each stem.
- Group 3: cut every stem down to 12 to 18 inches above the ground, just above a healthy bud or bud pair. Yes, the whole plant, even if it looks like you are killing it.
That last one is the step that makes people freeze up, because it looks brutal compared to what you would do to almost any other flowering vine.
What the Vine Does Next, and the Sign Everyone Misreads
If you assumed a hard-pruned Group 3 clematis is struggling because it looks bare for a few weeks, that guess is wrong and it is the thing that makes people panic and overwater or over-fertilize. Bare stems with swelling buds at the base are exactly what a correctly pruned Group 3 clematis should look like in early spring.
New shoots typically appear within two to four weeks once soil temperatures climb into the 50s Fahrenheit. Growth is slow at first, then accelerates fast once the vine finds something to climb.
The real warning sign is not bareness, it is buds that stay hard, dry, and dark for six or more weeks with no green showing anywhere on the stem, which usually points to winter dieback below your cut line rather than normal dormancy.
Groups 1 and 2 respond faster since they were not cut back nearly as hard, often showing new leaf growth within one to two weeks of pruning.
Watching the buds tells you the plant is fine, but a few mistakes at cutting time can still cost you the whole bloom season.
The Mistakes That Cost You a Season of Flowers
Pruning the wrong group at the wrong time is the single biggest flower-killer, almost always someone pruning a Group 2 hybrid as hard as a Group 3, or pruning a Group 1 in late winter instead of after bloom.
Other common ones:
- Cutting Group 3 too high, leaving 3 feet of old growth instead of 12 to 18 inches, which produces a lanky, sparse vine with flowers bunched only at the top.
- Skipping pruning for years, which on any group eventually leads to a woody, bare-bottomed tangle with all the foliage and flowers 6 feet up and nothing lower down.
- Pruning during or right before a hard freeze, which stresses fresh cuts and can kill back further than intended, especially on newly planted vines under two years old.
- Not labeling the group when you plant it, so three years later nobody remembers which pruning rules apply.
None of these mistakes are fatal to an established clematis. A badly pruned vine usually rebounds within one to two seasons once you start following its group’s actual rules.
Everything above boils down to a handful of facts worth saving, so here they are in one place.
Clematis at a Glance
- Group 1 timing: prune right after spring flowering finishes, never in late winter.
- Group 2 timing: light prune in late winter to early spring, plus a gentle deadheading after the first flush.
- Group 3 timing: hard prune in late winter to early spring, four to six weeks before your last frost, while still dormant.
- How much to cut Group 3: down to 12 to 18 inches above the ground, just above a healthy bud.
- How much to cut Group 2: back to the highest healthy bud pair, usually 6 to 12 inches off the top.
- Never prune in fall: it strips winter protection and removes next year’s flower wood on Groups 1 and 2.
- Recovery sign: bare stems with swelling buds are normal, new growth shows within two to four weeks once soil warms into the 50s Fahrenheit.
Know the group before you make a single cut, everything else about pruning clematis follows from that one fact.
When in doubt, prune less this year and watch where the flowers actually appear, next year’s cuts will be obvious.