How to grow hollyhocks starts with picking the right spot: full sun, soil that drains but doesn’t dry to dust, and enough room against a fence or wall since most types top 6 feet and need a windbreak. Plant seed or transplants after your last frost once soil has warmed into the 60s, or start seed in mid to late summer for bloom the following year, which is actually how most experienced growers do it. Get those two things right and hollyhocks are nearly foolproof from there.
Here’s what trips people up. Most first-time growers plant hollyhocks expecting flowers the same summer, then feel like failures when all they get is a rosette of leaves. There’s also the rust problem almost nobody sees coming until the lower leaves look like they’ve been shot with a fine spray of orange freckles, and the staking mistake that snaps a 7-foot stalk in one August storm.
I’ll walk through all three, plus the exact depth and spacing that keeps these old cottage-garden stalwarts standing tall instead of flopped over your walkway. Save the Hollyhocks at a Glance card at the bottom for your phone before you head out to the garden bed.
When to Plant Hollyhocks
Hollyhocks are biennial or short-lived perennial, and that fact drives the whole calendar. If you sow seed or set out transplants in spring after frost danger has passed, you’ll get leaves and a root system this year and flowers next summer. That’s the honest timeline, not a defect in your technique.
Want blooms sooner? Buy potted plants that were started the previous fall or winter by a nursery. Those are already sized to flower the same season you plant them, usually from late spring into early summer depending on your zone.
Direct-sown seed does best once soil has warmed past 60°F, roughly two to three weeks after your last frost. In zones 3 to 5, that’s late spring; in zones 6 to 8, you can sow earlier or even do a second round in midsummer for next year’s flowers.
The seed-versus-transplant choice decides your whole first year, so plan around it.
Choosing the Spot and Prepping the Soil
Hollyhocks want six or more hours of direct sun. Less than that and stalks get leggy, floppy, and stingy with blooms.
Soil matters less than drainage. They’ll grow in average dirt, clay included, as long as water doesn’t sit around the crown. Work a couple inches of compost into the top 8 to 10 inches before planting if your soil is heavy or thin.
Give them a spot against a north or east wall, a fence line, or the back of a border where their height works for you instead of against you. This also blocks some wind, which matters more than most people expect once stalks reach 5 or 6 feet.
Avoid low spots where water pools after rain. Rust and other fungal issues start with wet leaves and wet soil, and a bad site guarantees both.
Once the site is right, the actual planting is the easy part.
Sowing Seed
- Depth: about 1/4 to 1/2 inch, just barely covered. Hollyhock seed needs some light to germinate well, so don’t bury it deep.
- Spacing: sow every 4 to 6 inches, then thin seedlings to 18 to 24 inches apart once they have two or three true leaves.
- Technique: press seed into moistened soil rather than dropping it into dry dirt and watering after. Contact with damp soil is what triggers germination, usually within 10 to 14 days.
Setting Out Transplants
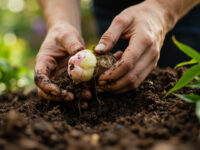
- Depth: plant at the same depth it sat in the pot. Burying the crown invites rot.
- Spacing: 18 to 24 inches between plants, more like 24 to 30 if you’re growing a tall double variety.
- Technique: water in well immediately, then keep soil evenly moist for the first two to three weeks while roots establish.
Get through establishment and hollyhocks mostly take care of themselves for the rest of the season.
Watering and Feeding Through the Season
Once established, hollyhocks are reasonably drought-tolerant, but they bloom better with consistent moisture. Aim for about an inch of water a week between rain and irrigation, more during real heat.
Water at the base, not overhead. Wet foliage sitting damp overnight is the single biggest thing that invites rust and other leaf disease, so a soaker hose or careful hand watering beats a sprinkler every time.
Feed lightly. A balanced fertilizer or an inch of compost worked in each spring is plenty. Overfeeding, especially high-nitrogen lawn-type fertilizer, pushes soft, floppy growth that falls over in the first storm and blooms less anyway.
Mulch 2 to 3 inches around the base to hold moisture and keep soil temperature steadier, but keep mulch a couple inches off the actual stem.
Feeding right keeps stalks sturdy, but sturdy stalks still need backup once flower spikes take off.
Staking, Rust, and the Other Problems That Actually Show Up
If you assumed the biggest risk to hollyhocks is drought or cold, that’s not usually what takes them down. The two real threats are wind and rust, and both are manageable if you’re watching for them.
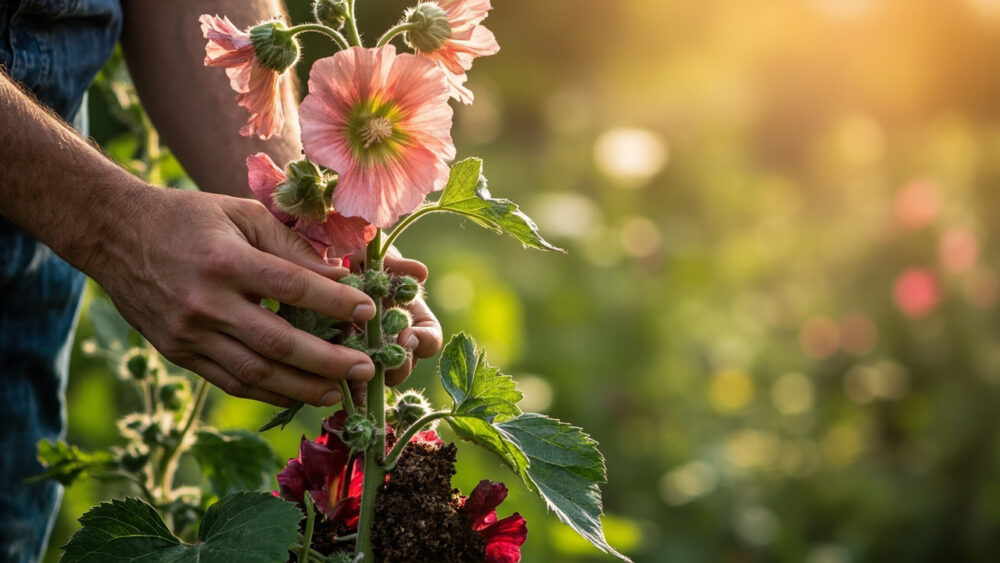
Staking: once flower spikes push past 4 feet, drive a stake in behind the stalk and tie loosely every foot or so with soft garden twine. Do this before a storm flattens the plant, not after. A snapped stalk doesn’t come back this season.
Rust: look for orange-brown pustules on the undersides of lower leaves starting in early to mid summer. This is extremely common on hollyhocks, almost expected, and it’s cosmetic more than fatal in most cases.
Strip and discard infected leaves as you see them, water at the soil line, and give plants good air circulation by spacing them properly from the start. In bad years a fungicide labeled for rust on ornamentals can help; follow the product label exactly.
Other issues: slugs and Japanese beetles chew leaves but rarely kill an established plant, and spider mites show up in hot, dry stretches. Hollyhocks are also a preferred host for hollyhock weevil in some regions, which leaves small round holes in buds. None of these usually justify pulling the plant, just cleanup and patience.
Handle wind and rust and you’ve headed off nearly everything that goes wrong with hollyhocks.
When Hollyhocks Bloom and How to Keep Them Going
Hollyhocks bloom in their second year from seed, typically starting in early to mid summer and continuing for six to eight weeks, opening from the bottom of the spike upward. There’s no real harvest here in the vegetable-garden sense. The “harvest” is the bloom show and, if you want it, the seed.
Deadhead spent spikes to tidy the plant and sometimes coax a smaller secondary bloom. But leave a few spikes to mature if you want seed: pods will dry to brown and papery, and you can crack them open to collect flat, round seeds for next year or to let them self-sow.
Hollyhocks self-seed readily. Many gardens keep a patch going for years this way, with new rosettes each fall or spring replacing the older stalks that decline after blooming.
Cut main stalks back near the base after bloom finishes. New growth often comes from the crown for another year or two, though most gardeners treat hollyhocks as a two-year cycle and let self-sown seedlings carry the show forward.
That self-seeding habit is either a gardener’s best friend or the reason hollyhocks show up somewhere you didn’t plant them, so decide early whether you want to let them roam.
Hollyhocks at a Glance
- When to plant: seed or transplants after last frost once soil hits about 60°F, or sow in midsummer for blooms the following year.
- Bloom timing: second year from seed, typically early to mid summer for six to eight weeks. Same-year bloom only from pre-started nursery transplants.
- Sun and site: full sun, six or more hours, sheltered from wind against a fence or wall.
- Spacing and depth: seed 1/4 to 1/2 inch deep, thinned to 18 to 24 inches apart. Transplants at the same depth as the pot.
- Water: about 1 inch weekly, applied at the soil line, never overhead.
- Main risks: wind snapping unstaked stalks and rust on lower leaves. Both are manageable, not usually fatal.
- Height: commonly 5 to 8 feet depending on variety, so plan staking before flower spikes take off.
Get the site and the timing right and hollyhocks will outlast most plants in your border, seeding themselves in for years. The only real enemy is wet leaves and an unstaked stalk in a summer storm.