You grow a spider plant by potting it in loose, well-drained soil, giving it bright indirect light, watering only when the top inch or two of soil goes dry, and letting it get slightly root-bound before you repot. That combination is what pushes out the long arching leaves and, eventually, the babies. Get those basics right and this is one of the most forgiving houseplants you will ever own.
But most people who learn how to grow spider plant still manage to stall it out, and usually not from neglect. It is almost always overcare: too much water, too rich a soil, a pot too big too soon.
There is also a sign nearly everyone misreads, brown, crispy leaf tips that get blamed on underwatering when the real cause is something else entirely. And there is a question every spider plant owner eventually asks: why won’t mine make babies. Stick with this guide and I will answer all of it, plus give you a save-able Spider Plant at a Glance card at the very bottom with the numbers you will actually want on hand.
When to Start a Spider Plant
Spider plants do not care about frost dates the way outdoor crops do, since most people grow them as houseplants year-round. But if you are potting up a new plant or dividing an offset, do it in spring through late summer when the plant is actively growing.
Growth slows in low light and cooler temperatures below roughly 55°F, so a plant potted in the dead of winter just sits there instead of rooting in.
If yours lives outdoors part of the year in zones 9 to 11, wait until night temperatures stay reliably above 50°F before moving it out, and bring it back in well before the first real frost. It is not frost-hardy at all, a light freeze will kill the foliage outright.
Timing matters less here than almost anywhere else in gardening, but the growing season still gives you the best odds.
Choosing the Spot and Prepping the Soil
Spider plants want bright, indirect light, an east or north-facing window, or a few feet back from a south or west window. Direct hot sun scorches the leaves; deep shade gives you a pale, leggy plant that never fills out.
Soil is where a lot of good intentions go wrong. A heavy, water-retentive potting mix straight out of the bag is often too dense on its own. Cut it with perlite or coarse sand, roughly one part grit to three or four parts potting mix, so water actually drains through instead of sitting at the roots.
Use a pot with a drainage hole, no exceptions. Spider plants tolerate a lot, but they cannot tolerate sitting in standing water for days on end.
Get the light and the drainage right and you have already solved most of what goes wrong with this plant.
Planting or Repotting Step by Step
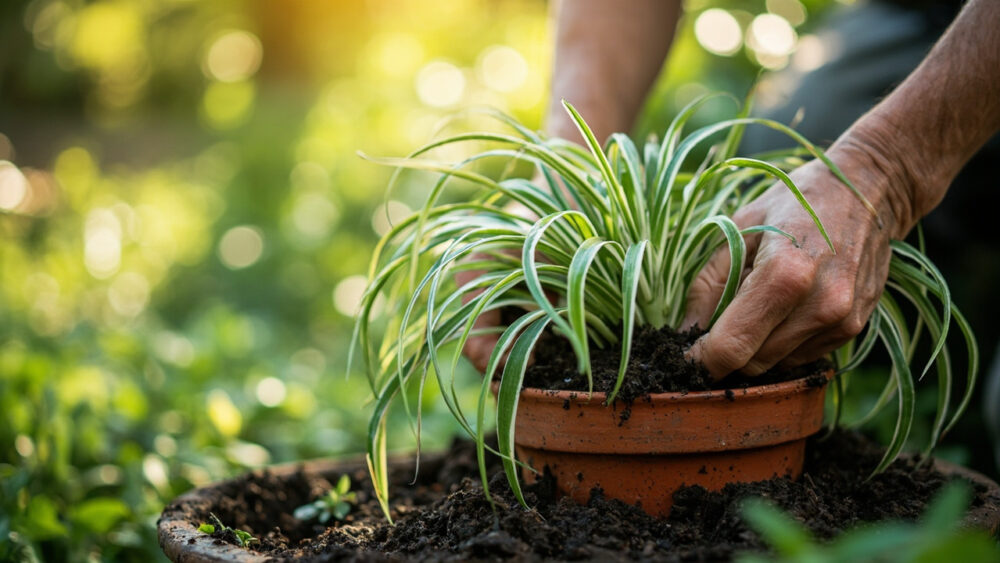
- Pick a pot only 1 to 2 inches larger in diameter than the current root ball. Too much extra soil volume holds too much moisture.
- Add a shallow layer of your amended potting mix to the bottom of the new pot.
- Loosen the root ball gently, teasing apart any tightly circling roots, and set the plant so the crown sits at the same depth it was growing before.
- Backfill around the sidespressing soil in firmly enough to remove big air pockets but not so hard you compact it.
- Water thoroughly right after planting until it runs from the drainage hole, then let the pot drain completely.
- Space offsets or divisions at least 6 to 8 inches apart if you are potting multiple starts into one wide container.
Once it is in, the plant does most of the rest of the work itself.
Watering and Feeding Through the Season
If you assumed a plant this tough wants regular, generous watering, that guess is exactly what kills most of them. Spider plants would rather run a little dry than sit wet.
Check the soil by pushing a finger in an inch or two. If it is still damp, wait. Water again only once it has dried out at that depth, which is typically every 7 to 10 days indoors, faster in a bright, warm room, slower in winter.
Feed lightly during spring and summer with a balanced houseplant fertilizer diluted to about half strength, once every four to six weeks. Skip feeding entirely in fall and winter when growth naturally slows.
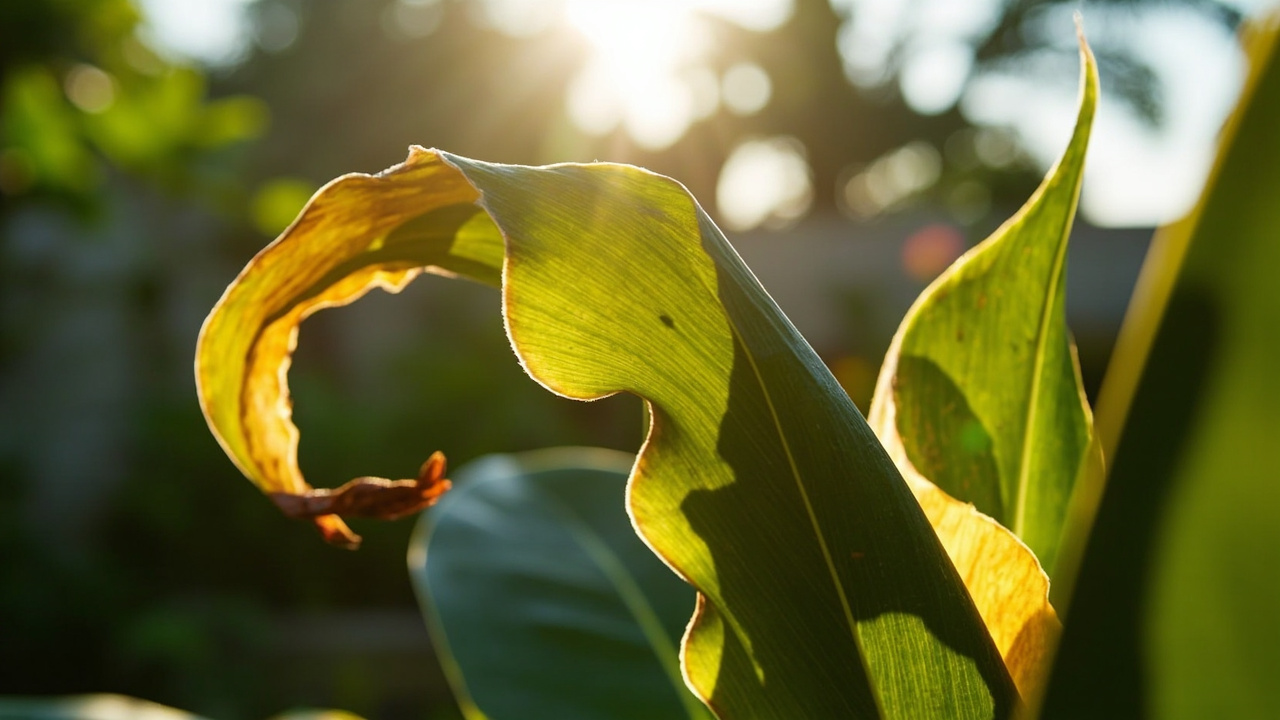
Spider plants are also sensitive to fluoride and chlorine buildup in tap water, which shows up as those brown, crispy tips everyone blames on drought. Letting tap water sit out overnight before using it, or switching to distilled or rain water occasionally, clears it up in a few weeks.
That single fix solves more spider plant complaints than any watering schedule ever will.
Problems That Actually Show Up
Brown tips are the most common complaint, and as covered above, mineral buildup from tap water is the usual cause, not underwatering. Trim the brown ends off with clean scissors; it will not fix the cause but it cleans up the look.
Pale, washed-out leaves usually mean too much direct sun. Move the plant back from the window a foot or two and new growth should come in greener.
Soft, mushy, yellowing leaves near the base point to overwatering and root rot. Pull the plant and check the roots. Healthy ones are firm and white to tan, rotten ones are dark, slimy, and often smell sour. Trim away the rot, repot into fresh dry soil, and water sparingly until it recovers.
Spider mites and mealybugs occasionally show up, especially on dusty or stressed plants. Wipe leaves down periodically and treat any infestation with insecticidal soap or a horticultural oil, following the product label exactly.
Spider plants are considered non-toxic to cats, dogs, and people by most poison-control references, though some cats do get mildly stimulated by chewing the leaves, similar to catnip. If a pet eats a large amount and shows vomiting, drooling, or unusual behavior, call your veterinarian to be safe rather than assuming it is harmless.
Solve the water quality and the light, and this plant genuinely has very little left to go wrong.
When and How to “Harvest” a Spider Plant
There is no harvest in the food-crop sense, but there is a real payoff here, the plantlets, sometimes called babies or pups, that dangle off long stolons once the plant matures. That is the moment most new owners are actually waiting for.
A spider plant typically starts sending out stolons once it is a year or two old and reasonably root-bound in its pot, often triggered by slightly longer days in spring and summer. Mild root crowding actually encourages this, so resist the urge to keep upsizing the pot the moment roots reach the edge.
Small white flowers appear along the stolons first, followed by baby plantlets with their own tiny root nubs. Let a plantlet develop a few roots at least an inch long before removing it.
To propagate, snip the stolon just above and below the plantlet, then either set it directly in moist potting soil or root it in a glass of water for a week or two until roots thicken, then pot it up.
If your plant has never produced a single pup, do not assume something is wrong. It just needs more time, more light, or a bit more root crowding before it commits to reproducing.
Spider Plant at a Glance
- When to plant or repot: spring through late summer, during active growth, indoor timing matters more than frost dates.
- Light: bright, indirect light, an east or north window is ideal, avoid hot direct afternoon sun.
- Soil and pot: loose, well-draining potting mix cut with perlite or sand, always a pot with a drainage hole.
- Watering: only when the top 1 to 2 inches of soil are dry, roughly every 7 to 10 days indoors, less in winter.
- Feeding: balanced fertilizer at half strength every 4 to 6 weeks in spring and summer, none in fall and winter.
- Common issue: brown leaf tips from tap water minerals, fix with distilled water or water left out overnight.
- Propagation: let plantlets grow roots at least an inch long before cutting them from the stolon and potting.
Get the light, the drainage, and the watering rhythm right and everything else about this plant takes care of itself.
Ignore the schedule and trust the soil and your fingers instead, that habit alone will keep it thriving for years.