The method that actually works for how to propagate heartleaf philodendron is a stem cutting with at least one node, rooted in water or damp sphagnum moss, kept warm and out of direct sun until roots hit an inch or two long. That is the whole trick. No rooting hormone required, no special equipment, just a clean cut and patience.
Here is what trips people up. Most failed attempts do not fail because the plant did not root, they fail because the grower potted it up too early or cut in the wrong spot on the stem.
There is also a sign almost everyone misreads: a cutting can look perfectly green and healthy for weeks while doing absolutely nothing underwater. Stick with me and you will know exactly what to check instead of just staring at the jar hoping.
Save the Heartleaf Philodendron at a Glance card at the bottom of this page. It has every number in one place for when you are standing at the plant with scissors in hand.
Why Stem Cuttings Beat Every Other Method
Heartleaf philodendron (Philodendron hederaceum) roots from nodes, the slightly swollen bumps along the vine where a leaf attaches. Division works too if your plant already has multiple crowns, but most people only have one vine to work with, and cuttings are faster and far more reliable than trying to split a rootball.
Air layering and other fancy techniques exist, but they solve problems this plant does not have. A three-inch section of stem with a node will root for almost anyone, indoors, any time of year, as long as the room stays above 65°F.
That reliability is exactly why so many people get sloppy with the next part.
Step by Step: Taking the Cutting
Find the Right Spot on the Vine
Look for a node, the little brown or tan bump on the stem, usually right where a leaf grows out or where you see a small root nub already forming. Count back three to four leaves from the growing tip and cut just below a node with clean scissors or a sharp knife.
Each cutting should have two to three leaves and at least one, ideally two, nodes. A cutting with zero nodes is just a stick with leaves attached, and it will never root no matter how long you wait.
Choosing Water or Moss
Water propagation is the easiest way to watch progress, which is exactly why most people default to it. Submerge the node, keep the leaves above the waterline, and change the water every four to five days so it does not go stagnant and rot the stem.
Sphagnum moss roots slightly slower but produces a stronger root system that transitions to soil with far less shock. Dampen the moss until it feels like a wrung-out sponge, wrap it around the node, and tuck the whole thing into a small plastic cup or bag to hold humidity.
Conditions That Actually Matter
Bright, indirect light and warmth do more work than anything else. A spot near an east or north window, or a few feet back from a south window, is ideal. Direct sun on a jar of water will cook the stem and grow algae fast.
Room temperature between 68°F and 80°F speeds rooting considerably. Below 60°F, cuttings can sit for a month and do almost nothing.
Get the cut right and the environment right, and the timeline below is genuinely just a matter of waiting.
Week by Week: What You Should Actually See
Here is the honest answer to the question you were about to ask: no, a cutting that still looks green and perky after two weeks with nothing underwater is not necessarily fine. Looking healthy and actively rooting are two different things, and this plant can coast on stored energy in the leaves for a surprisingly long time before you find out it never rooted at all.
Week 1: Nothing visible yet, or maybe a faint white bump at the node. This is normal. Do not disturb the cutting to check, just glance at it.
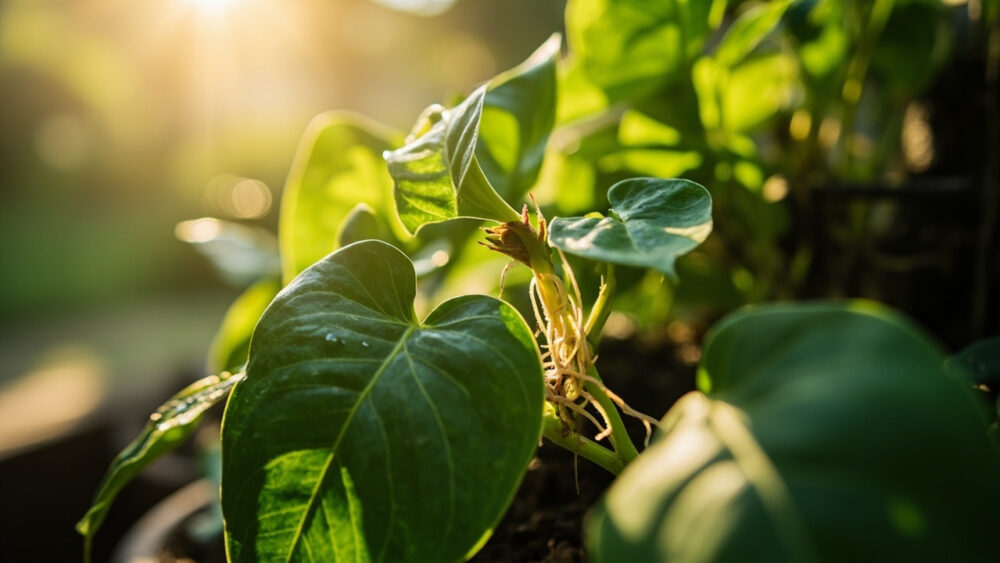
Week 2 to 3: White root nubs appear at the node, usually a quarter inch to half an inch long. In moss, you will feel resistance if you gently tug the stem, that is the real tell, more reliable than sight.
Week 4 to 6: Roots reach 1 to 2 inches, sometimes branching. New leaf growth at the tip is the best confirmation the whole cutting, not just the stub, is alive and functioning.
Once you see that branching root system, the next decision is timing the move to soil, and this is where a second wave of mistakes happens.
Potting Up Without Losing the Cutting
Wait until roots are at least 1 to 2 inches long, ideally with a couple of branches, before potting into soil. Move too early and the fragile new roots, which grew accustomed to constant moisture, often stall out or rot in drier potting mix.
Use a well-draining houseplant mix, and pot into a container barely larger than the root mass, no more than an inch or two wider in diameter than the cutting needs. Oversized pots hold excess moisture the small root system cannot use, which is the second most common way people lose a rooted cutting right at the finish line.
Water thoroughly after potting, then let the top inch of soil dry before watering again. Keep humidity a little elevated for the first one to two weeks with a loose plastic bag or a spot away from dry air vents, since the roots are transitioning from water or moss and need time to adjust to soil’s drying rhythm.
Multiple cuttings potted together, three to five per pot with about 2 inches between stems, gives you that classic full, trailing look much faster than one stem alone.
Get the potting timing right and you are basically done, but there is still one mistake that undoes all of it.
Why Most Attempts Actually Fail
If you assumed a failed cutting means you did something wrong with watering or light, that guess is usually off target. The real cause, more often than not, is a cutting that never had a node in the first place, or a cut made through the middle of an internode where nothing can ever root.
The second big failure point is rot from stagnant water or oversaturated moss, which shows up as a soft, dark, mushy stem instead of firm green tissue. If you see that, cut above the rot on healthy tissue and start over rather than hoping it recovers.
The third mistake is patience running out. Four weeks feels like a long time to stare at a jar, but this plant genuinely takes that long in cooler rooms or lower light, and yanking a cutting to check roots constantly does more damage than the wait itself.
Avoid those three things and heartleaf philodendron roots about as reliably as any houseplant gets.
Heartleaf Philodendron at a Glance
- Best method: stem cutting with at least one node, rooted in water or damp sphagnum moss.
- Cutting size: 3 to 4 inches long, two to three leaves, one to two nodes included below the cut.
- Ideal temperature: 68°F to 80°F, growth stalls noticeably below 60°F.
- Light: bright, indirect light, never direct sun on a water propagation jar.
- Timeline: roots visible by week 2 to 3, ready to pot at 1 to 2 inches of root by week 4 to 6.
- When to pot up: once roots are 1 to 2 inches long with some branching, into a well-draining mix.
- Common failure signs: soft dark stem means rot, cut above it and restart, no visible bump at the base means no node was included.
One node, one clean cut, and enough warmth to keep the plant working. That is genuinely all heartleaf philodendron needs from you.