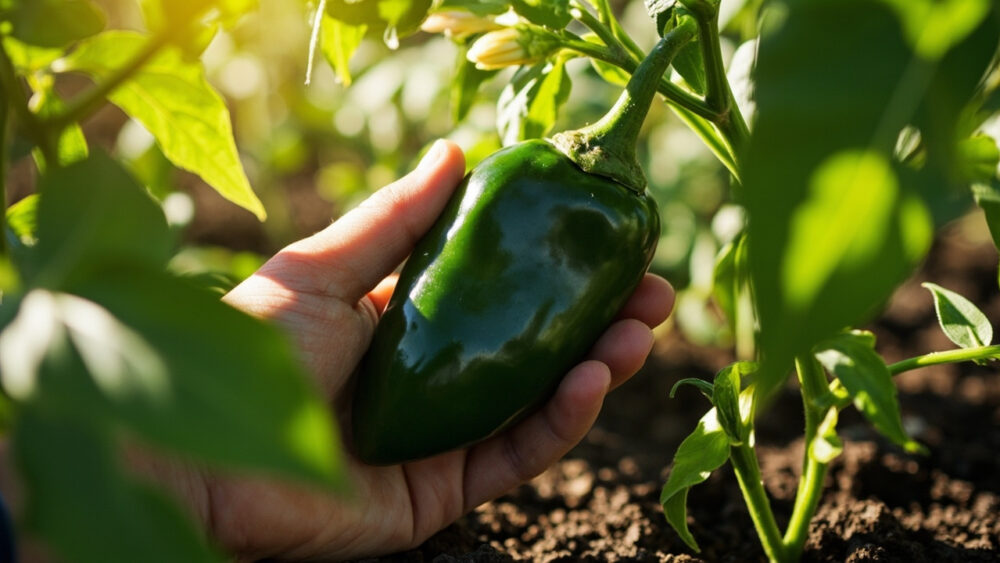
Learning how to grow poblano peppers comes down to three things: give them a long warm season, don’t rush them into cold soil, and don’t panic when the plant looks like it’s doing nothing for the first few weeks. Poblanos need 65 to 75 days from transplant to green harvest, longer if you’re waiting for that deep mahogany-red stage for chile ancho. Get the timing and spacing right and one healthy plant will hand you a dozen or more peppers over the season.
Here’s what trips people up. Most poblano failures aren’t disease or pests, they’re a plant set out too early into cold soil, then blamed for “not doing anything” for a month. There’s also a widely misread signal on the fruit itself that makes gardeners think something’s wrong when it’s actually right on schedule.
And the harvest question nobody asks until it’s too late: pick green, or wait for red? The answer changes the flavor, the heat, and even what you call the pepper. Stick around for the full breakdown, and save the Poblano Peppers at a Glance card at the bottom for your phone before you head out to the garden.
When to Plant Poblano Peppers
Poblanos are a warm-season crop through and through. Wait until nighttime temperatures reliably stay above 55°F and soil has warmed to at least 65°F before transplanting outside. That’s usually two to three weeks after your last spring frost, not right on it.
If you’re starting from seed, begin indoors 8 to 10 weeks before that transplant date. Pepper seed is slow, expect 10 to 21 days to germinate at 80 to 85°F.
In cooler zones (5 and 6), warm the soil with black plastic or landscape fabric a week before planting. In hot climates (zone 9 and up), poblanos planted too late in spring can stall once summer heat spikes past 95°F, so aim for an earlier window.
Get this part wrong and everything downstream gets harder.
Picking the Spot and Prepping the Soil
Poblanos want 6 to 8 hours of direct sun and soil that drains well but holds a little moisture, think loamy, not sandy and not heavy clay. Raised beds or mounded rows help a lot if your soil is dense.
Work in 2 to 3 inches of compost before planting, and aim for a soil pH between 6.0 and 6.8. Peppers are moderate feeders, not heavy ones, so skip the urge to load up on high-nitrogen fertilizer up front. Too much nitrogen early buys you a bushy plant with few peppers.
Rotate away from spots where you grew tomatoes, eggplant, or other peppers last year. Shared diseases build up in the soil fast.
Once the bed is ready, the actual planting takes ten minutes.
Planting Poblano Peppers Step by Step
1. Harden off transplants
Set young plants outside in a sheltered spot for a few hours a day over 5 to 7 days before transplanting. Skipping this step shocks the plant and stalls growth for a week or more.
2. Dig the hole
Plant at the same depth the pepper was growing in its pot, maybe half an inch deeper. Unlike tomatoes, peppers don’t root well along a buried stem.
3. Space them right
Space plants 18 to 24 inches apart, with rows 24 to 30 inches apart. Crowding invites poor airflow, and poor airflow invites fungal disease later in the season.
4. Water in immediately
Give each transplant a deep drink right after planting to settle the soil around the roots and cut down on transplant shock.
5. Support if needed
Poblano plants get bushy and can lean under a heavy fruit load. A small stake or tomato cage set in at planting time saves you from snapped branches in July.
Now comes the part where most people either overwater or forget the plant exists.
Watering and Feeding Through the Season
Poblanos want consistent moisture, about 1 to 1.5 inches of water per week, whether from rain or irrigation. Check soil an inch or two down; if it’s dry there, water. If it’s still damp, wait.
Inconsistent watering, wet then bone-dry then wet again, is a bigger threat than dry alone. It causes blossom end rot and split fruit even in otherwise healthy plants.
Feed lightly. A balanced fertilizer at planting, then a side-dress with something higher in phosphorus and potassium once flowers appear, is plenty. Mulch with 2 to 3 inches of straw or shredded leaves to hold moisture and keep roots cool.
Here’s the part that confuses first-timers: for the first three to four weeks after transplant, the plant often just sits there, barely growing. That’s not failure. It’s the root system establishing before the top growth takes off. Resist the urge to dump extra fertilizer on it out of impatience, that usually backfires with lush leaves and no flowers.
Once roots are set, growth speeds up fast, and so does the risk from pests.
Problems That Actually Show Up on Poblanos
The most common issues are cultural, not exotic. Here’s what to watch for:
- Blossom end rot: dark, sunken patches on the fruit bottom, usually from irregular watering, not a lack of calcium. Fix the watering schedule first.
- Aphids and flea beetles: curled leaves or small holes in foliage. Spray them off with water or use insecticidal soap per the label, and check the undersides of leaves weekly.
- Blossom drop: flowers fall before setting fruit, usually from heat stress above 90°F or nights below 60°F. This corrects itself as temperatures moderate.
- Sunscald: pale, papery patches on fruit exposed to intense afternoon sun, more common if you’ve pruned too much foliage.
- Bacterial leaf spot: small dark spots with yellow halos on leaves, worse in wet, crowded conditions. Improve airflow and avoid overhead watering.
Most of these are preventable with the spacing and watering habits already covered, not a spray schedule.
Now for the part everyone gets a little wrong: the color of the fruit itself.
When and How to Harvest Poblano Peppers
If you assumed a poblano is “ripe” when it turns red, that guess isn’t wrong, it’s just not the whole story. Poblanos are fully mature and ready to eat green, usually 65 to 75 days after transplant, once they’ve reached 4 to 6 inches long with thick, glossy, dark green skin. That’s the classic poblano for stuffing and roasting.
Leave them on the plant longer, another 2 to 3 weeks, and they’ll ripen to a deep brick red or almost black-red. At that stage they’re sweeter, slightly hotter, and once dried become chile ancho, a completely different ingredient from the same pepper.
Harvest by cutting the stem with scissors or pruners rather than pulling, which can snap branches. Picking green fruit regularly actually encourages the plant to keep setting new peppers, so if you want maximum yield over the season, harvest at least some green rather than letting every fruit ride out to red.
A healthy plant, given good spacing and steady water, will keep producing until the first fall frost cuts it down.
Poblano Peppers at a Glance
- When to plant: transplant outside two to three weeks after your last frost, once soil is at least 65°F and nights stay above 55°F.
- Spacing and depth: 18 to 24 inches apart, planted at the same depth as the nursery pot.
- Sun and soil: 6 to 8 hours of direct sun, well-drained loamy soil, pH 6.0 to 6.8.
- Watering: about 1 to 1.5 inches per week, consistent rather than heavy and irregular.
- Days to harvest: 65 to 75 days from transplant for green fruit, another 2 to 3 weeks for red, ripe chile ancho stage.
- Common problems: blossom end rot and blossom drop from watering and heat stress, aphids and flea beetles, bacterial leaf spot in crowded, wet conditions.
- Harvest tip: cut, don’t pull, and pick some green to keep the plant producing all season.
Get the transplant timing right and give the roots those first slow weeks to settle in, and the rest of the season mostly takes care of itself.
Everything else is just watching the fruit and deciding how hot and how red you want it.