Here is how to grow tomatoes that actually produce: plant them two to three weeks after your last frost once nighttime temperatures stay above 50°F, give each plant 24 to 36 inches of space in full sun, bury the stem deep so roots form along it, and feed consistently once flowers appear. That is the whole arc in one sentence. Everything else is detail that decides whether you get a wheelbarrow of tomatoes or six sad ones.
Most first-timers lose the season in three specific spots: they plant too early because the garden center had plants out, they space too tight and spend July fighting disease instead of picking fruit, and they misread blossom drop or blotchy fruit as a fertilizer problem when it is almost always something else entirely. I will walk through all three.
Stick around for the section on the mistake that quietly ruins more tomato plants than any bug ever does, and the save-able Tomatoes at a Glance card at the very bottom with every number on one list.
When to Plant Tomatoes
Soil temperature matters more than the calendar. Tomatoes want soil at least 60°F, ideally pushing 65 to 70°F, and air that no longer drops near freezing at night. Planting the week of your last frost date because a chart said so is how you get a stunted purple-tinged plant that sits and sulks for a month.
In cooler zones (3 to 5), that usually means late May into June. In milder zones (7 to 9), it can mean April, and in the hottest zones you actually plant a spring crop early and a fall crop in late summer, skipping the worst heat.
If you started seeds indoors, harden them off over 5 to 7 days: a few hours outside the first day, building up to a full day and night before transplanting.
Get the timing right and the next decision, where exactly to put them, is what determines the rest of the season.
Choosing the Spot and Prepping the Soil
Tomatoes need six to eight hours of direct sun minimum. Anything less and you get a leggy plant with thin production, no matter how well you feed it.
They also want soil that drains. Heavy clay that stays soggy invites root rot before it invites tomatoes. Work in 2 to 3 inches of compost before planting, and if your soil is a slow-draining clay, raised beds or large containers solve more problems than any additive will.
A soil pH between 6.2 and 6.8 is the sweet spot. If you have never tested, a cheap soil test is worth doing once so you are not guessing at lime or sulfur additions.
Do not plant tomatoes where you grew tomatoes, peppers, eggplant, or potatoes last year if you can avoid it. Rotate that bed on a two to three year cycle to dodge soil-borne diseases that build up in one spot.
Soil and sun are the foundation, but how you actually put the plant in the ground is where most people shortchange themselves.
Planting Tomatoes Step by Step
This is the part everyone rushes, and it is the single biggest lever you have on root strength for the whole season.
1. Dig deeper than feels necessary
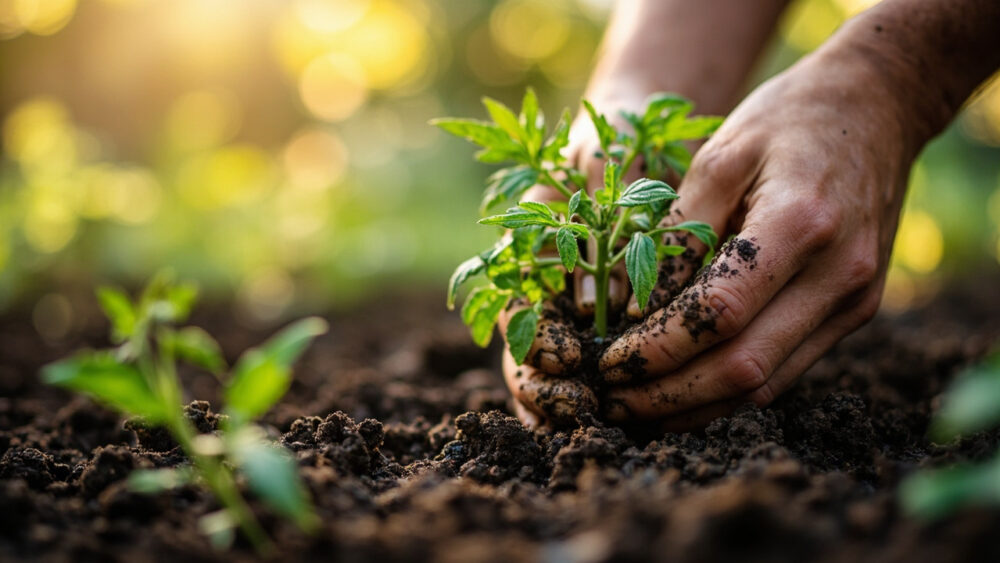
Dig a hole deep enough to bury two-thirds of the stem, removing the lower leaves first. Tomato stems grow roots anywhere they touch soil, so a deeply buried plant develops a much bigger root system than one planted at the same depth it came in.
2. Space for airflow, not just for looks
Give indeterminate (vining) varieties 24 to 36 inches between plants, and determinate (bushier) types 18 to 24 inches. Rows should be 3 to 4 feet apart. Crowding is the mistake that quietly wrecks the most gardens: tight spacing traps humidity around the leaves, and that humidity is exactly what fungal disease needs.
3. Set support at planting, not later
Install your cage, stake, or trellis the day you plant. Jamming a cage over a sprawling six-week-old plant tears roots and snaps branches.
4. Water in deeply
Soak the hole thoroughly right after planting, even if the soil looks damp already. This settles soil around the buried stem and root ball with no air pockets.
Get the planting right and watering becomes simple maintenance instead of damage control.
Watering and Feeding Through the Season
If you assumed yellow lower leaves mean the plant needs more water, that guess is wrong more often than it’s right, and overwatering in response is what actually kills the plant. Yellowing lower leaves are frequently a nitrogen or watering inconsistency issue, or just older leaves the plant is shedding as it grows, not a thirst signal on their own.
The real test is the soil, not the leaves. Push a finger 2 inches down. If it’s dry at that depth, water; if it’s still moist, wait a day.
Tomatoes want roughly 1 to 1.5 inches of water a week, delivered deeply and less often rather than a light daily sprinkle. Shallow frequent watering trains roots to stay near the surface, which makes the plant more drought-sensitive, not less.
On feeding: go light on nitrogen once flowering starts. Too much nitrogen gives you a jungle of leaves and few tomatoes. A fertilizer formulated for tomatoes, or a balanced feed with slightly more phosphorus and potassium than nitrogen, fed every 2 to 3 weeks once fruit sets, is the better move.
Mulch with 2 to 3 inches of straw or shredded leaves to keep soil moisture even, which matters more for fruit quality than almost anything you’ll add from a bottle.
Consistent watering is also your best defense against the problems coming in the next section.
Problems Most Likely to Strike
Most tomato trouble falls into a short list, and almost all of it traces back to water consistency, airflow, or soil contact.
Blossom end rot
Dark, sunken patches on the fruit’s bottom end. This is a calcium delivery problem caused by uneven watering, not usually a lack of calcium in the soil. Fix the watering rhythm before you reach for a calcium spray.
Blossom drop
Flowers fall off without setting fruit when nights run above 75°F or below 55°F, or during a heat wave. This is temperature stress, not a fertilizer failure, and it typically resolves once conditions moderate.
Early blight and septoria leaf spot
Brown or dark spots on lower leaves that spread upward, usually appearing after warm, humid stretches. Improve airflow through pruning and correct spacing, water at the soil line instead of overhead, and remove affected leaves promptly. A fungicide labeled for tomato leaf spot diseases can help if caught early; follow the product label exactly.
Hornworms and aphids
Hand-pick hornworms in the evening when they’re easiest to spot, and knock back aphids with a strong water spray or insecticidal soap per the label.
Head off the water and airflow issues early and disease pressure drops sharply for the rest of the season, which brings us to the part you actually clicked for.
When and How to Harvest
Tomatoes are ready when the fruit reaches full color for its variety and gives slightly to gentle pressure, still firm but no longer hard. That is usually 60 to 85 days from transplanting depending on variety, and color is the real cue, not size, since a tomato mostly stops growing before it starts ripening in earnest.
Twist gently or snip at the stem rather than yanking, which can tear the branch.
If a frost is coming and fruit is still green, pick everything showing a hint of color break and ripen it indoors on a counter, out of direct sun. Fully green fruit with zero color change often won’t ripen well off the vine, so those are better used green.
Peak harvest usually runs 6 to 8 weeks once production hits stride, and picking regularly actually encourages the plant to keep setting new fruit instead of putting all its energy into what’s already there.
Tomatoes at a Glance
- When to plant: two to three weeks after last frost, once soil hits 60 to 70°F and nights stay above 50°F.
- Sun and soil: six to eight hours direct sun, well-draining soil, pH 6.2 to 6.8.
- Planting depth and spacing: bury two-thirds of the stem, space 18 to 36 inches apart depending on variety, stake or cage at planting.
- Watering: 1 to 1.5 inches per week, deep and infrequent, check soil moisture 2 inches down before watering.
- Feeding: light on nitrogen once flowering starts, feed every 2 to 3 weeks with a tomato-formulated fertilizer once fruit sets.
- Watch for: blossom end rot and blossom drop from uneven watering or temperature swings, leaf spot diseases from crowding and wet foliage.
- Harvest: 60 to 85 days from transplant, when fruit reaches full color and gives slightly to gentle pressure.
Get the depth, spacing, and watering rhythm right and most tomato problems never show up at all. Everything else on this page is just fine-tuning around that.