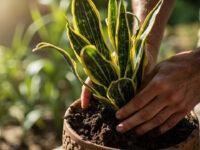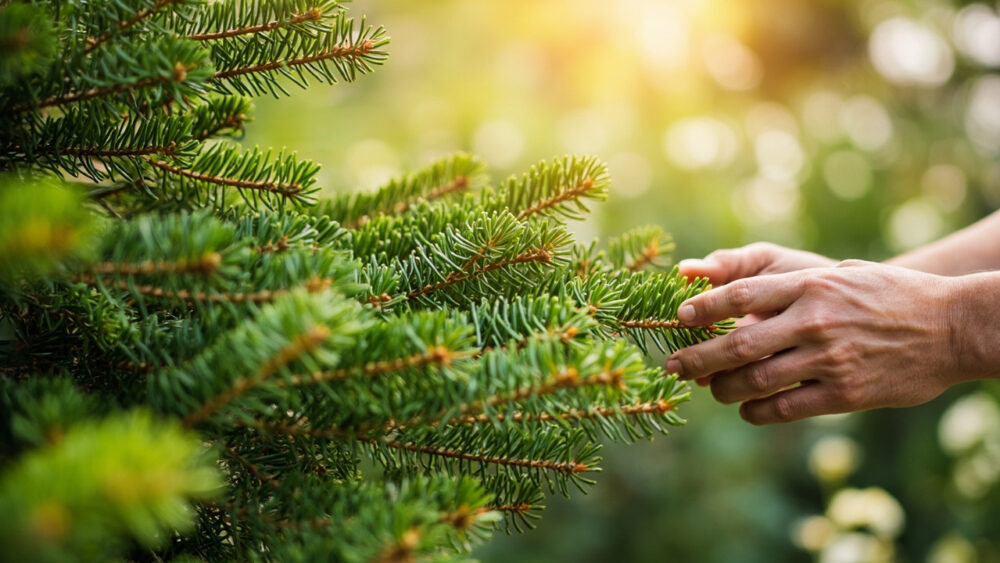
Norfolk Island pine care comes down to four things: bright, even light, evenly moist (never soggy) soil, cool humid air, and leaving the poor thing alone once it’s happy. Get those right and it will slowly turn into a soft-needled living Christmas tree that outlives your couch. Get one wrong, usually light, and it drops needles from the bottom up in a way you cannot reverse.
Here’s what trips people up. Most buyers meet this plant in December, decorated, sold as a tabletop Christmas tree, and treat it like a seasonal decoration instead of the slow-growing houseplant it actually is. That single misunderstanding causes most of the failures.
There’s also a sign almost everyone reads wrong when the lower branches start going brown and dropping, and an honest answer about whether you can fix a lopsided, reaching plant once it’s leaned toward the window for months. Both are below, along with a savable Norfolk Island Pine at a Glance card at the very bottom with the numbers you’ll actually want on your phone.
Light, Placement, and Temperature
Norfolk Island pines want bright, indirect to direct light, ideally a spot within a few feet of a south or west-facing window. Insufficient light is the number one killer, and it kills slowly enough that you won’t connect the cause and effect for months.
This is a plant from a subtropical island, not deep shade. It tolerates lower light for a while, then quietly starts dropping lower branches as payment.
Average room temperatures of 60 to 75°F suit it fine, but it does not like hot, dry blasts from heating vents or sitting against cold glass in winter. Keep it away from both.
Rotate the pot a quarter turn every week or two, since this tree leans hard toward its light source and will grow permanently crooked if you never turn it.
That lean is fixable early and it’s the first guessable thing worth clearing up now.
Watering: How Much, How Often, and How to Tell
Water when the top inch of soil feels dry to a finger poked in, then water thoroughly until it runs from the drainage holes. In an average indoor room that’s roughly once a week, less in winter, more in a hot, bright spot.
If you assumed browning needles mean the plant is thirsty, that guess kills more Norfolk pines than drought ever does. Brown, dropping lower branches are almost always a light or overwatering problem, not underwatering.
Soggy soil suffocates the roots and the plant responds by shedding branches from the bottom up, which looks exactly like a plant crying for water. Check the soil before you reach for the watering can.
- Soil dry an inch down and pot feels light: water now.
- Soil still damp, pot feels heavy: wait a few more days.
- Yellowing needles plus mushy or dark soil: pull back on water, check roots for rot.
Never let the pot sit in a saucer of standing water for more than an hour or two.
Humidity matters here too, and that’s the next thing most people skip entirely.
Humidity, Soil, and Feeding
Norfolk Island pines want humidity closer to 50 percent than the 30 percent most heated homes run in winter. Dry air causes needle browning and drop just as reliably as bad watering, which is why diagnosing “why is my Norfolk pine losing needles” almost always requires ruling out light, water, and humidity together, not picking one.
A pebble tray, a nearby humidifier, or grouping it with other plants all help. Misting gives a brief, minor bump and isn’t a real fix on its own.
Potting mix should be well-draining but moisture-retentive, a standard peat or coir-based houseplant mix with some perlite works well. It genuinely does not like heavy, dense soil that stays wet for days.
Feed monthly in spring and summer with a balanced, diluted liquid houseplant fertilizer, and stop entirely in fall and winter when growth slows way down.
Feeding a dormant plant doesn’t speed it up, it just risks burning roots that aren’t actively using the nutrients.
Pruning, Repotting, and Cleaning: The Routine Tasks
Here’s the honest answer to the question you’re about to ask: no, you cannot cut off the top and expect it to bush out like a fir tree. Norfolk Island pines grow from a single terminal bud, and if you top that leader, the plant will not regrow a new one. It will grow lopsided or stall out entirely.
So pruning is limited to removing branches that are already dead, brown, or damaged, cut back to the trunk. Leave the growing tip alone, always.
Repotting happens every two to three years, moved up just one pot size, done in spring when new growth is starting. This is a slow grower, typically gaining just a few inches a year indoors, so it doesn’t need or want frequent repotting.
Wipe dust off the needles occasionally with a damp cloth or a gentle lukewarm shower, since dust blocks light the plant is already short on.
That single-leader habit is also exactly why a lost lower branch never grows back, which matters for what comes next.
The Problems Most Likely to Strike
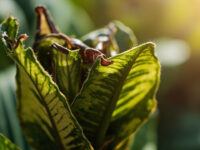
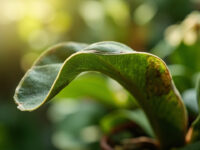
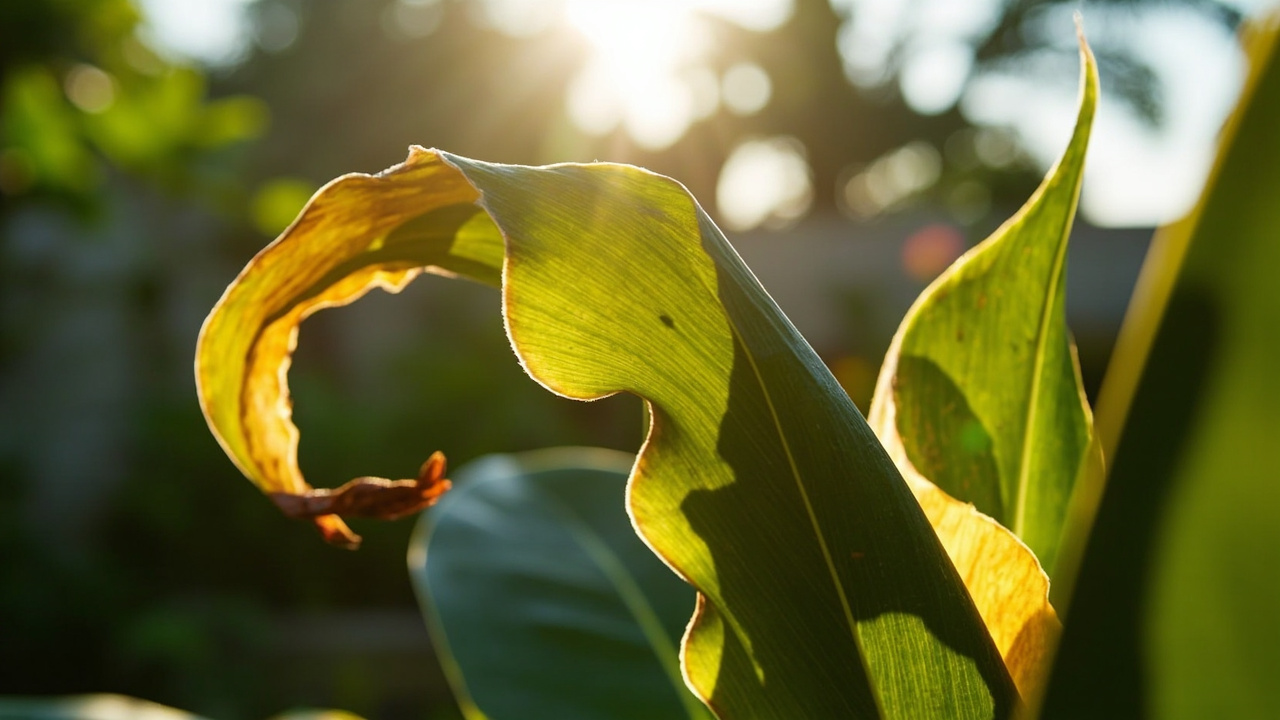
Browning, dropping lower branches top the list, and by now you know the real cause is almost always low light, overwatering, or dry air, sometimes all three stacked together. A branch that’s already brown and dropped will not regreen or regrow.
The fix is forward-looking: correct the light and watering, and accept the plant as it is above that point going forward.
Spider mites and mealybugs show up occasionally, usually on a stressed, dry plant. Look for fine webbing between needles or small cottony clusters at branch joints.
Treat with insecticidal soap or a horticultural oil, following the product label exactly, and isolate the plant from other houseplants while you deal with it.
Root rot from consistently wet soil is the other serious threat, showing up as yellowing needles, a mushy trunk base, or a sour smell from the pot.
Norfolk Island pine is considered mildly toxic to dogs and cats, so if a pet chews on the needles and you notice vomiting, drooling, or other signs of distress, call your veterinarian rather than waiting it out.
Catching problems early is easier once you know what a genuinely happy plant actually looks like.
Signs the Plant Is Genuinely Thriving
A thriving Norfolk Island pine pushes new soft, bright green growth at the tips, especially through spring and summer. The branches sit in that recognizable symmetrical, tiered pattern, evenly spaced all the way up.
Needles stay soft and pliable, not dry, brittle, or dropping in handfuls when you brush past it.
Steady, if slow, height gain year over year, roughly 4 to 8 inches annually indoors under good conditions, is the real long-term sign things are on track. This isn’t a plant that rewards impatience, it rewards consistency.
If yours matches that description, you’re doing everything right, and the only real “next task” is keeping it that way, which is exactly what the card below is for.
Norfolk Island Pine at a Glance
- Light: bright, indirect to direct light, within a few feet of a south or west-facing window, rotated a quarter turn every week or two.
- Temperature: 60 to 75°F, away from heating vents, drafts, and cold window glass.
- Watering: when the top inch of soil is dry, watered thoroughly until it drains, roughly weekly and less in winter.
- Humidity: around 50 percent, boosted with a pebble tray, humidifier, or grouping with other plants.
- Soil and feeding: well-draining, moisture-retentive houseplant mix, fed monthly with diluted balanced fertilizer in spring and summer only.
- Pruning: remove only dead or damaged branches, never cut the top growing tip, since it will not regrow.
- Repotting: every two to three years, one pot size up, in spring as new growth starts.
Get the light right and everything else gets easier, since most of this plant’s problems trace back to too little of it.
Leave that top growing tip alone no matter how tempting it is to shape the tree, and it will reward your patience for years.