The method that actually works for propagating Swiss cheese plant (Monstera deliciosa) is a stem cutting with at least one node and one aerial root, rooted in water or moist sphagnum moss until roots hit 1 to 2 inches long, then potted into soil. Skip the node and you get a dead stick in a jar, no matter how patient you are. That single detail is where most attempts go wrong before they even start.
The second failure point is less obvious: people root the cutting perfectly, then kill it at the potting-up stage by burying it too fast or in the wrong mix. There is also an honest answer to the question you are probably about to ask, which is whether you can just cut off a leaf and grow a new plant from it. You cannot, and I will tell you exactly why below.
Save the “Swiss Cheese Plant at a Glance” card at the bottom of this page once you are done reading. It has the timing, depth, and conditions in one place so you are not scrolling back through paragraphs while you have dirt on your hands.
Why Stem Cuttings Beat Every Other Method
Monstera deliciosa roots from nodes, the slightly swollen bumps on the stem where a leaf attaches and where you often see a brown or tan aerial root already reaching out. Every new root and every new leaf comes from a nodenever from the middle of a bare stem and never from a leaf blade on its own.
That is why a leaf with no node attached is a dead end. It will sit in water looking fine for weeks, sometimes months, and then rot without ever producing a root, because there is no node to produce one from.
Division works too, if your plant already has multiple stems coming from the soil, but most houseplant Monsteras are single-stem specimens where division simply is not an option.
Here is exactly what to cut and how to get it rooted without losing it.
Step by Step: Taking the Cutting and Rooting It
Choosing and taking the cutting
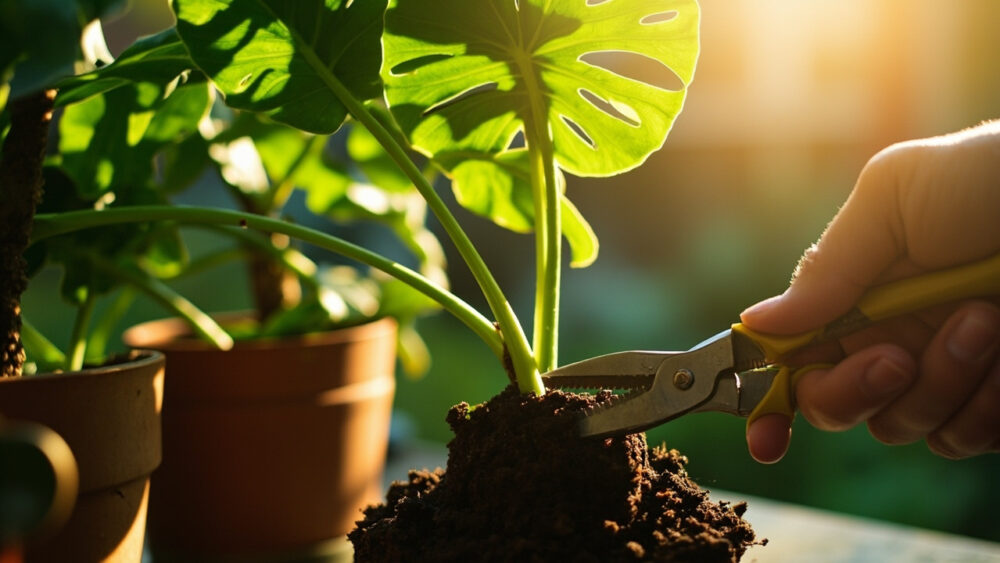
Pick a healthy vine with at least two or three nodes and a couple of mature leaves. Using clean, sharp shears, cut just below a node, leaving that node and its aerial root intact on the piece you keep.
A cutting with two nodes roots faster and gives you a fuller plant sooner than a single-node cutting, though a single node with a healthy aerial root will still root fine.
Rooting medium: water versus moss
Water rooting is the easiest to monitor. Submerge the node and aerial root in a jar of room-temperature water, keep the leaf above the surface, and change the water every 4 to 5 days to keep it from going stagnant and starving the new roots of oxygen.
Sphagnum moss rooting produces a root system that transitions to soil with less shock, because the roots never had to adjust from being fully submerged to being surrounded by damp mix. Dampen the moss until it is wet but not dripping, wrap it around the node, and tuck the whole thing into a small plastic bag or cup to hold humidity.
Conditions that actually matter
Bright, indirect light is non-negotiable. Direct sun will scorch a rooting cutting that has no root system yet to support the water loss, and low light will stall rooting for weeks past when it should be done.
Keep the water or moss in the 65 to 80°F range. Below 60°F, rooting slows to a crawl or stops.
Get the setup right and the timeline below is genuinely predictable, not a hopeful guess.
The Timeline: What to Expect Week by Week
Weeks 1 to 2: nothing visible happens, and this is the point where most people panic and start second-guessing the cutting. The node is quietly forming callus tissue and initiating root primordia under the surface. Resist the urge to disturb it to check.
If you assumed no visible change means it is failing, that assumption is what causes people to yank cuttings out and re-cut them, which resets the clock to zero.
Weeks 2 to 4: small white root nubs appear at the node, usually alongside or from the existing aerial root. In water they are easy to see through the glass; in moss you will need to gently peek.
Weeks 4 to 8: roots lengthen to 1 to 3 inches and start branching. Some cuttings throw a new small leaf during this window even before roots are fully developed, which looks promising but does not mean it is ready to pot.
Once roots hit that 1 to 2 inch mark consistently, you are ready for the next stage, and this is where the second big mistake usually happens.
Potting Up Without Losing the Roots You Just Grew
Move a water-rooted cutting to soil once roots are 1 to 2 inches long and there are at least two or three of them, not just one. Roots grown in water are more brittle and less efficient at pulling in soil moisture at first, so going too early sets the plant back hard.
Use a chunky, fast-draining mix, something like a standard houseplant potting soil cut with perlite or orchid bark at roughly a 2-to-1 ratio. Straight dense potting soil around fresh water-grown roots is a common way to smother them before they adapt.
Pot into a container only slightly larger than the root masswater it in well, then hold off on fertilizer for about 3 to 4 weeks while the roots settle into their new environment. Expect a slight sulk, some slowed growth or a bit of leaf droop, for the first week or two; that is normal transition stress, not failure.
Even a well-rooted cutting can still stall out here if a few specific things go wrong.
Why Most Attempts Actually Fail
Cutting with no node: this is the single most common failure, and it is the leaf-only cutting problem from the intro. No node means no tissue capable of producing roots, full stop, regardless of how long you leave it in water.
Stagnant water gone slimy: unchanged water breeds bacteria that rot the cut end before roots ever form. Change it every 4 to 5 days and rinse the jar each time.
Low light during rooting: a cutting on a dim shelf “to keep it safe” often just never roots. Bright indirect light is what powers the energy for new growth, cutting or not.
Potting up too early or too late: too early and thin roots snap or dry out. Wait far too long in water and the roots can struggle to adapt to soil texture at all. That 1 to 2 inch window is the sweet spot for a reason.
Cold rooting environment: a cutting on a chilly windowsill below 60°F can sit for months showing nothing, and it is not dead, it is just too cold to do anything.
Get past these five traps and propagating Monstera deliciosa is genuinely one of the more forgiving houseplant projects you can take on.
Swiss Cheese Plant at a Glance
- Best method: stem cutting with at least one node and, ideally, an existing aerial root attached.
- When to take cuttings: spring through summer, while the plant is actively growing and rooting is fastest.
- Rooting medium: room-temperature water changed every 4 to 5 days, or damp sphagnum moss kept consistently moist.
- Ideal conditions: bright, indirect light and a temperature range of 65 to 80°F, never below 60°F.
- Time to root: roughly 4 to 8 weeks to reach 1 to 2 inches of root growth.
- When to pot up: once roots are 1 to 2 inches long with two or three visible roots, into a chunky, fast-draining mix.
- Aftercare: skip fertilizer for the first 3 to 4 weeks and expect a brief sulk before new growth resumes.
The whole method comes down to one node, steady warmth, and patience through that quiet first two weeks. Get those three right and the roots take care of themselves.