Stem cuttings rooted in water are the fastest, most reliable way to propagate polka dot plant (Hypoestes phyllostachya). Snip a 3 to 5 inch piece just below a leaf node, strip the bottom leaves, and set it in water out of direct sun. Roots show up in 1 to 2 weeks, and you’ll have a plantable start in about 3 to 4 weeks total.
That part is simple. What trips people up is everything around it: the cutting that looks fine but never roots, the leggy mother plant that gives you weak cuttings to begin with, and the moment of potting up, which is where most of these propagations actually die.
Stick with me and I’ll walk through why this method beats the alternatives, exactly what to do at each stage, and the week-by-week timeline so you know what “normal” looks like versus “this one’s not making it.” There’s also a save-able Polka Dot Plant at a Glance card at the bottom with every number in one place.
Why Water-Rooted Stem Cuttings Beat the Alternatives
Polka dot plant roots fast and shallow, which is exactly why water propagation works so well on it. You can see the roots forming, which tells you when a cutting is ready instead of forcing you to guess by tugging on it.
Division works too, but only if your plant already has multiple distinct stems coming from the soil line, and honestly most people’s polka dot plants are single-stemmed and bushy from pinching, not naturally clumping.
Soil propagation is possible but slower and less forgiving. You can’t see what’s happening underground, and it’s easy to keep a stem too wet or too dry without knowing it until the leaves go limp.
Water is where this plant wants to root, so that’s where we’re starting.
Step by Step: Taking the Cutting
Choosing and cutting the stem
Pick a healthy stem with vivid, undamaged color and no flower spikes forming. Flowering stems (small purple-ish spikes) put energy into seed, not roots, and they root poorly.
Cut 3 to 5 inches from the tip, using clean scissors or snips, and cut just below a leaf node, that slightly swollen point where a leaf attaches.
Nodes are where root cells form, so a cutting with no node close to the bottom just sits in water doing nothing.
Prepping the cutting
Strip off the bottom 1 to 2 sets of leaves so no foliage sits underwater. Submerged leaves rot, and rotting leaves cloud the water and invite bacteria that kill the whole cutting.
Leave 2 to 3 sets of leaves up top for photosynthesis. That’s the cutting done.
Next comes the part where most people either overthink it or underthink it: the water and the light.
Rooting medium and conditions
Use a small glass or jar with room-temperature water, and place at least one full node below the surface. Set it in bright, indirect light, never direct sun, which will cook a leafy stem with no roots to support it.
Change the water every 2 to 3 days. Stagnant water is the single biggest silent killer here; it starves the cutting of oxygen and breeds rot long before you see any obvious sign of trouble.
Room temperature matters more than people think, ideally 65 to 75°F. Cold water slows rooting to a crawl.
Now let’s talk about what you should actually be seeing, week by week, so you know if you’re on track.
The Timeline: What to Expect Week by Week
Week 1: Nothing dramatic. The cutting may perk up or droop slightly for a day or two as it adjusts, then stabilize. No roots yet, and that’s normal.
Week 2: Small white nubs appear at the node, right where it sits underwater. These are the first roots. Don’t disturb the cutting to check on them constantly, just glance and change the water.
Week 3: Roots lengthen to half an inch or more, sometimes branching. New leaf growth at the tip is a strong sign the cutting has enough root mass to support itself.
Week 4: Roots reach 1 to 2 inches with some branching. This is your potting-up window, and waiting much longer in water actually works against you.
That last point is the one almost everyone gets backward, and it’s worth its own section.
If You Assumed Longer in Water Means Stronger Roots, That’s the Mistake
It seems logical: more time in water, more roots, safer transition. In practice, water roots are a different texture and structure than soil roots.
The longer they sit submerged, the more they specialize for water and the harder they adjust to soil, and past the 4 to 5 week mark you start seeing roots that struggle, brown, or even rot once potted.
The honest window is 1 to 2 inches of root length, not a certain number of weeks. Check the roots, not the calendar.
Once you hit that window, it’s time to get this thing into a pot before those roots start working against you.
Potting Up: The Step That Actually Kills Most Propagations
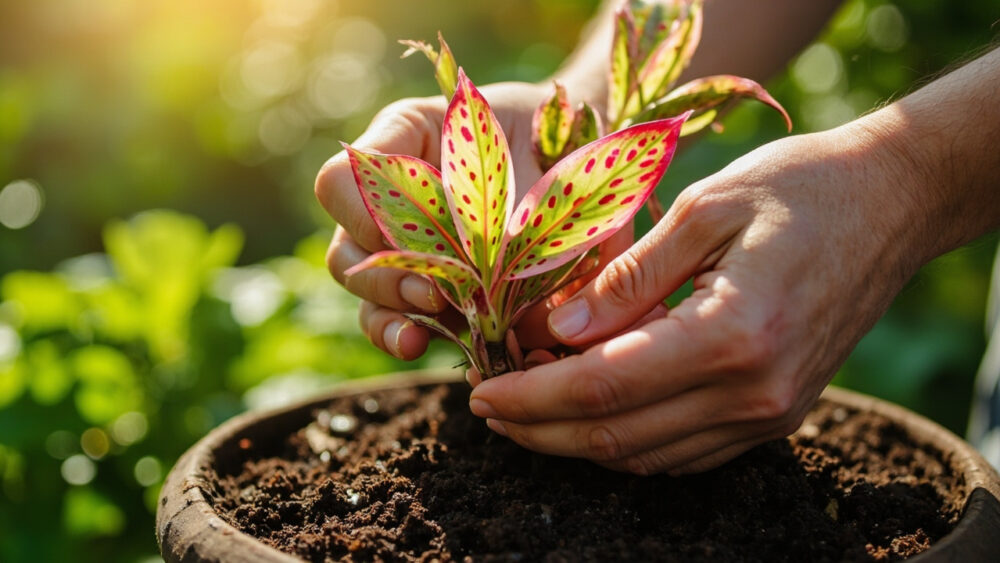
Use a well-draining potting mix, a standard indoor potting soil with some perlite mixed in works fine, in a small pot with drainage holes, 3 to 4 inches across is plenty for a single cutting.
Make a hole with your finger, set the roots in gently, and firm soil around the stem so it stands upright without support.
Water immediately after potting, then keep the soil consistently moist, not soggy, for the next 10 to 14 days while the plant switches from water roots to soil roots.
This transition period is fragile. Expect some droopiness or even a few dropped lower leaves in the first week, that’s the plant adjusting, not necessarily dying.
What kills cuttings here isn’t usually the transition itself, it’s what happens in the days right after.
Why Most Attempts Fail (and It’s Rarely the Water Step)
If your cutting rooted fine in water and then died within two weeks of potting, the water step wasn’t the problem. Look at these instead:
- Direct sun right after potting: a stem with fresh, tender roots can’t handle strong light yet. Keep it in bright indirect light for at least 2 to 3 weeks post-potting.
- Soil kept bone dry: new soil roots are far more sensitive to drying out than the mother plant’s established roots. Check soil moisture daily for the first two weeks.
- Pot too large: a big pot holds excess moisture around roots that can’t yet use it all, which invites rot. Small pot first, size up later.
- Skipping the strip-the-leaves step: submerged foliage rotting in the water jar is the most common reason a cutting never roots at all.
Fix those four things and your success rate on this plant goes from hit-or-miss to reliably good.
Now, the part worth saving.
Polka Dot Plant at a Glance
- Best method: stem cuttings rooted in water, 3 to 5 inches long, cut just below a leaf node.
- Rooting time: visible roots in 1 to 2 weeks, ready to pot at 1 to 2 inches of root length, usually week 3 to 4.
- Water care: change every 2 to 3 days, room temperature 65 to 75°F, bright indirect light, no direct sun.
- Potting mix: well-draining potting soil with perlite, small pot 3 to 4 inches with drainage holes.
- Aftercare: keep soil consistently moist for 10 to 14 days post-potting, bright indirect light only.
- Avoid: letting roots grow past 5 weeks in water, submerged leaves rotting the water, direct sun on fresh transplants.
- Toxicity note: polka dot plant is generally considered non-toxic, but if a pet shows unusual symptoms after chewing on it, call your veterinarian rather than waiting it out.
Get the node underwater, keep the water fresh, and pot up the moment roots hit an inch or two, not a day later.
Everything else about this plant is forgiving, that one timing window is the whole game.