The method that actually works for how to propagate hoya is a stem cutting with at least one node and a leaf pair, rooted in water or damp perlite, kept warm and out of direct sun until roots hit an inch or two long. Most failures are not about skill, they are about cutting in the wrong spot or rushing the pot-up. Hoya roots slowly compared to most houseplants, and patience matters more than technique here.
There is one mistake that tanks more hoya cuttings than anything else, and it has nothing to do with light or water. There is also a sign everyone misreads around week three that makes people yank a perfectly good cutting and toss it. And there is an honest answer to the question you are already forming: why does everyone else’s hoya look like it is rooting so much faster than yours.
Stick with this and you will get the full method, the week by week timeline, the honest failure points, and a save-able Hoya at a Glance card at the very bottom you can screenshot before you go touch your plant.
Why Stem Cuttings Beat Every Other Method
Hoya can technically be grown from seed, but seed is slow, often not true to the parent, and rarely what a home grower has access to. Division works for clumped varieties but most hoya do not clump, they vine.
A stem cutting with a node is where roots actually form, since that swollen little bump on the stem is packed with the dormant tissue that turns into roots when conditions are right. Leaf-only cuttings without a node will sometimes sit alive for a year and never root, which is the single most common heartbreak in hoya propagation.
Next up is exactly where to cut and how, because this is the step most people get slightly wrong.
Step by Step: Taking the Cutting
Choose and Cut the Stem
Pick a healthy vine with at least two nodes, ideally with a leaf pair still attached near the top node. Cut about half an inch below a node using clean, sharp scissors or a blade, so the resulting cutting has one bare node at the base and one leaf pair above it.
Two-node cuttings root faster than single-node ones and give you a backup if the first node stalls. Let the cut end sit out for 15 to 30 minutes to callus slightly, especially if there is heavy latex sap, which hoya are known for.
Choose Your Rooting Medium
Water is the easiest and most visual option: submerge the bare node, keep the leaf pair above the waterline, and change the water every 4 to 5 days. Perlite or a perlite and sphinx moss mix roots slightly slower to look at but often produces sturdier roots that transition to soil with less shock.
Either works, and the real decision point comes down to conditions, which is where most people quietly sabotage themselves.
The Conditions That Actually Matter
Hoya cuttings want bright, indirect light, warmth around 70 to 80°F, and humidity on the higher side. Direct sun on a leafing cutting will scorch it before it ever roots, and a cold windowsill in winter can stall rooting for months with zero visible change.
If you assumed more light speeds things up, that guess is what leaves a lot of cuttings sitting stagnant on a hot sunny sill going nowhere. The real lever is warmth and consistency, not brightness. A spot on top of the fridge or near a heat vent, out of direct sun, will out-root a bright cold windowsill every time.
Get the conditions right and the waiting game becomes almost boring, in the best way.
Week by Week: What to Actually Expect
Weeks 1 to 2: nothing visible happens, and this is normal, not failure. The cutting is callusing and the node is quietly waking up.
Weeks 3 to 4: this is where the misread sign shows up. Small white or pale nubs appear at the node, and a lot of people mistake these for mold and wipe them off or toss the cutting.
Those nubs are root initials, the very first root growth. Leave them alone.
Weeks 5 to 8: roots lengthen to half an inch, then an inch or two. New leaf growth at the tip is a good secondary sign, though some hoya varieties root fully before pushing any new leaf at all.
Once roots are consistently 1 to 2 inches long across more than one root, you are cleared for the next step.
Potting Up or Planting Out
Wait until roots are at least 1 to 2 inches long before potting into soil, ideally with two or three roots at that length, not just one. Potting too early is the second-biggest cause of lost cuttings, since a single thread-thin root snaps easily and the whole cutting has to start over.
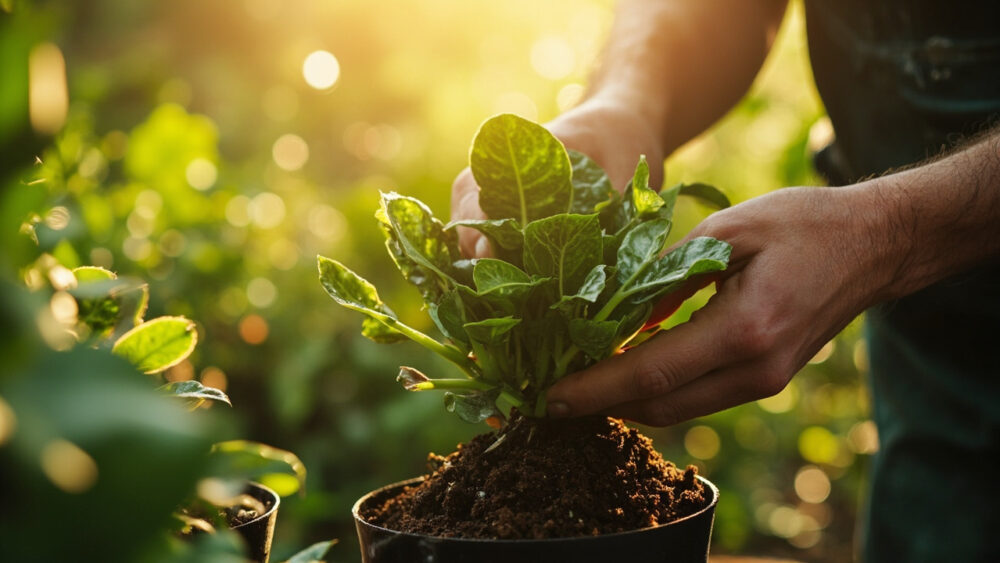
Use a chunky, fast-draining mix, something like a standard potting soil cut with perlite and orchid bark at roughly equal parts. Hoya are epiphytic by nature and hate sitting in dense, wet soil.
Pot into a container barely bigger than the root mass, water it in once, then hold off on watering again until the top inch or two of soil is dry, usually 5 to 9 days depending on humidity. Overwatering a freshly potted cutting is a fast way to rot the very roots you just waited two months for.
Getting it into soil safely is only half the battle, the other half is knowing why cuttings actually die.
Why Most Hoya Cuttings Fail
The number one killer is a leaf-only cutting with no node, which can survive for months on stored energy and never produce a single root. If your cutting has no visible node, it is not a matter of waiting longer, it will not root, and it is worth starting over with proper material.
The second killer is rot, usually from water that sits unchanged too long or a node buried too deep in wet soil before roots exist to support it. Change water regularly and never bury the leaf pair.
Third is impatience, potting up before roots can hold, or giving up around week three when nothing visible is happening yet. Hoya root on their own schedule, and rushing or panicking at either end costs more attempts than any pest or disease does.
Avoid those three and your odds go up dramatically, which brings us to the part you came here to save.
Hoya at a Glance
- Best method: stem cutting with at least one node and a leaf pair attached, taken with a clean cut about half an inch below the node.
- Rooting medium: water, changed every 4 to 5 days, or a perlite and sphagnum moss mix for slightly sturdier roots.
- Ideal conditions: bright indirect light, no direct sun, warmth around 70 to 80°F, higher humidity if possible.
- Timeline: no visible change for 1 to 2 weeks, root nubs by weeks 3 to 4, roots 1 to 2 inches long by weeks 5 to 8.
- When to pot up: once at least two or three roots reach 1 to 2 inches long, not before.
- Potting mix: fast-draining, roughly equal parts potting soil, perlite, and orchid bark.
- Biggest mistakes: cutting with no node, letting water go stagnant, potting up too early, giving up before week three.
If you only remember one thing, remember the node, no node means no roots no matter how long you wait.
After that, it is just warmth, patience, and resisting the urge to pot up too soon.