The method that actually works is a stem cutting with at least one node and one aerial root, rooted in water or damp sphagnum moss until roots hit an inch or two long, then potted into soil. Skip the node and you get a cutting that just sits there rotting instead of rooting, no matter how patient you are. That’s how to propagate monstera adansonii in one sentence, and the rest of this is the detail that determines whether it actually works.
Most failed attempts fail for the same avoidable reason, and it’s not the one people blame. It’s also not always obvious which sign means “rooting” and which means “rotting,” and the two look uncomfortably similar for the first couple weeks. Stick around for the week-by-week timeline and the honest list of what kills most cuttings, and save the Monstera Adansonii at a Glance card at the bottom for the numbers you’ll want later.
Why Stem Cuttings Beat Every Other Method
You can technically divide a monstera adansonini at the roots if you have a mature, multi-stemmed plant, but division sets a plant back hard and only works if there are already separate crowns to split. Stem cuttings are faster, less risky, and let you multiply one plant into several. Leaf-only cuttings without a node are the trap beginners fall into, because a bare leaf can survive for months in water while doing absolutely nothing, since there’s no growth point to produce roots from.
The node, that slightly swollen bump on the stem where a leaf or aerial root emerges, is the only place new roots and new growth can come from.
Taking the Cutting
Find the right spot on the vine
Look for a section of stem with at least one leaf, one node, and ideally a visible aerial root, that little brown or tan nub poking out near a leaf joint. Aerial roots aren’t decoration. They’re a hint about where the plant already wants to root.
Make the cut
Using clean, sharp scissors or pruning snips, cut about a half inch below the node. A two-node cutting with two or three leaves roots faster and gives you a fuller plant sooner than a single-node cutting, though a single node with one leaf will still root if that’s all you’ve got.
The cut itself takes ten seconds, but where you make it decides whether the whole thing works.
Rooting Medium and Conditions
Water is the easiest to watch and the most common choice. Submerge the node and aerial root in a jar of room temperature water, keep the leaf above the surface, and change the water every four to five days to keep it from going stagnant and starving the cutting of oxygen.
Sphagnum moss is the better choice if you want sturdier roots that transition to soil with less shock. Dampen the moss until it’s wet but not dripping, wrap it around the node, and tuck it into a small container or bag with a few airflow gaps.
Either way, place the cutting somewhere with bright, indirect light and keep the temperature between 68 and 80°F. Cold windowsills below 60°F slow rooting to a crawl or stop it entirely.
The medium matters less than most people think; the consistency of moisture and warmth matters more.
Week by Week: What to Actually Expect
In week one, nothing visible happens, and that’s normal, not a failure. The cutting is calloused over the cut and starting cellular changes you can’t see yet.
Weeks two to three bring small white or pale root nubs emerging from the node, sometimes from the aerial root itself. This is the stage most people misread. A slightly soft, translucent white root is healthy. A brown, mushy, foul-smelling stem is rot, and no amount of waiting fixes it.
By weeks four to six, roots should be one to two inches long with visible branching. You may also see a new leaf starting to unfurl, which is a strong sign the cutting has enough root mass to support growth.
If you’re past six weeks with zero root activity and the stem still looks firm and green, patience is still the right call, some cuttings just move slower in lower light or cooler rooms.
Once roots hit that one to two inch mark, the cutting is ready for the next decision.
Potting Up: Timing and Technique
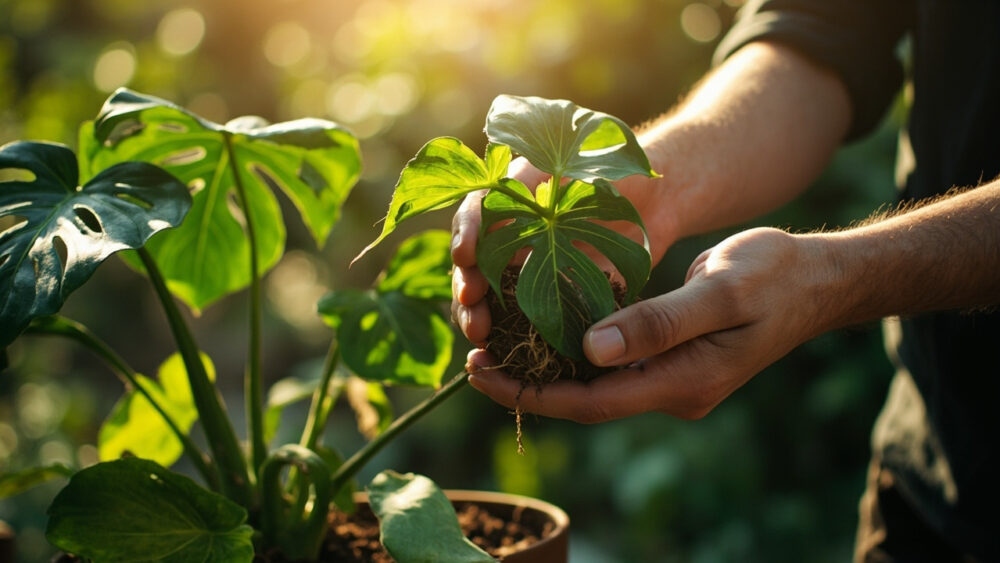
Move a water-rooted cutting to soil once roots are one to two inches long, ideally with a few branching side roots rather than one long single root. Roots grown in water are adapted to water and need a short adjustment period in soil, so keep the soil consistently moist, not soggy, for the first two to three weeks after potting.
Moss-rooted cuttings transition more easily since they’re already used to a solid medium. You can pot the whole moss ball directly into soil without unwrapping it.
Use a well-draining aroid mix, something with bark, perlite, and a bit of peat or coir, in a pot with drainage holes only one size up from the root ball. A pot that’s too large holds excess moisture the small root system can’t use, which invites rot right when the cutting is most vulnerable.
Water thoroughly after potting, then let the top inch of soil dry before watering again.
Getting the cutting into soil is only half the job, since most losses actually happen before this point.
Why Most Attempts Actually Fail
If you assumed a cutting fails because of bad luck or a weak plant, that’s rarely it. The real causes are specific and fixable.
- No node included: a leaf with no node will not root, ever, no matter how long it sits in water.
- Water gone stagnant: uncirculated, unchanged water breeds bacteria that rot the stem before roots form.
- Low light: a cutting in a dim corner can survive for months without ever committing energy to root growth.
- Potting up too early: tiny, barely-formed roots get damaged easily when moved into soil too soon.
- Cold rooms: below 60°F, cellular activity slows enough that rooting can stall for weeks.
Fix those five things and this becomes one of the more forgiving houseplants to propagate.
Here’s the card worth screenshotting before you put the phone down and go make the cut.
Monstera Adansonii at a Glance
- Best method: stem cutting with at least one node and, ideally, one visible aerial root.
- When to take cuttings: anytime indoors, but spring and summer growth periods root fastest.
- Rooting medium: water, changed every four to five days, or damp sphagnum moss for sturdier roots.
- Ideal temperature: 68 to 80°F, avoid rooting below 60°F.
- Light: bright, indirect light, never direct sun on a bare cutting.
- Ready to pot: roots one to two inches long with visible branching, usually four to six weeks in.
- Soil after potting: well-draining aroid mix, moist but not soggy for the first two to three weeks.
The node is everything, and patience through that first quiet week is what separates a rooted cutting from a rotted one.
Get those two things right and the rest of the process pretty much takes care of itself.