The method that actually works for propagating philodendron is a stem cutting with at least one node, rooted in water or damp sphagnum moss, kept warm and out of direct sun until roots hit an inch or two long. That is the whole trick. No rooting hormone required, no fancy setup, just a clean cut, the right node, and patience measured in weeks, not days.
Here is where most people lose the plant before they even start: they cut a piece with no node on it, or they cut just above one instead of below it, and then wonder for a month why nothing happens. There is also a sign everyone misreads, a cutting that looks perfectly green and alive can still be quietly rotting at the base underwater, and by the time the leaves droop it is often too late to save it.
Stick with me through the steps, the week by week timeline, and the honest list of what kills most attempts, and at the bottom you will find a save-able Philodendron at a Glance card with everything worth remembering next time you are standing over the plant with scissors in hand.
Why Stem Cuttings Beat Every Other Method
Philodendrons root from stem nodes, full stop. That little bump on the stem, often with a small brown nub or aerial root already forming, is where new roots emerge. No node, no roots, no matter how long you leave the cutting in water.
You can divide a philodendron at the roots if it has multiple crowns growing from the soil, and that works fine for clumping types. But for vining types like heartleaf philodendron, pothos-style climbers, and most of the popular trailing varieties, a stem cutting with a node is faster, easier, and has a far higher success rate than trying to split a root ball.
Leaf cuttings without a node are a dead end. A leaf alone, no matter how healthy, has no growth point and will eventually just rot.
The node is everything, and the next section shows you exactly where to cut relative to it.
Step by Step: Taking the Cutting
Find and Cut at the Right Spot
Look for a node, the slightly swollen point on the stem where a leaf attaches, sometimes with a small brown aerial root already poking out. Cut about a half inch below that node, using clean, sharp scissors or a knife. A cutting with two or three nodes and two or three leaves roots faster and gives you more chances if one node fails.
Trim off the bottom leaf or two near the cut end so no leaf tissue sits underwater or buried in moss. Leaving lower leaves on is one of the quiet ways rot starts.
Choose Your Rooting Medium
Water works well and lets you watch root development, which is satisfying and useful for beginners. Sphagnum moss, kept damp but not soggy, tends to produce sturdier roots that transition to soil with less shock.
Either way, submerge or bury only the node and the bare stem below it, never the leaves.
Set Up the Conditions
Bright, indirect light and warmth in the 65 to 80°F range root cuttings fastest. Direct sun on a water-propagated cutting heats the water and can cook the stem.
Change water every 4 to 6 days if propagating in water, since stagnant water is where rot moves in fast.
Get the cut right and the medium right, and the next question is simply how long you wait.
The Timeline: What to Expect Week by Week
Week one usually shows nothing visible, though the cut end is callousing over and the node is waking up internally. Do not panic and do not tug on it to check.
By week two to three, small white or pale root nubs typically emerge from the node, often just a few millimeters. In moss, you may not see this until you gently dig with a finger.
Week four to six is when roots lengthen to an inch or more and you may see a new leaf starting to unfurl, which is the real signal of a successfully rooted cutting.
Some varieties, especially thicker-stemmed ones like Philodendron selloum types, can take 6 to 8 weeks. Thin-stemmed heartleaf types often root in 3 to 4 weeks.
Once roots reach that inch-plus mark, resist the urge to leave it rooting even longer for insurance.
When and How to Pot Up
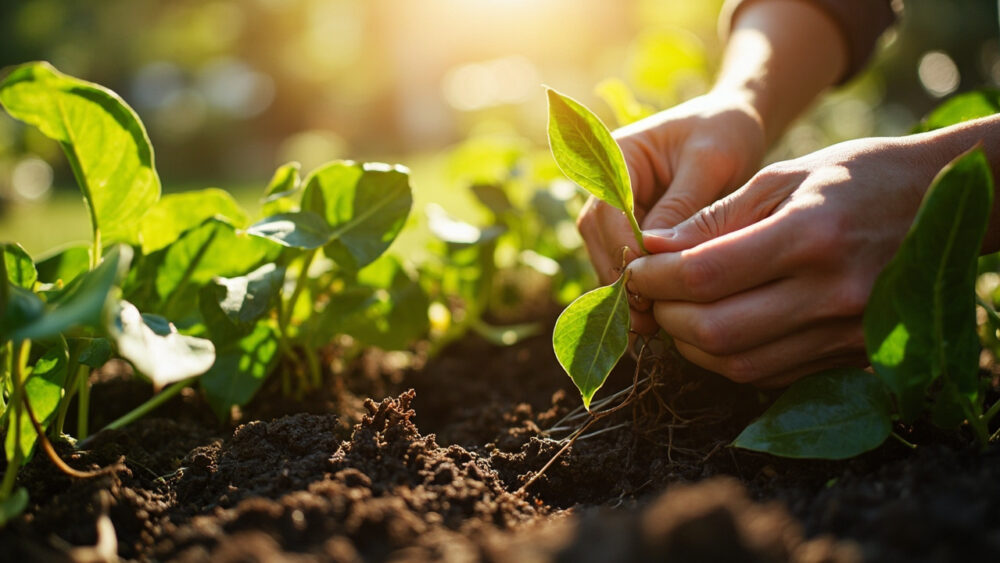
Pot up once roots are 1 to 2 inches long, ideally with two or three individual roots rather than just one thread. Waiting much longer in water actually works against you, since water roots are structurally different from soil roots and adjust better to soil while still young and thin.
Use a well-draining houseplant mix, a 4 to 6 inch pot depending on cutting size, and plant so the node and any existing roots are fully covered, leaves above the soil line. Water thoroughly right after potting.
Keep humidity a bit elevated for the first one to two weeks, a loose plastic bag or clear cover helps, removed for an hour daily so it does not turn into a mold farm.
Expect a short sulk, a leaf or two might yellow as the plant shifts from water roots to soil roots, and that is normal, not failure.
The sulk phase is exactly where the next mistake usually happens.
Why Most Attempts Actually Fail
If you guessed that most failures come from not enough light, that is a reasonable guess and it is usually wrong. The bigger killer is rot from a leaf or node sitting in stagnant, unchanged water for weeks, or from moss kept soaking wet instead of just damp.
The second big killer is impatience at the pot-up stage, moving a cutting with barely a root nub into soil, where it dries out faster than water and the fragile new root simply shrivels.
- No node in the cutting: nothing will ever root, restart with a proper cut.
- Mushy, brown, smelly stem base: rot has set in, cut above the rot on a fresh node if any healthy stem remains.
- Water never changed: bacteria buildup suffocates the developing roots.
- Cold windowsill or drafty spot: below about 60°F, root growth nearly stops.
- Potted up too early: hair-thin roots snap or dry out in soil before they can establish.
Avoid those five and the odds tilt heavily in your favor, which brings us to the part worth saving.
Philodendron at a Glance
- Best method: stem cutting with at least one node, rooted in water or damp sphagnum moss.
- Where to cut: about half an inch below a node, keeping two to three leaves and trimming off any leaf that would sit underwater.
- Ideal conditions: bright indirect light, 65 to 80°F, water changed every four to six days if not using moss.
- Timeline: visible roots by two to three weeks, one to two inches of root and often a new leaf by four to six weeks.
- When to pot up: once roots reach one to two inches long with more than one root thread, into a well-draining mix.
- Biggest risk: rot from stagnant water or oversoaked moss, not lack of light.
- Aftercare: mild humidity boost for the first one to two weeks, expect a short sulk as roots adjust to soil.
Get the node right and change the water on schedule, and philodendron practically propagates itself.
Everything else on this list is just insurance against the two mistakes that actually end most attempts.