Satin pothos leaves curling almost always means the plant is thirsty, either because the soil actually dried out too far or because the roots can’t take up water even though the soil looks fine. Check the soil two inches down before you do anything else. If it’s bone dry, water it well and most leaves will relax within a day or two.
Here’s the part that trips people up: everyone blames low humidity first, and for satin pothos (Scindapsus pictus, that velvety silver-splashed plant that gets lumped in with true pothos but isn’t one) that’s usually not it. This plant tolerates average home humidity just fine. The real culprits are almost always about the roots, the water, or something chewing on the leaves.
The exact way the leaves curl, and which leaves curl first, tells you which of those it is. Stick with this and you’ll get a save-able diagnosis checklist at the bottom you can run in two minutes standing right at the pot.
Causes, Most to Least Likely
1. Underwatering or a root ball that’s dried into a brick
Confirm it: push a finger two inches into the soil. If it’s dry at that depth, or the pot feels suspiciously light, this is your cause. Peat-heavy mixes often shrink and pull away from the pot’s edge when this happens, leaving a visible gap.
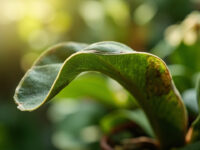
Leaves curl inward lengthwise, almost like a taco, and often feel slightly leathery or limp rather than crisp.
Fix: water thoroughly until it runs from the drainage holes, let the pot sit in the runoff for ten minutes, then dump the excess. If the root ball has shrunk and water just runs down the sides without soaking in, sit the whole pot in a few inches of water for 20 to 30 minutes to rehydrate it properly.
But an underwatered plant and an overwatered one can look confusingly similar at first glance.
2. Overwatering and root rot
Confirm it: soil that’s wet or soggy more than an inch down, a sour or swampy smell, or roots that look brown and mushy instead of firm and white when you slide the plant out of the pot. Curling leaves paired with yellowing and a soft, almost translucent feel point here.
This is the one people misdiagnose as underwatering and then make worse by watering again.
Fix: stop watering immediately. Unpot the plant, trim away any brown or mushy roots with clean scissors, and repot into fresh, fast-draining mix in a pot with real drainage holes. Water only when the top two inches are dry going forward.
If the roots checked out firm and white, the answer is somewhere else entirely.
3. Too much direct sun or heat stress
Confirm it: curling shows up on the side of the plant facing a window, especially a south or west one, and leaves may also show bleached, papery, or brown patches. It tends to happen fast, sometimes within a day of a hot afternoon.
Satin pothos likes bright, indirect light. Direct summer sun through unfiltered glass is genuinely too much for it.
Fix: move the plant back from the window a few feet, or add a sheer curtain between the plant and the glass. Damaged leaves won’t uncurl, but new growth will come in fine once light levels drop.
If sun isn’t the issue, check what’s actually feeding on the plant before you blame the water again.
4. Spider mites or thrips
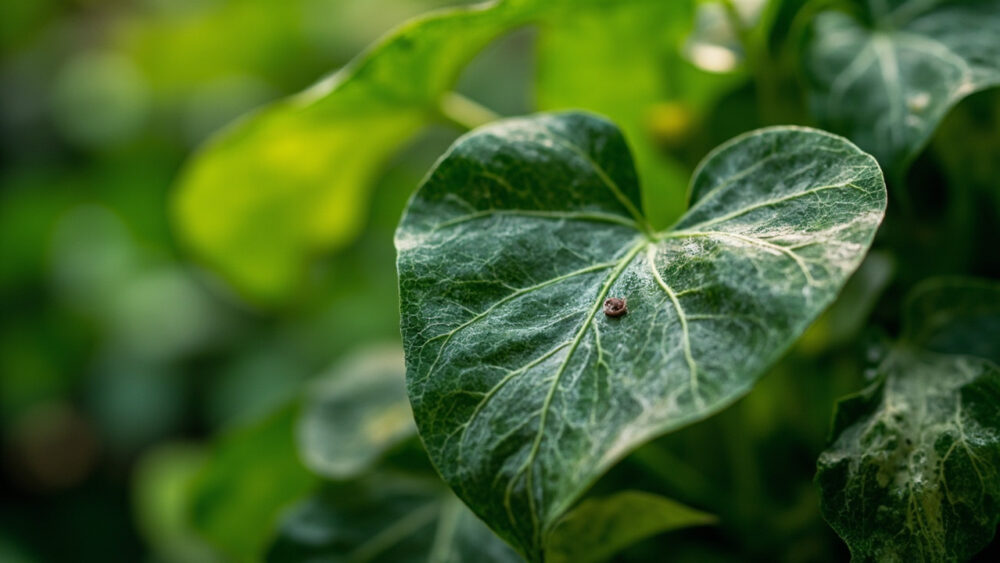
Confirm it: flip the leaves over and check the undersides and stem joints with a bright light, ideally a phone flashlight held at an angle. Look for fine webbing, tiny moving specks, or a stippled, dusty look on the leaf surface. Curling here is often paired with a dull, sickly sheen rather than healthy gloss.
These pests thrive in warm, dry indoor air, which is exactly what most houseplants sit in during winter.
Fix: isolate the plant from your other houseplants right away. Rinse the leaves thoroughly under running water, then treat with insecticidal soap or a horticultural oil, following the product label exactly on timing and repeat applications. Most infestations need two to three treatments a week or so apart.
If you don’t see pests but the roots and light both check out, it’s probably chemistry, not creatures.
5. Fertilizer buildup or a nutrient problem
Confirm it: a crusty white or tan crust on the soil surface or around drainage holes, especially if you fertilize on a strict schedule without ever flushing the pot. Leaf edges may look scorched or curled and brittle rather than soft.
This builds slowly, so it tends to show up on older, established growth first rather than everywhere at once.
Fix: flush the pot with plain water equal to two or three times the pot’s volume, letting it drain fully each time, to wash out excess salts. Cut fertilizer to half strength and only during active growth going forward.
Once you’ve ruled these in or out individually, the pattern across the whole plant usually makes the real cause obvious.
How to Tell the Causes Apart
Where it starts matters more than most people think. Underwatering and mite damage tend to hit older, lower leaves first. Overwatering often shows up as yellowing plus curling anywhere on the plant, sometimes worst on newer growth if roots are badly damaged. Sun scorch is one-sided, only the window-facing leaves.
Texture is the other giveaway. Crisp and dry means water or sun. Soft, mushy, or yellow-tinted means rot. Dusty, dull, or webbed means pests.
Now that you can name it, here’s what actually happens next for each one.
Will It Recover?
Underwatering has the best odds. Leaves that are simply curled from thirst usually plump back up within a day or two of a good soak, and no leaves are permanently lost unless they’d already crisped brown.
Overwatering and root rot are more serious. If you catch it early and the roots are still mostly white, expect a full recovery over three to six weeks with a repot and drier habits. If most of the root system was brown mush, cut your losses on that plant and take stem cuttings from any healthy-looking vine to start fresh.
Sun scorch and pest damage share the same honest truth: damaged leaves stay damaged. They will not uncurl or heal. What you’re really doing is stopping new damage and waiting for new growth to replace the old.
Fertilizer buildup resolves within a few weeks of flushing, though scorched leaf tips are permanent and will just get trimmed off or grow out over time.
Recovery speed aside, the better goal is not needing to diagnose this again next month.
How to Keep It From Happening Again
Water on the soil, not the calendar. Check two inches down with a finger before every watering instead of watering on a fixed schedule. Satin pothos likes to dry out somewhat between waterings, more than a lot of tropical foliage plants.
Use a pot with drainage holes, always. A cachepot without a hole is where most root rot starts.
Keep it in bright, indirect light rather than a sunny sill, and inspect leaf undersides every couple of weeks so mites or thrips get caught early, before webbing shows up.
If you fertilize, flush the pot with plain water every couple of months to prevent salt buildup, especially if you’re on municipal water with added minerals.
With those habits in place, run through the checklist below any time curling shows up again.
Diagnosis Checklist
- Push a finger two inches into the soil: if it’s dry and the leaves feel leathery, water thoroughly and expect recovery in one to two days.
- If the soil is wet or smells sour, unpot the plant and check the roots: white and firm means repot into drier mix, brown and mushy means trim rot or take cuttings to restart.
- Check which side of the plant is curling: one side facing a bright window points to sun scorch, move it back several feet.
- Flip several leaves and inspect the undersides with a flashlight: webbing or tiny specks mean mites or thrips, isolate the plant and treat per the product label.
- Look for white or tan crust on the soil surface: if present, flush the pot with two to three times its volume in plain water and ease off fertilizer.
- Note whether it’s old leaves or new leaves curling: old leaves first usually means water or pests, new leaves curling with yellowing usually means root damage.
- If everything above checks out clean, wait a few days and recheck: sometimes it’s just one dry-down cycle correcting itself.
Most curling satin pothos leaves are fixable once you know which of these five things you’re actually looking at.
Run the checklist once, fix the real cause, and the next flush of leaves should come in flat and glossy.