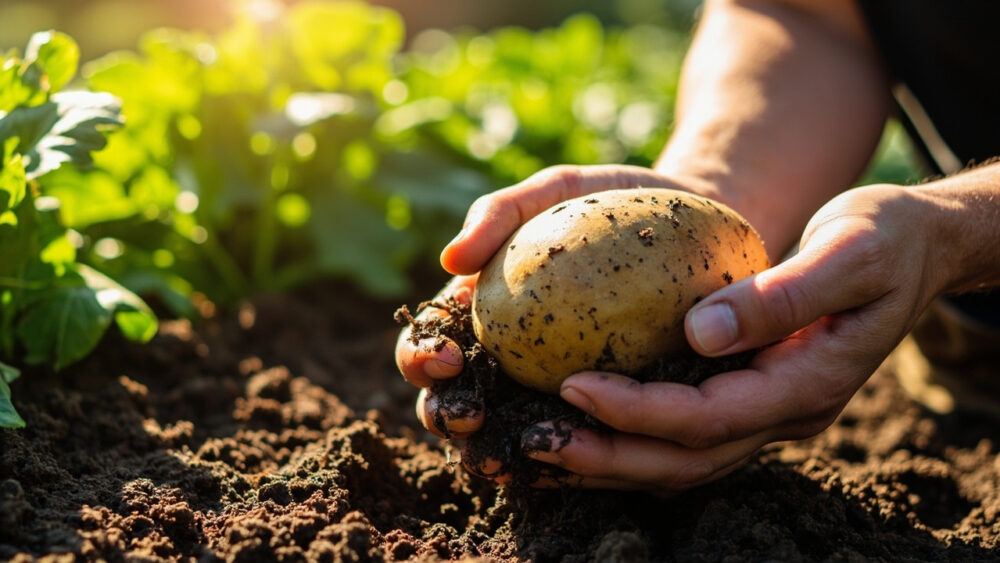
You grow russet potatoes by planting certified seed potato pieces 3 to 4 inches deep in loose, well-drained soil about 2 to 3 weeks before your last spring frost, then hilling soil over the growing plants every few weeks until they flower and die back around 90 to 110 days later. That is the whole arc. The details are where most gardeners either get a wheelbarrow of baking potatoes or a handful of green marbles.
Here is what trips people up before they even realize it: the biggest yield killer isn’t watering or fertilizer, it’s planting too shallow and never hilling enough, which leaves half your potatoes sitting in sunlight and turning green and bitter. There’s also a sign most people misread completely when the plants flower, thinking it means the potatoes are ready, when flowering actually tells you almost nothing reliable about harvest timing. And there’s the honest answer to the question every first-timer asks around week six: no, you cannot just dig a look around the edge of the plant without risking real damage to the tubers still forming.
Stick with this guide through planting, feeding, the diseases that actually show up on russets, and harvest, and you’ll get the printable “Russet Potatoes at a Glance” card at the bottom with every number in one place.
When to Plant Russet Potatoes
Plant when soil temperature at planting depth hits at least 45 to 50 F, which usually lines up with 2 to 3 weeks before your average last frost date. Russets tolerate a light frost on emerging foliage better than tomatoes do, but a hard freeze after sprouting will set them back hard.
Cold, wet soil is the real enemy here, not frost itself. Seed pieces sitting in soggy, cold ground rot before they ever sprout. If your soil is still a mudball you can’t crumble in your hand, wait, even if the calendar says it’s time.
In zones 3 to 6, that’s typically mid-April through May. In zones 7 to 9, you can plant as early as February or March, and many of those growers get a second fall crop planted in late summer for a winter harvest.
Get the timing right and the next decision is where exactly to put them.
Choosing the Spot and Prepping the Soil
Russets want full sun, at least 6 hours a day, and loose, well-draining soil with a pH around 5.8 to 6.5. Heavy clay is the classic russet failure story: the tubers fight the compacted soil and come out stunted, forked, or oddly shaped.
Work the bed deep, at least 10 to 12 inches, and mix in aged compost rather than fresh manure. Fresh manure pushes nitrogen that favors leafy growth over tuber formation and can also encourage scab, a rough, corky skin blemish.
Never plant potatoes where tomatoes, peppers, or other potatoes grew in the last two to three years. They share diseases that persist in soil, and that rotation gap matters more than people expect.
Once the ground is ready, the planting technique itself is where accuracy actually pays off.
Planting Russet Potatoes Step by Step
1. Prep your seed potatoes
Use certified disease-free seed potatoes, not grocery-store potatoes, which are often treated with sprout inhibitors and may carry disease. Cut larger seed potatoes into chunks about 1.5 to 2 inches across, each with at least one or two visible eyes.
Let the cut pieces sit at room temperature for 1 to 2 days so the cut surface calluses over. Planting freshly cut, wet pieces invites rot.
2. Dig the trench
Dig a trench 6 to 8 inches deep. This is deeper than the final planting depth because you’ll backfill.
3. Space and plant
Set seed pieces cut-side down, eyes up, spaced 10 to 14 inches apart, with rows 30 to 36 inches apart. Cover with 3 to 4 inches of soil, not the full trench depth yet.
4. Hill as they grow
When sprouts reach 6 to 8 inches tall, pull soil up around the stems, burying half the plant. Repeat every 2 to 3 weeks until the hills are 8 to 10 inches tall or the foliage canopy closes.
Skip the hilling and you’ll open a russet at harvest to find its shoulders sunburned green, which makes them toxic to eat, not just ugly.
That green-shoulder problem is exactly the shallow-planting mistake mentioned earlier, and hilling is the fix, but there’s more to keeping the plants healthy through summer.
Watering and Feeding Through the Season
Russets need about 1 to 2 inches of water a week, delivered evenly rather than in a flood-then-drought cycle. Uneven watering is what causes hollow heart, knobby growth, and cracked tubers, far more often than any disease does.
Cut back on watering once the plants flower and foliage starts yellowing, since tubers are maturing and skins are toughening for storage. Wet soil at that stage invites rot, not bigger potatoes.
Feed with a balanced fertilizer at planting, then side-dress with something lower in nitrogen and higher in potassium once plants are 6 inches tall. Too much nitrogen late in the season gives you lush green tops and small, disappointing tubers underground.
Now, about that flowering everyone misreads.
The Flowering Myth and the Problems That Actually Threaten Your Crop
Flowering does not mean harvest time. Some russet plants barely flower at all, and flowering is more tied to variety and stress than tuber readiness. Some varieties never bloom and still produce a full crop. Use the die-back of foliage, not flowers, as your real signal, covered in the next section.
Watch for these threats through the season:
- Colorado potato beetles: orange-and-black striped adults and red larvae that skeletonize leaves; hand-pick early, and if populations explode, use a labeled insecticide following the product instructions exactly.
- Early and late blight: dark spots or blackened, wilting foliage, worse in wet years; improve airflow, avoid overhead watering late in the day, and use a labeled fungicide per its label if it spreads fast.
- Scab: rough, corky patches on the skin, mostly cosmetic, worse in alkaline soil or from fresh manure.
- Hollow heart and green shoulders: both preventable, one through even watering, one through proper hilling.
None of these mean starting over if caught early, but ignoring blight for even a week can cost you the whole planting.
When the foliage finally gives up the fight, that’s your actual harvest signal.
When and How to Harvest Russet Potatoes
Russets are ready for full harvest when the foliage yellows and dies back completely, usually 90 to 110 days after planting, sometimes longer for russets specifically since they run on the later end of the potato maturity spectrum.
You can dig a few “new potatoes” early, about 2 to 3 weeks after flowering, by gently digging at the edge of a hill without disturbing the whole plant. These are thin-skinned and don’t store, so eat them within days.
For the main harvest, wait until foliage is fully brown, then stop watering for a week or two to let skins toughen. Dig on a dry day, working a garden fork well outside the hill’s edge to avoid stabbing tubers.
Let harvested potatoes cure in a cool, dark spot at 45 to 60 F with decent humidity for 1 to 2 weeks before moving them to long-term storage around 40 F. Never wash them until you’re ready to use them, and never store them near onions, which speeds spoilage in both.
That curing step is the difference between potatoes that last until spring and ones that go soft by December.
Russet Potatoes at a Glance
- When to plant: 2 to 3 weeks before your last frost, once soil hits 45 to 50 F.
- Depth and spacing: plant seed pieces 3 to 4 inches deep in a 6 to 8 inch trench, 10 to 14 inches apart, rows 30 to 36 inches apart.
- Hilling schedule: mound soil every 2 to 3 weeks once sprouts hit 6 to 8 inches, building hills 8 to 10 inches tall.
- Water needs: 1 to 2 inches per week, steady rather than sporadic, tapering off after flowering.
- Days to maturity: 90 to 110 days, signaled by foliage yellowing and dying back, not by flowering.
- Main threats: Colorado potato beetles, early and late blight, scab, hollow heart from uneven watering.
- Harvest and cure: dig on a dry day after foliage browns, cure 1 to 2 weeks at 45 to 60 F before storing around 40 F.
Get the depth and the hilling right and most other problems take care of themselves.
Everything else on this list is just protecting that good start.