Growing asparagus means planting crowns or seedlings in early spring once soil hits about 50°F, giving them deep, loose, weed-free soil in full sun, and then waiting. That last part is the hard truth nobody tells you upfront: you do not harvest a real crop until the third spring after planting. Get the bed right the first time and that same planting will keep feeding you for 15 to 20 years.
Most first attempts fail for one specific reason, and it is not cold, drought, or bad luck. It is impatience at harvest, cutting spears too early and too hard before the roots have banked enough energy to support the plant long-term.
There is also a sign almost everyone misreads in year two, a bed that looks thin and scraggly and gets written off as a failure when it is actually right on schedule. Stick with me through the planting steps and the harvest timing below, and save the Asparagus at a Glance card at the bottom for the numbers you will want again next spring.
When to Plant Asparagus
Plant asparagus crowns two to four weeks before your average last frost date, once the soil has warmed to at least 50°F and is dry enough to work without turning to mud in your hand. In most of zones 4 to 7, that lands somewhere in March or April. In zones 8 and warmer, late winter planting works fine since the ground rarely stays frozen.
Bare-root crowns go in earlier than seedlings started from seed. If you’re growing from seed, start indoors 12 to 14 weeks before your last frost, then transplant the seedlings out once nights stay above 50°F.
Soil temperature matters more than the calendar. Cold, wet soil rots crowns before they ever send up a spear. If you can form a ball of soil that stays muddy and sticky, wait another week or two.
Get the timing right and the next question is where that bed actually lives.
Choosing the Spot and Prepping the Soil
Asparagus needs full sun, six or more hours a day, and it needs to stay put for a decade or more, so pick the spot like you mean it. Avoid low ground where water pools after rain. Crowns sitting in standing water rot within a season.
This is not a bed you till casually. Dig it a full 12 to 15 inches deep and work in a generous layer of compost or aged manure across the whole bed, not just the planting trench. Asparagus roots spread wide and deep once established, and they are pulling nutrients from that same patch of ground for years.
Check your pH if you can. Asparagus wants 6.5 to 7.5, on the sweeter side of neutral, and will sulk in acidic soil. Lime it if a soil test says you’re below 6.0.
Weeds are the other half of this fight, and they are worse than most people expect.
Clear the bed of every perennial weed root you can find before planting, because once asparagus ferns fill in, you will never dig those weeds out cleanly again.
Soil ready, weeds gone, now the actual planting.
Planting Asparagus Step by Step
1. Dig the trench
Dig a trench 12 to 18 inches wide and 6 to 8 inches deep. If you’re planting more than one row, space rows 3 to 4 feet apart.
2. Mound the soil
Build a 2-inch ridge of soil down the center of the trench floor. Crowns get set on top of this ridge with their roots draped down both sides like a spider, not laid flat on the bottom.
3. Set the crowns
Space crowns 12 to 18 inches apart along the trench. Wider spacing, closer to 18 inches, gives you fatter spears and better air circulation, which matters a lot for disease later.
4. Cover shallow, fill gradually
Cover the crowns with just 2 to 3 inches of soil at first, not the full trench depth. As shoots emerge and grow a few inches tall over the following weeks, backfill gradually until the trench is level with the surrounding bed.
This gradual backfill trick is the part most guides skip, and it is what keeps crowns from suffocating before they’ve rooted in.
Watering and Feeding Through the Season
Asparagus wants consistent moisture in its first two seasons, about 1 to 1.5 inches of water a week, whether from rain or irrigation. Established beds, three years and older, tolerate much more drought since their root systems run deep.
Feed in early spring before spears emerge, with compost or a balanced fertilizer worked into the soil surface. Feed again lightly right after you finish harvesting, since that is when the plant is building next year’s spears inside those roots.
Let the ferny top growth stand all summer and into fall. It looks messy, but it’s photosynthesizing energy straight down into the crown for next spring’s harvest. Cut it back to a couple inches only after it yellows and dies back with frost.
Mulch the bed 2 to 3 inches deep with straw or shredded leaves each fall, both for winter protection and weed control.
Feed the roots well and the pests below become a much smaller problem than they’d otherwise be.
Problems That Actually Show Up
Asparagus beetles are the most common issue, small striped or spotted beetles that chew spears and ferns and can skeletonize foliage if left alone. Hand-pick them in small beds, or treat with an insecticide labeled for asparagus beetles, following the label exactly.
Rust and fusarium wilt show up as orange-brown streaking on the ferns or general yellowing and dieback. Good spacing and airflow prevent most of it. Resistant varieties like Jersey Knight and Jersey Giant help a lot if rust is common in your area.
Crown rot from wet feet is the quiet killer. If a section of the bed consistently drains poorly, that section will lose crowns no matter what else you do right. Fix the drainage or move the bed.
Weeds remain the number one yield-killer over the life of the bed, competing for the water and nutrients your crowns need to bulk up underground.
Handle those threats early, and the bed rewards you with the part everyone actually clicked for.
When and How to Harvest Asparagus
Here’s the part that trips up almost everyone: do not harvest at all in year one, and take only a light, short harvest in year two. If you assumed a thin, sparse-looking bed in its second spring means something went wrong, that guess is what causes people to overharvest and set the whole planting back.
In year one, let every spear grow into fern, no cutting, full stop. In year two, you can harvest lightly for two to three weeks, taking only the thickest spears and leaving thinner ones to fern out. By year three, the bed is established and you can harvest fully for six to eight weeks each spring.
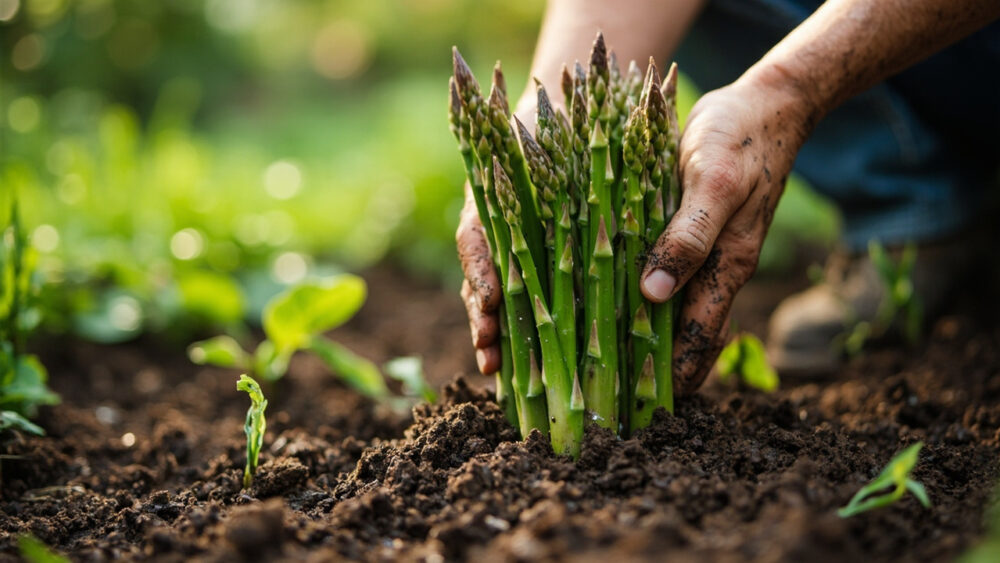
Spears are ready when they reach 7 to 9 inches tall and about the diameter of a pencil or thicker. Snap or cut them at the soil line, or an inch below it, every day or two during peak season since they grow fast, sometimes several inches in a single warm day.
Stop harvesting once spears start coming in thin, pencil-width or less, consistently. That’s the plant telling you it’s out of stored energy for the season and needs to fern out and recharge for next year.
Get the harvest window right for a few seasons running, and you’ve got a bed that outlives most of the other plants in your yard.
Asparagus at a Glance
- When to plant: two to four weeks before last frost, once soil hits about 50°F, typically March or April in zones 4 to 7.
- Depth and spacing: trench 6 to 8 inches deep, crowns spaced 12 to 18 inches apart, rows 3 to 4 feet apart.
- Soil needs: loose, well-drained soil dug 12 to 15 inches deep, pH 6.5 to 7.5, heavy on compost.
- Sun and water: full sun, six or more hours daily, 1 to 1.5 inches of water weekly for the first two years.
- First harvest: none in year one, light harvest in year two, full harvest starting year three.
- Harvest window: spears at 7 to 9 inches tall, pencil thickness or better, cut at soil line every one to two days for six to eight weeks.
- Bed lifespan: 15 to 20 years from one planting if drainage and weeding stay on top of it.
Asparagus rewards patience more than any other vegetable in the garden. Get the first three years right, and you’ll be cutting spears from that same bed long after everything else you planted this spring is gone.