Here’s the short version of how to grow pumpkins from seed: sow them directly in the ground about one to two weeks after your last frost date, once soil has warmed to at least 65 F, planting seeds an inch deep in hills spaced 4 to 8 feet apart depending on the variety. From there it’s 90 to 120 days to harvest, and you’ll know they’re ready when the rind hardens, the color fully sets, and the vine itself starts to die back.
That’s the whole arc. But the details are where most pumpkin patches go sideways, and I mean that literally, because vines will crawl 15 feet in a season if you let them.
A few things trip up almost everyone on their first go. There’s the timing mistake that has nothing to do with frost and everything to do with counting backward from your target harvest date. There’s the sign of a “failed” seed that isn’t failed at all, it just hasn’t hit the right soil temperature yet. And there’s the honest, slightly annoying truth about how much room these things actually need, which is more than anyone wants to hear when they’re staring at a 4×4 raised bed. Stick with me through each stage and I’ll give you the save-able Pumpkins at a Glance card at the bottom, the kind of thing you’ll want pulled up on your phone while you’re standing in the garden.
When to Start Pumpkin Seeds: Direct Sow or Indoors?
Pumpkins hate having their roots disturbed, so direct sowing is the better default for most gardeners. Wait until all frost danger has passed and soil has warmed to 65 to 70 F, usually one to two weeks after your last spring frost.
Here’s the mistake: gardeners plant too early because they’re eager, or too late because they’re planning around a fall festival date without counting backward. Work backward from your first fall frost instead. Big carving types need 100 to 120 days; smaller pie and decorative types need 90 to 100. If your first fall frost lands in early October, a 110-day pumpkin needs to go in the ground by mid to late June, not July.
If your season is short, you can start seeds indoors 2 to 3 weeks before your last frost in biodegradable pots, so you transplant without disturbing roots. Don’t start them any earlier than that. Leggy, root-bound pumpkin starts rarely catch up to direct-sown ones.
Timing solved, now let’s talk about actually getting the seed in the ground.
Sowing Pumpkin Seeds Step by Step
Pumpkins are forgiving about soil type but not about drainage or warmth. Give them rich, well-drained soil and full sun, at least 6 to 8 hours a day.
Depth, Spacing, and Setup
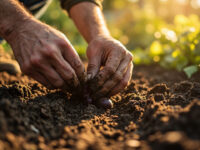
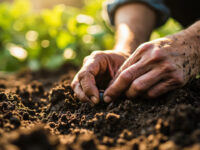
- Plant seeds 1 inch deep, pointed end down if you can manage it, though sideways is fine too.
- Sow 4 to 5 seeds per hill, thinning to the strongest 2 to 3 seedlings once they have their first true leaves.
- Space hills 4 to 6 feet apart for smaller varieties, up to 8 to 10 feet for large vining types like giant carving pumpkins.
- Mound soil slightly in each hill, about 2 to 3 inches high, to help with drainage and warmth.
Medium, Temperature, and Light
Amend planting hills with a couple inches of compost worked into the top 6 to 8 inches of soil. Pumpkins are heavy feeders and this is not the crop to skimp on organic matter.
Soil temperature matters more than air temperature. Cold, wet soil is the number one reason seeds rot instead of sprouting, so if your soil is still in the 50s, wait. Water the hill well at planting, then let the top inch dry between waterings until seedlings emerge.
Seed in the ground is one thing, seed that actually comes up is another.
Germination: What’s Normal and What Isn’t
Expect germination in 5 to 10 days once soil hits 70 F, though it can stretch to 2 weeks in cooler conditions. This is the part everyone panics about.
If you assumed no sprout by day 5 means a dead seed, that guess causes more people to rip up perfectly good plantings than any pest does. Pumpkin seeds are simply slow in soil below 70 F, and a week’s delay is normal, not fatal.
What’s actually worth worrying about is soil that stays soggy for more than a few days after planting, or a seed that still hasn’t shown by day 14 to 16 in warm soil. That’s when rot has likely taken it, and re-seeding the hill is the right move rather than waiting longer.
Once you see two round seed leaves (cotyledons) followed by a crinkled true leaf, you’re in business.
Seedlings up and growing means it’s time to think about thinning and, if you started indoors, moving plants outside.
Hardening Off and Transplanting
If you started seeds indoors, harden them off over 5 to 7 days before transplanting, setting them outside in a sheltered spot for a couple hours the first day and building up to a full day of direct sun and wind by the end of the week.
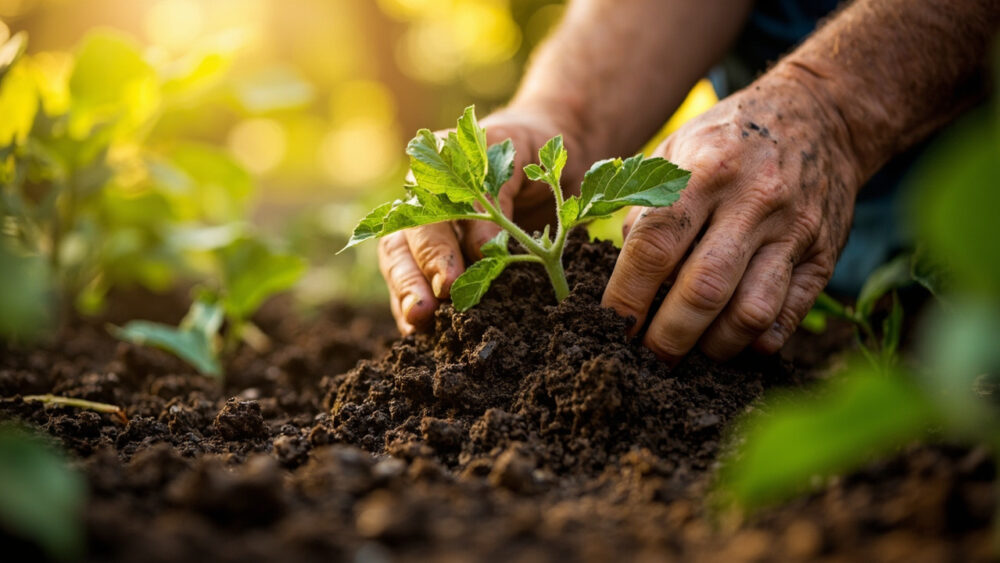
Transplant on an overcast day or in the evening to reduce shock. Handle the root ball, never the stem, and set the plant at the same depth it was growing in its pot. Pumpkins do not like being buried deeper than they were, unlike tomatoes.
Water in thoroughly right after transplanting, then keep soil consistently moist for the first week while roots establish.
Whether transplanted or direct-sown, every pumpkin plant now enters the same long middle stretch of the season.
Caring for Pumpkins Through the Season
Pumpkins want about 1 inch of water a week, more during fruit set and hot stretches. Water at the base, not overhead, since wet foliage invites powdery mildew, one of the most common pumpkin problems.
Feed with a balanced fertilizer at planting, then switch to something lower in nitrogen and higher in phosphorus and potassium once vines start flowering. Too much nitrogen late in the season gets you huge leafy vines and disappointing fruit.
Watch for two flower types: male flowers appear first, on straight stems, and female flowers follow a week or two later with a small bulge at the base that’s the baby fruit. Bees do most of the pollinating, but if fruit keeps shriveling off after flowering, hand-pollinate by dabbing pollen from a male bloom onto the female flower’s center in the morning.
For pests, check the base of plants for the entry holes and sawdust-like frass that signal squash vine borer, and look under leaves for the gray egg clusters of squash bugs. Cultural controls like row covers before flowering, and removing egg clusters by hand, handle most infestations without needing to spray. If you do reach for a pesticide, follow the product label exactly.
Once fruit sets and starts sizing up, the countdown to harvest really begins.
When Pumpkins Are Ready to Harvest
A pumpkin is ready when its color has fully developed and stayed put for several days, the rind resists a fingernail press, and the vine connecting it has started to dry and brown. Give the rind a thump: a ripe pumpkin sounds hollow, not dull.
Here’s the part people get wrong: they wait for the whole vine to die, thinking that’s the harvest signal. It’s a decent backup sign, but by the time the whole plant collapses, some fruit may have already been sitting too long and started softening at the blossom end. Check individual fruit color and rind hardness starting a few weeks before your expected date instead of watching the vine.
Cut pumpkins with 3 to 4 inches of stem attached, using pruners rather than snapping the stem off. A pumpkin without its stem, or with the stem torn, will not store nearly as long and often rots within weeks.
Cure them in a warm, dry spot around 80 F for 7 to 10 days if you can manage it, which toughens the rind further, then store in a cool, dry place around 50 to 55 F. A well-cured pumpkin easily holds for 2 to 3 months, sometimes longer for thick-skinned varieties.
That’s the whole season, start to finish, so here’s everything worth saving in one place.
Pumpkins at a Glance
- When to plant: direct sow 1 to 2 weeks after last frost, once soil is at least 65 F, or start indoors 2 to 3 weeks before last frost in biodegradable pots.
- Depth and spacing: 1 inch deep, hills spaced 4 to 6 feet apart for small varieties, 8 to 10 feet for large vining types.
- Germination time: 5 to 10 days in warm soil, up to 2 weeks in cooler conditions.
- Days to maturity: 90 to 100 days for pie and small types, 100 to 120 days for large carving and giant types.
- Watering: about 1 inch per week, more during flowering and fruit set, always at the base.
- Harvest signs: full color held for several days, rind resists a fingernail, hollow sound when thumped, stem starting to brown.
- Storage: cure 7 to 10 days near 80 F, then store at 50 to 55 F for 2 to 3 months or more.
Get the soil warm before you plant and leave the vines the room they’re asking for. Everything else about pumpkins is patience.