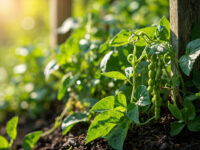
Here is how to grow pole beans without wasting a season on it: plant seeds directly in the garden 1 inch deep, right after your last spring frost when soil has warmed to at least 60°F, next to something they can climb 6 to 8 feet tall. Space them 4 to 6 inches apart along that support, and you will be picking beans in 60 to 70 days.
That part is simple. What trips people up is everything around it, starting with the support. Half the pole bean failures I see are not disease or weather, they are a trellis that was too short, too flimsy, or built after the seeds went in the ground.
There is also a sign most new growers misread completely when the plants start blooming and nothing seems to happen for what feels like too long. And there is a watering habit that feels responsible but actually cuts your harvest short. Stick with me through the sections below and you will get all of it, plus a save-able “Pole Beans at a Glance” card at the very bottom you can pull up from your phone while you are standing at the seed rack or out in the garden this weekend.
When to Plant Pole Beans
Pole beans are a warm-season crop, full stop. Do not plant them early hoping to get a jump on the season. Bean seed rots in cold, wet soil instead of germinating, and a light frost will kill young seedlings outright.
Wait until your last frost date has passed and soil temperature sits at 60 to 65°F, checked a couple inches down. In much of the country that lands somewhere from mid-May to early June. In warm zones (9 and up) you can plant earlier in spring and often get a second sowing in for a fall crop.
If you garden in a short-season zone (3 or 4), do not try to cheat the calendar with a head start indoors. Pole beans hate root disturbance and transplant badly, so direct-sowing once it is truly warm still beats an early indoor start.
Get the timing right and the next decision, where to actually put them, matters just as much.
Choosing the Spot and Prepping the Soil
Pole beans need full sunat least 6 to 8 hours a day, and they need it every day of the growing season since they’ll be there until frost. Pick a spot that will not get shaded out as taller plants nearby fill in.
Soil should be loose, well-drained, and only moderately fertile. This is the part that surprises people: beans fix their own nitrogen through bacteria on their roots, so soil that’s too rich in nitrogen gives you a jungle of vines and disappointing pods.
Work in an inch or two of compost before planting, but skip the high-nitrogen fertilizer. Aim for soil pH between 6.0 and 6.8.
The other thing that has to happen before seed touches soil is the support structure, and that is where most gardens go wrong first.
Building the Support Before You Plant
Pole beans routinely reach 6 to 10 feet. A tomato cage or a 4-foot stake will not hold them, and once a vine is 5 feet tall and flopping over, you cannot fix it without damage.
Build the trellis firstseeds second. Good options include a teepee of 3 or more poles lashed together at the top, a heavy-gauge cattle panel arched or upright, or a string trellis strung between two horizontal rails 7 to 8 feet up.
Whatever you choose, it needs to be anchored well. A trellis full of mature, wet, wind-caught vines is heavier than people expect, and a structure that tips over in July takes the whole crop down with it.
With the structure standing and ready, planting itself takes ten minutes.
Planting Pole Beans Step by Step
1. Sow the seed
Plant seeds 1 inch deep in average soil, or up to 1.5 inches deep in sandy soil that dries fast. Push the seed in with your finger rather than dropping it on the surface and covering it loosely.
2. Space them around the support
Plant 4 to 6 seeds around the base of each teepee pole, or space seeds 4 to 6 inches apart along a row trellis. Thin to the strongest 2 to 3 seedlings per pole once they’re up and growing.
3. Water them in
Water gently right after planting so the seed makes firm contact with moist soil. Then hold off until you see the soil surface start to dry, usually a few days, so seeds don’t rot before they sprout.
4. Watch for germination
Expect sprouts in 8 to 14 days depending on soil temperature. If nothing shows by day 14, check for seed rot before assuming it’s just slow.
Once seedlings have a couple true leaves and are reaching for something to grab, the way you water and feed them determines whether this is a good harvest or a mediocre one.
Watering and Feeding Through the Season
Pole beans want consistent moisture, about 1 to 1.5 inches of water a week, more during hot, dry stretches. The mistake that feels responsible but backfires is watering the leaves and vines from overhead in the evening.
Wet foliage that stays damp overnight is exactly what fungal diseases want. Water the soil at the base in the morning instead, and let the leaves dry through the day.
Let the top inch of soil dry between waterings, but don’t let plants wilt repeatedly, since drought stress during flowering is a common reason for blossoms dropping without setting pods.
Feed lightly. Skip nitrogen fertilizer after planting; if anything, side-dress with a low-nitrogen, higher-phosphorus and potassium feed once flowering starts to support pod set instead of more vine.
Mulch 2 to 3 inches deep around the base to hold moisture and keep weeds down, which matters a lot once the vines are too tall to weed easily by hand.
Even with good watering, pole beans have a handful of predictable problems worth watching for.
Problems That Actually Strike Pole Beans
Here is that blooming worry resolved: pole beans put on flowers before they put on much height-visible growth, and it’s normal for there to be a week or two of blossoms with no beans yet showing. That is not a failureit’s the plant setting up the harvest that’s coming.
What genuinely does cause blossom drop is heat stress above roughly 90°F, drought, or a lack of pollinators. Keep soil evenly moist during flowering and this mostly resolves itself.
- Mexican bean beetles and bean beetles: yellowish larvae and copper-spotted adults skeletonize leaves. Hand-pick what you can and check undersides of leaves for eggs regularly.
- Aphids: clusters on new growth and pod tips. A strong water spray knocks most infestations back; insecticidal soap handles the rest, applied per the label.
- Powdery mildew and rust: white or orange coating on leaves, worse in humid weather with wet foliage. Improve airflow, water at the soil, and remove badly affected leaves.
- Bacterial blight: water-soaked spots that turn brown with a yellow halo. There’s no cure once it’s in. Remove affected plants and don’t save seed from them.
Good airflow, morning watering, and not crowding your rows head off most of this before it starts.
Stay ahead of pests and disease and the only remaining question is when to actually start picking.
When and How to Harvest Pole Beans
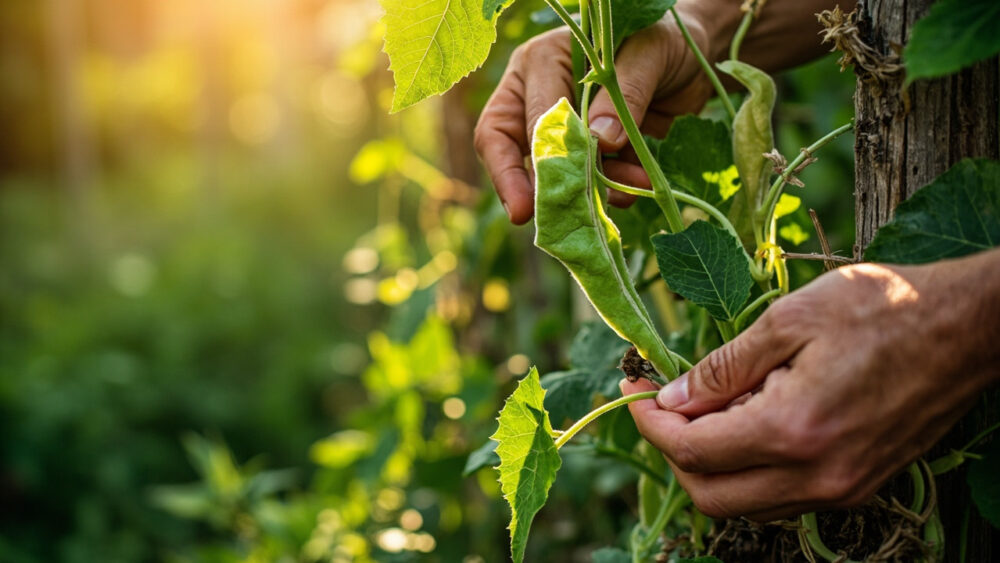
Pole beans are ready roughly 60 to 70 days from planting, and the plant will tell you clearly when a pod is ready: it should snap crisply when bent, be firm and mostly straight, and about the diameter of a pencil, before the seeds inside swell and bulge visibly.
Do not wait for big pods thinking bigger means better. Pods left too long turn tough, stringy, and the plant slows down new flowering once it senses seeds maturing.
Pick every 2 to 3 days once production starts. Pole beans, unlike bush beans, keep flowering and producing for weeks if you harvest consistently, sometimes right up until frost.
Use two hands, one to hold the vine and one to pull or snap the pod, so you don’t tear the vine loose from the trellis.
Keep that picking rhythm up and one trellis of pole beans will outproduce a much bigger patch of bush beans over the course of the summer.
Pole Beans at a Glance
- When to plant: direct-sow after last frost, once soil is 60 to 65°F, typically mid-May to early June in most zones.
- Planting depth and spacing: 1 inch deep, 4 to 6 seeds per pole or 4 to 6 inches apart along a trellis, thinned to 2 to 3 strong plants per pole.
- Support needed: a sturdy trellis, teepee, or panel at least 6 to 8 feet tall, built before planting.
- Sun and soil: full sun, 6 to 8 hours minimum, well-drained soil with moderate fertility, pH 6.0 to 6.8.
- Water: 1 to 1.5 inches per week at the soil, not overhead, keeping soil evenly moist through flowering.
- Days to harvest: 60 to 70 days from seed, with continuous production for weeks if picked every 2 to 3 days.
- Harvest sign: pods pencil-thick, firm, and snapping crisply, picked before seeds bulge inside.
Get the trellis up before the seed goes in the ground, and keep picking every couple of days once pods start.
That combination alone solves most of what goes wrong with pole beans.