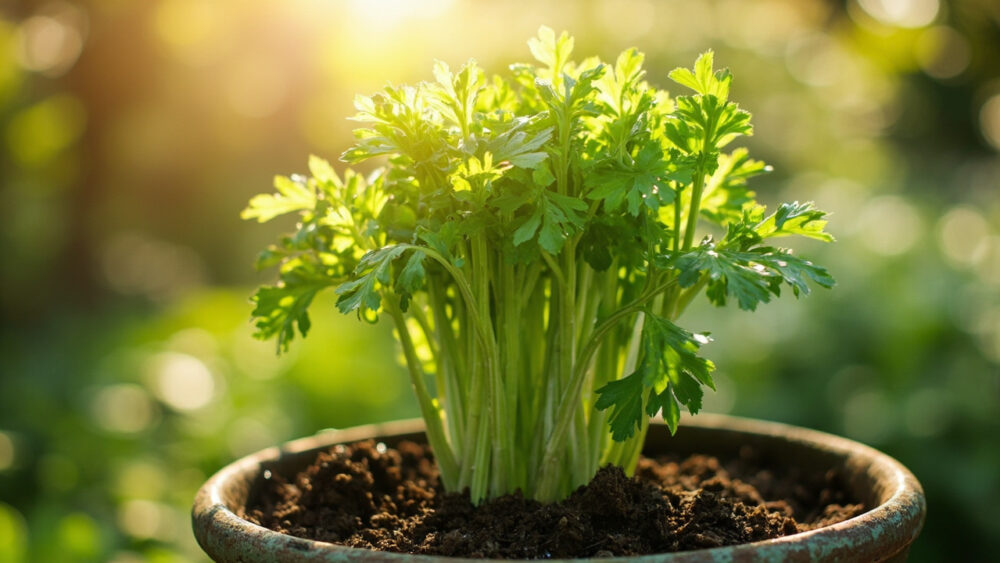
Celery grows fine in containers as long as the pot is deep enough (at least 12 inches, ideally 16), the soil stays consistently damp, and you started with strong transplants instead of direct-sown seed. That last point trips up more people than anything else. Celery seed is slow, fussy, and needs weeks of steady conditions most containers never provide.
Here is what nobody tells you before you plant: celery is one of the thirstiest vegetables you can grow in a pot, and container soil dries out faster than garden soil ever will. Skip a day of watering during a hot stretch and you get stringy, bitter, hollow stalks that never recover their texture. There is also a widely repeated harvest trick involving grocery-store celery butts in water that has nothing to do with growing an actual crop, and I will tell you honestly why it does not work.
Stick with me through the sections below and you will get real spacing, real timing anchored to your last frost, the exact watering rhythm that prevents the stringy-stalk problem, and the pest that shows up on celery before almost anything else in the garden. The saveable Celery at a Glance card is waiting at the bottom once you have the full picture.
When to Plant Celery in Containers
Celery is a cool-season crop that hates real heat and cannot handle a hard freeze either, which makes timing genuinely tricky. Start seed indoors 10 to 12 weeks before your last spring frost date, since germination alone can take 2 to 3 weeks at a steady 70 to 75°F. Move transplants outside 2 to 3 weeks after your last frost, once nighttime lows are reliably staying above 40°F.
In zones 8 and warmer, skip spring entirely and plant in late summer for a fall and winter harvest instead. Celery bolts and turns bitter fast once daytime temperatures push past 80°F for more than a few days running.
If you are buying transplants instead of starting seed, harden them off for 4 to 5 days before planting outdoors permanently.
Choosing the Container and Prepping the Soil
Depth matters more than width here. Celery’s root system is shallow but dense, so a container at least 12 inches deep and holding 5 gallons of soil per plant is the minimum, with 16 to 18 inches deep being far more forgiving on hot weeks. Drainage holes are non-negotiable since celery wants constantly moist soil, not swampy soil.
Fill with a loose, rich potting mix, not garden soil straight from the yard, which compacts fast in a pot and suffocates those shallow roots. Mix in a couple inches of compost or aged manure for the organic matter celery craves.
Set the container where it gets 6 hours of sun in cooler climates, but afternoon shade is a real asset once temperatures climb, since celery stress-bolts in strong heat.
The pot is ready, the spot is picked, now comes the part most guides rush through.
Planting Celery Step by Step
1. Space the plants generously
Set transplants 8 to 10 inches apart in a container wide enough to hold more than one. Crowded celery produces thin, weak stalks that never bulk up properly.
2. Plant at the same depth it was growing
Set each transplant so the soil line matches where it sat in its nursery pot. Burying the crown too deep invites rot; planting too shallow leaves roots exposed and stunted.
3. Water in immediately
Soak the soil thoroughly right after planting to settle it around the roots and eliminate air pockets. Celery transplants are notoriously touchy about transplant shock, so this first watering matters.
4. Mulch the surface
A 1 to 2 inch layer of straw or shredded leaves on top of the soil holds moisture and keeps roots cooler through warm afternoons. This single step cuts your watering frequency noticeably.
Getting the plants in the ground correctly is half the job, keeping them alive through the season is the other half.
Watering and Feeding Through the Season
If you assumed celery just needs regular watering like most vegetables, that assumption is exactly what produces the stringy, bitter, hollow stalks people complain about. Celery needs the soil kept evenly moist at all times, never allowed to dry out between waterings the way tomatoes or peppers tolerate. In containers, that often means checking soil moisture daily during warm weather, since pots dry out far faster than ground soil.
Stick a finger 1 inch down. If it comes out dry, water until it runs from the drainage holes.
Feed every 2 to 3 weeks with a balanced, nitrogen-leaning fertilizer, since celery is a heavy feeder that builds a lot of leaf and stalk tissue fast. Weak, spindly growth with pale color usually means it is hungry, not thirsty.
Consistent moisture solves most of celery’s texture problems before they start.
Problems That Actually Show Up on Container Celery
Slugs and snails go after celery seedlings hard, especially in damp mulch, and can strip a young plant overnight. Hand-pick at dusk or use a bait product labeled for edible gardens, following the label exactly.
Watch for tarnished plant bugs and aphids clustering in the crown where new growth emerges. A strong water spray knocks most populations back; insecticidal soap applied per the label handles the rest.
Cracked, pithy stalks almost always trace back to inconsistent watering rather than disease. Blackheart, a rot at the center of the stalk, signals a calcium shortage usually caused by uneven moisture, not soil that lacks calcium outright.
Fungal leaf spots show up in humid weather with poor airflow. Space plants generously and water the soil, not the foliage, to keep leaves drier.
Most of these problems trace back to the same root cause, and the harvest section explains the last thing people misjudge.
When and How to Harvest Celery
Celery is ready in 85 to 120 days from transplant, depending on variety, and you do not need to wait for the whole plant to reach full size before cutting some. Outer stalks are harvestable once they hit 8 inches tall and feel firm and crisp, not floppy.
Cut individual outer stalks at the base with a sharp knife and let the inner stalks keep growing, and the plant will keep producing over several weeks. For a full harvest, cut the entire plant at soil level once most stalks have sized up.
That regrow-from-scraps trick you have probably seen, setting a store-bought celery base in a dish of water, will sprout weak, hollow, bitter leaf growth at best. It is not a real path to stalk celery and will disappoint anyone expecting a proper harvest from it.
A light frost actually sweetens celery’s flavor, so there is no rush to pull everything at the first cool night in fall.
Everything above is the full season in order, and here is the short version worth saving.
Celery at a Glance
- When to plant: start seed indoors 10 to 12 weeks before last frost, transplant outside 2 to 3 weeks after last frost once nights stay above 40°F, or plant in late summer in zone 8 and warmer for a fall crop.
- Container size: at least 12 inches deep and 5 gallons per plant, 16 to 18 inches deep is more forgiving.
- Spacing: 8 to 10 inches between plants.
- Soil and light: rich, loose potting mix with compost, 6 hours of sun with afternoon shade appreciated in heat.
- Watering: keep soil evenly moist at all times, check daily in warm weather, never let it dry out between waterings.
- Feeding: balanced, nitrogen-leaning fertilizer every 2 to 3 weeks.
- Harvest: outer stalks at 8 inches tall and firm, full plant at 85 to 120 days from transplant, a light frost sweetens flavor.
Consistent moisture is the whole game with container celery, get that right and most other problems never show up.
Everything else on this list is just details around that one habit.