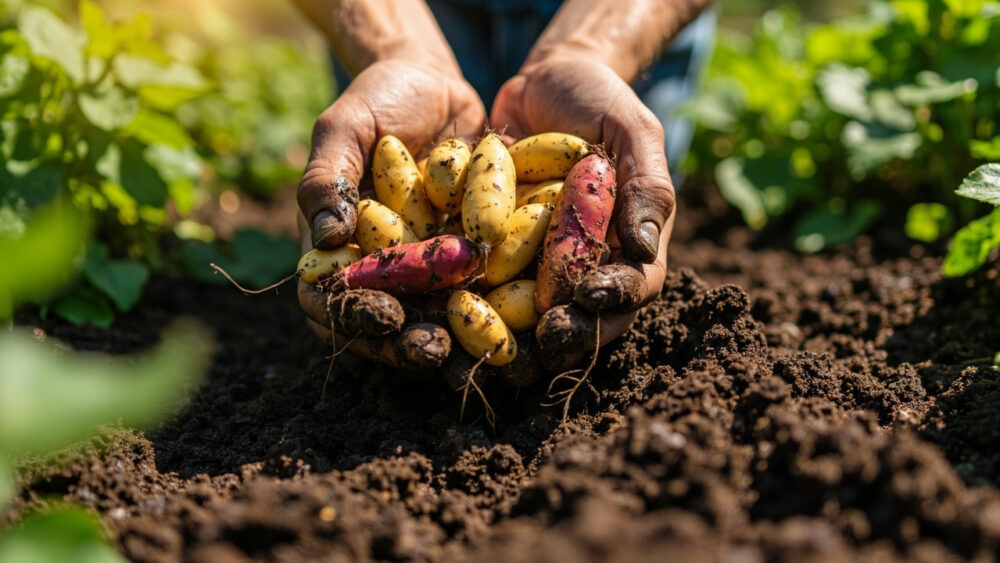
Fingerling potatoes go in the ground two to three weeks before your last frost date, once soil temperature sits at 45 to 50°F, planted 3 to 4 inches deep and 10 to 12 inches apart in rows spaced 24 to 30 inches. If you know how to grow fingerling potatoes in general spuds, most of that knowledge carries over, but fingerlings have their own quirks around spacing, harvest timing, and how you hill them, and getting those wrong is why so many people end up with a handful of tiny, oddly-shaped tubers instead of the long slender ones they were picturing.
There is one mistake that ruins more fingerling crops than anything else, and it has nothing to do with watering or fertilizer. It is harvest timing, and almost everyone gets it wrong in the same direction.
There is also a sign in the foliage that a lot of gardeners misread as disease when it is actually the plant telling you it is almost done. I will walk through both, plus the soil mistake that produces those cracked, knobby tubers nobody wants. Stick with me to the bottom, where I have put a save-able Fingerling Potatoes at a Glance card with every number in one place.
When to Plant Fingerling Potatoes
Timing hinges on soil temperature, not the calendar. Get a soil thermometer or just use your hand: if a fistful of soil 4 inches down feels cool but not cold and crumbles rather than clumps, you are likely in the 45 to 50°F range fingerlings want. Planting into soil colder than 40°F just sits the seed potato there rotting.
In most of the country that means two to three weeks before your average last frost date. In zones 7 and warmer, that can be as early as late winter. In zones 3 and 4, wait until mid to late spring, since cold, wet soil is worse than a slightly late start.
Fingerlings also run a longer season than round white or red potatoes, typically 90 to 120 days to maturity, so a late start pushes harvest deep into summer heat, which stresses the plants.
Once your soil and timing line up, the next decision is where you put them.
Choosing the Spot and Prepping the Soil
Full sun is non-negotiableat least 6 hours a day, and loose, well-drained soil matters more for fingerlings than for standard potatoes because their long tubers deform easily in heavy or compacted ground. If your soil is clay-heavy, that is exactly the setup that produces the cracked, knobby, forked tubers people blame on watering when it is really the soil fighting the tuber as it tries to elongate.
Work in 2 to 3 inches of compost or aged manure before planting, and aim for a slightly acidic pH, around 5.8 to 6.5. Avoid fresh lime or wood ash right before planting since it can encourage scab, a rough brown skin condition that is cosmetic but disappointing on a potato you grow specifically for its looks.
Raised beds or loose mounded rows solve the compaction problem if your native soil is dense clay.
Good ground is half the job. Now let’s get the seed potatoes into it correctly.
Planting Fingerling Potatoes Step by Step
- Cut seed potatoes larger than a golf ball into pieces with at least one or two eyes each, then let the cut sides dry and callus for 24 to 48 hours before planting. Skipping this step is a common cause of rot in cool, damp soil.
- Dig a trench 3 to 4 inches deep down the length of your row.
- Space pieces 10 to 12 inches apart, cut side down, eyes facing up, in rows 24 to 30 inches apart.
- Cover with 3 inches of soilfirm gently, and water once to settle everything in.
- Wait for shootsusually 2 to 3 weeks depending on soil temperature.
The spacing tighter than standard potato rows is deliberate; fingerlings are grown for smaller, more numerous tubers, not fewer giant ones.
Once shoots break the surface, the plant’s needs change fast.
Watering and Feeding Through the Season
Consistent moisture matters more than volume. Potatoes want about 1 to 2 inches of water a week, and the critical window is right when the plants start flowering, since that is when tubers are actively forming and inconsistent water at that stage causes the knobby, forked growth again, this time from drought-stress-then-flood rather than heavy soil.
Hill the soil up around the stems when plants reach 6 to 8 inches tall, and again two to three weeks later, mounding 3 to 4 inches each time. Hilling keeps developing tubers covered so they do not green up from sun exposure, which makes them bitter and mildly toxic.
Skip heavy nitrogen fertilizer once plants flower. Nitrogen late in the season pushes leafy growth at the expense of tubers. A balanced or low-nitrogen, higher-potassium feed at planting and again at first hilling is plenty.
Now, about that foliage sign everyone panics over.
Problems to Watch For
Yellowing lower leaves in mid to late season are not automatically disease. If you assumed yellowing means the plant is sick or underwatered, that guess sends a lot of people reaching for fungicide on a plant that is simply maturing normally as harvest approaches. Widespread yellowing that starts from the bottom and moves up, especially alongside plants that look otherwise sturdy, is often just the natural die-back that precedes harvest.
What is worth real concern: dark, water-soaked spots on leaves that spread fast, especially in cool, wet weather, which points to late blight, a fungal disease that can collapse a planting in days. Remove and destroy affected foliage promptly and avoid overhead watering that keeps leaves wet.
Colorado potato beetles and their striped larvae will skeletonize leaves; hand-pick them early since populations explode fast. Scab, wireworms, and aphids show up too, and cultural fixes (crop rotation, avoiding excess fresh manure, good airflow) handle most of it. For anything that looks like a serious fungal outbreak, follow a labeled fungicide’s instructions exactly rather than guessing at a mix.
Handled well, most of these plants sail through untouched and go straight into what you have really been waiting for.
When and How to Harvest Fingerling Potatoes
Here is the timing mistake that ruins the crop for most first-timers: waiting too long because the plant still looks alive. Fingerlings are ready for a first “new potato” harvest about 60 to 70 days in, when plants flower, if you want small, thin-skinned tubers. For the full-size fingerlings people actually picture, wait until the foliage has substantially died back and turned brown, typically 90 to 120 days from planting.
The visual cue that actually matters is the stems and leaves collapsing and browning across most of the plant, not just a few lower leaves. Once that happens, stop watering for a week or two to let the skins toughen (this is called curing in the ground), then dig.
Use a garden fork, not a shovel, working from well outside the plant’s base inward so you do not skewer the tubers hiding in the loose hilled soil. Fingerlings tend to spread wider than they grow deep.
Let dug potatoes air-dry out of direct sun for a few hours, brush off soil without washing, and store in a cool, dark, well-ventilated spot around 40 to 50°F. They will keep for several months that way.
That is the whole arc from seed piece to storage crate, and here is everything condensed onto one card.
Fingerling Potatoes at a Glance
- When to plant: two to three weeks before last frost, once soil hits 45 to 50°F.
- Depth and spacing: plant seed pieces 3 to 4 inches deep, 10 to 12 inches apart, rows 24 to 30 inches apart.
- Soil needs: loose, well-drained, pH 5.8 to 6.5, enriched with 2 to 3 inches of compost before planting.
- Water: 1 to 2 inches per week, most critical during flowering when tubers are forming.
- Hilling: mound soil 3 to 4 inches at 6 to 8 inches tall, then again two to three weeks later.
- Days to maturity: 60 to 70 days for new potatoes, 90 to 120 days for full-size mature tubers.
- Harvest signal: most of the foliage has browned and collapsed, not just the lower leaves.
If you remember one thing, let it be this: judge harvest by the foliage collapsing, not by the calendar or by nostalgia for that first flush of flowers.
Everything else, soil, spacing, water, is forgiving as long as you get that one call right.