Here is the short version of how to grow dahlias: plant tubers 4 to 6 inches deep, eye side up, two to three weeks after your last frost once soil hits about 60°F, space them 12 to 24 inches apart depending on the variety, and stop watering until you see sprouts break the surface. Everything else is detail, but the details are where most people lose the season.
Dahlias are not hard to grow badly. They’re surprisingly easy to kill in the first three weeks through one specific, well-meaning mistake almost every beginner makes, and I’ll name it below. There’s also a sign people watch for that actually means nothing, and a real sign they should be watching for instead. And if you’ve ever wondered why some dahlias flop over in a summer storm while others stand like soldiers, that answer is not luck.
Stick with me through planting, feeding, and the problems that actually show up, and you’ll hit the save-able Dahlias at a Glance card at the bottom with every number in one place for your phone.
When to Plant Dahlia Tubers
Wait for warm soil, not just a frost-free calendar date. Dahlia tubers rot in cold, wet ground before they ever sprout. The safe window is two to three weeks after your average last frost, once soil temperature at planting depth is consistently around 60°F.
In cooler zones (5 and 6), that often lands in late May or even early June. In zones 8 and up, you can go earlier, sometimes mid-April.
If your soil is still cold and soggy on the calendar date you had circled, wait. A week or two of patience beats a tuber that rots before it ever gets a chance to sprout.
Soil temperature solves half the timing problem. The other half is what’s actually in that soil.
Choosing the Spot and Prepping the Bed
Dahlias want full sunat least 6 hours a day, and they want it consistently, not dappled shade that shifts through the afternoon. Less sun means fewer blooms and weaker stems no matter what else you get right.
Soil needs to drain well. Dahlias sitting in heavy clay that holds water are dahlias headed for tuber rot. Work in 2 to 3 inches of compost before planting, and if drainage is genuinely poor, raise the bed 6 to 8 inches.
Aim for a slightly acidic to neutral pH, roughly 6.5 to 7.0. Skip high-nitrogen amendments here. Nitrogen pushes leafy growth at the expense of flowers, which matters more later than it does right now.
Good soil and good sun set the stage, but how you actually place the tuber in the ground decides whether it sprouts at all.
Planting Dahlia Tubers Step by Step
1. Check the tuber before you plant it
A healthy tuber is firm, not shriveled, not mushy, with at least one visible eye or growth point near the crown. No eye, no sprout. Toss anything soft or moldy.
2. Dig the hole
Go 4 to 6 inches deep. Loosen the soil below that so roots can push down freely instead of hitting compaction.
3. Set the tuber horizontally, eye up
Lay it on its side with the eye or sprout point facing up, not straight down into the hole like a bulb. This is the step most people get backward, and it’s the difference between a tuber that sprouts in two weeks and one that sits and rots.
4. Space for the variety
Dwarf and border dahlias want about 12 inches between plants. Standard dinner-plate and cactus varieties need 18 to 24 inches; they get big and they need airflow.
5. Cover, but don’t water yet
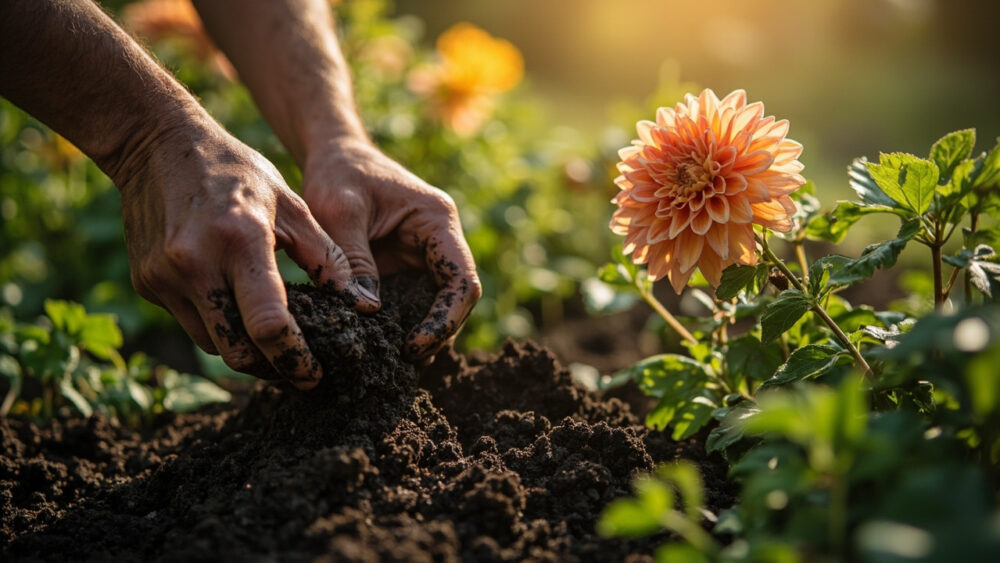
Backfill with soil and firm it gently. Here’s the mistake that ruins most first attempts: watering right after planting.
An unsprouted tuber sitting in wet soil is an invitation for rot. Hold off watering completely until you see the first green shoot break the surface, usually 10 to 21 days depending on soil temperature.
Once that shoot appears, the plant’s water needs change fast, and so does your job.
Watering and Feeding Through the Season
Once sprouted, dahlias want consistent moisture, roughly 1 inch of water a week, more during hot, dry stretches. Check the soil 2 inches down before watering; if it’s still damp, wait a day.
Here’s the sign people misread: yellowing lower leaves early in the season. Most assume underwatering and drown the plant in response. More often it’s the plant shedding older leaves as it puts energy into new growth, or it’s a sign of overwatering, not under.
Feed lightly with a low-nitrogen, higher phosphorus and potassium fertilizer (something like a 5-10-10 ratio) starting once plants are 12 inches tall, then every 3 to 4 weeks through summer. Heavy nitrogen gets you a jungle of leaves and disappointing blooms.
Pinch the center growing tip when the plant has 3 to 4 sets of leaves, around 12 to 15 inches tall. This forces branching, more stems, and more flowers instead of one tall single stalk.
Feeding and pinching build the plant, but staking is what keeps it standing once the flowers show up.
Staking, Pests, and the Problems That Actually Show Up
Tall dahlia varieties topple in summer storms not from bad luck but from no support installed early. Stake or cage at planting time, not after the plant is 3 feet tall and leaning. Trying to stake a mature dahlia usually means damaging roots or snapping stems.
Slugs and snails go after new growth in damp climates. Look for irregular holes and slime trails on lower leaves. Earwigs shred petals at night. Both are manageable with cultural controls like clearing debris and hand-picking at dusk, or a labeled slug bait used according to the product instructions.
Powdery mildew shows up as a gray-white coating on leaves in humid, still air. Improve airflow by thinning nearby plants and avoid overhead watering late in the day. If it’s already established, a labeled fungicide applied per the product’s instructions is the next step.
Spider mites and aphids both show up in hot, dry weather, aphids clustering on new growth, mites leaving a fine stippled or bronzed look on leaves. A strong water spray knocks back light infestations before you need anything stronger.
Handle those threats early and the plant sails through to the part you actually planted it for.
When and How to Harvest Dahlia Blooms
Dahlias typically start blooming 8 to 12 weeks after planting and keep going until the first hard frost. Unlike some cut flowers, dahlias do not continue opening much once cut, so timing the cut matters.
Cut blooms when they’re fully opennot in bud. A dahlia bud cut too early will simply sit there rather than finish opening in the vase.
Cut in the early morning when stems are full of water, using clean, sharp shears. Take stems 12 to 18 inches long, cutting just above a leaf node to encourage the plant to branch and produce more blooms.
Drop cut stems straight into water and get them out of direct sun as fast as you can. Dahlias are thirsty right after cutting and wilt quickly if left dry even for a few minutes.
Keep cutting through the season and the plant keeps producing, right up until frost ends the show and it’s time to think about the tubers underground.
Dahlias at a Glance
- When to plant: two to three weeks after your last frost, once soil is consistently around 60°F.
- Planting depth and spacing: 4 to 6 inches deep, eye facing up, 12 inches apart for dwarf types, 18 to 24 inches for standard and dinner-plate varieties.
- Sun and soil: at least 6 hours of full sun, well-drained soil with 2 to 3 inches of compost worked in, pH around 6.5 to 7.0.
- Watering: none until sprouts appear, then about 1 inch a week, checking soil moisture 2 inches down before adding more.
- Feeding: low-nitrogen fertilizer like a 5-10-10 ratio, starting at 12 inches tall and repeating every 3 to 4 weeks.
- Support: stake or cage at planting time, especially for tall varieties, before the plant needs it.
- Harvest: cut fully open blooms in early morning, stems 12 to 18 inches long, straight into water.
Get the tuber in the right way up and leave it dry until it sprouts, and you’ve already avoided the mistake that sinks most first-time growers.
Everything after that is just consistency: water, feed, stake, and cut.