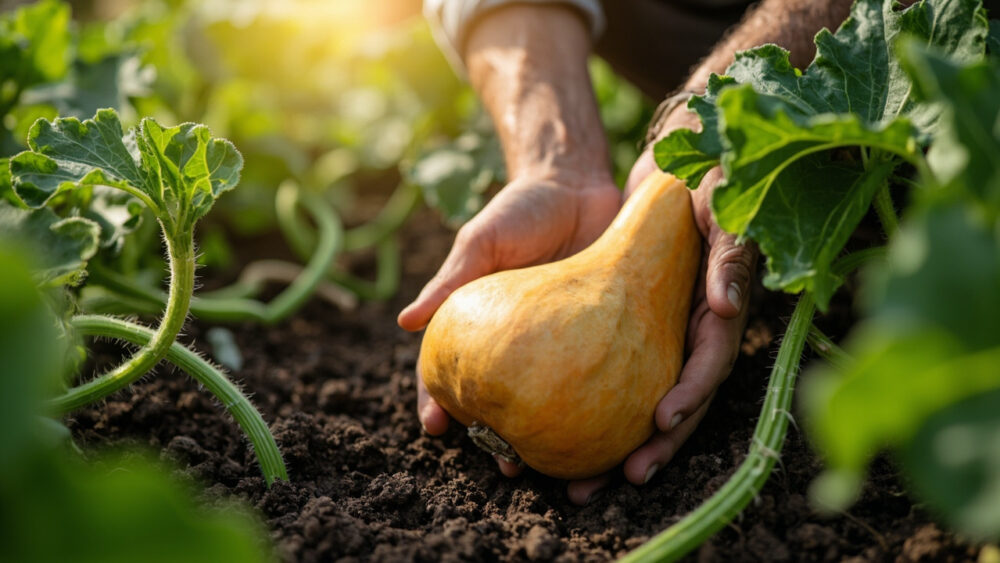
Here’s how to grow butternut squash from seed to harvest without wasting a season: plant after the soil hits at least 65°F, give each plant 9 to 16 square feet to sprawl, feed it consistently once it starts vining, and pull the fruit before the first hard frost when the skin has gone deep tan and won’t dent under your thumbnail. That’s the whole arc. But there are three or four places where this crop quietly fails, and if you don’t know them going in, you’ll be standing in the garden come September wondering why you’ve got a pile of vines and no squash.
The biggest mistake isn’t planting too late, it’s planting too early into cold soil, and it costs people three weeks of stalled growth they never get back. There’s also a sign most gardeners misread completely: big yellow flowers dropping off by the dozen, which looks like disease and is actually just the plant doing exactly what it’s supposed to do. And the harvest timing question everyone asks next, “but what if frost is coming and they’re not ready,” has a real answer, not just a hopeful one.
Stick with me through the growing steps and I’ll answer all of that, and at the bottom there’s a save-able Butternut Squash at a Glance card with every number in one place for your phone.
When to Plant Butternut Squash
Butternut squash is a heat lover with no tolerance for cold soil or frost. Wait until soil temperature reaches 65 to 70°F at a 2 inch depth, which is usually two to three weeks after your last spring frost date, not right on top of it. If you’ve got a soil thermometer, use it. If not, wait until nighttime air temps are reliably staying above 55°F.
In zones 3 to 6, that often lands anywhere from late May into mid June. In zones 7 to 10, you can go earlier, sometimes late April into May, and in the warmest zones you can even sneak in a second planting for a fall crop.
This is where the early-planting mistake happens. Seeds dropped into 55°F soil don’t die, they just sit there sulking, rot risk climbing every day it stays wet and cool.
Get the timing right and the next question is where in your yard this thing actually belongs.
Choosing the Spot and Prepping the Soil
Butternut squash wants full sun, six to eight hours minimum, and a lot more room than most people budget for. Vining varieties can run 8 to 15 feet, so plan for that spread or grow it up a sturdy trellis if space is tight.
Soil should be rich, well draining, and slightly acidic to neutral, roughly pH 6.0 to 6.8. Work in 2 to 3 inches of compost or aged manure before planting, especially if your soil is heavy clay or thin and sandy.
Squash is a heavy feeder from a nutrient-hungry family, and it will tell you fast if the bed is too lean. Pale new growth and slow vining are your early warning.
Good soil sets the table, but how you actually get the seed in the ground matters just as much.
Planting Butternut Squash Step by Step
Direct Seeding
- Sow seeds 1 inch deep directly in the garden once soil has warmed.
- Plant in hills of 2 to 3 seeds spaced 3 to 4 feet apart, or in rows with seeds every 6 inches, rows 4 to 6 feet apart.
- Water gently right after planting to settle the soil around the seed.
- Once seedlings have their first true leaves, thin each hill to the strongest 2 plants.
Starting Indoors
- Start seeds in 3 to 4 inch pots about 2 to 4 weeks before your last frost date, since squash resents root disturbance and shouldn’t sit in a small pot much longer than that.
- Transplant outdoors once soil has warmed and seedlings have 2 to 3 true leaves, being careful not to disturb the roots.
- Space transplants the same 3 to 4 feet apart as direct-seeded hills.
Either way you go, the plant doesn’t care much, it’s the soil temperature underneath it that decides how fast things move next.
Watering and Feeding Through the Season
Butternut squash wants 1 to 1.5 inches of water a week, more during dry heat once fruit is sizing up. Water at the base, not overhead, since wet leaves late in the day invite powdery mildew.
Let the top 1 to 2 inches of soil dry between waterings. Consistent moisture matters more than heavy soaking, since erratic watering is a common cause of bitter or misshapen fruit.
Feed with a balanced fertilizer at planting, then switch to something lower in nitrogen and higher in phosphorus and potassium once vines start running and flowers appear. Too much nitrogen late gives you jungle vines and few squash.
Now about those flowers dropping off, because this is the part that makes new growers panic.
Why All Those Flowers Are Falling Off
If you assumed dropped flowers mean disease or a dying plant, that guess sends people hunting for a fungicide they don’t need. The real story: squash produces separate male and female flowers, and the first flush is almost always male blooms that open, do their job attracting pollinators, and drop on their own within a day or two.
Female flowers show up slightly later and are easy to spot, they have a small bulb (the baby fruit) at the base of the bloom. No bulb, it’s male, and its dropping is completely normal.
If female flowers form but the fruit shrivels and drops, that’s usually a pollination gap, not a disease, and hand-pollinating with a small brush in the early morning fixes it fast.
Flowers are one thing, but the real threats to this crop show up on the leaves and stems.
Problems That Actually Take Down Butternut Squash
Squash vine borers are the ones that end a season outright. You’ll see sawdust-like frass near the base of the stem and sudden wilting of otherwise healthy vines. Once a borer is inside the stem, the plant usually can’t be saved, so prevention with row covers until flowering, and checking stems weekly, matters more than any cure.
Squash bugs cluster on leaf undersides and suck the plant dry, causing yellow speckled leaves that turn brown and crisp. Check under leaves regularly and crush egg clusters (they’re bronze, laid in neat rows) before they hatch.
Powdery mildew shows as white powder on leaves late in the season, usually cosmetic more than fatal if fruit is already sizing, but it does shorten the plant’s productive life. Good airflow and base watering are your best defense.
If a pest or fungal problem gets ahead of you, treat it culturally first, and if you do reach for a fungicide or insecticide, follow the product label exactly rather than guessing at rates.
Get through those hazards and the only question left is knowing exactly when to stop waiting and start cutting.
When and How to Harvest Butternut Squash
Butternut squash is ready in 80 to 100 days from seed, typically late summer into early fall. You’ll know it’s time by look and feel, not the calendar.
The skin turns from pale green-yellow to a deep, matte tan, and it should be hard enough that a thumbnail pressed into it doesn’t leave a mark. The stem connecting fruit to vine will start to dry and turn brown and woody.
Cut fruit with 1 to 2 inches of stem attached rather than snapping it off, since a broken stem invites rot in storage. Handle it gently, bruised squash doesn’t keep.
Now, the frost question. A light frost that only touches the leaves won’t hurt the fruit, but you want mature squash off the vine before a hard freeze, since freezing temperatures damage the flesh even if the skin looks fine. If frost is coming and fruit isn’t fully colored, harvest anyway and treat those as your first-to-eat squash rather than long keepers.
Cure harvested squash in a warm spot around 80 to 85°F for 7 to 10 days to toughen the skin further, then store in a cool, dry place around 50 to 55°F, where it will keep for 2 to 3 months or longer.
Everything above works together, and here’s the whole thing condensed onto one card you can pull up anytime.
Butternut Squash at a Glance
- When to plant: once soil hits 65 to 70°F, roughly two to three weeks after your last frost date.
- Spacing: hills 3 to 4 feet apart with 2 plants per hill, or rows spaced 4 to 6 feet apart, vines need 9 to 16 square feet per plant.
- Planting depth: 1 inch deep for direct-sown seed.
- Sun and soil: full sun, 6 to 8 hours minimum, rich well-draining soil, pH 6.0 to 6.8.
- Watering: 1 to 1.5 inches per week, at the base, more during fruit sizing and dry heat.
- Days to maturity: 80 to 100 days from seed.
- Harvest signs: deep tan skin that resists a thumbnail, dry woody stem, cut before hard frost with 1 to 2 inches of stem attached.
Get the soil temperature and spacing right at planting, and most of what follows takes care of itself.
Everything else on this list is just watching the plant closely enough to catch the few moments that actually matter.