Growing brussels sprouts from seed means starting six to eight weeks before your last frost indoors, or direct sowing about four months before your first fall frost, then giving the plants a long, cool season to bulk up those little sprouts along the stalk. This is not a fast crop. It is a slow, steady one that rewards patience and punishes shortcuts.
Here is what trips people up: brussels sprouts are a fall and winter crop wearing a spring seed packet’s clothes. Plant them like a summer vegetable and you will get bitter, loose, blown-out sprouts instead of the tight little cabbages you actually want. There is also a timing trap almost nobody sees coming until their plants bolt in July heat, and a harvest signal that has nothing to do with the size of the plant.
Stick with me through the whole process and you will get all of it: the sowing steps, the germination timeline, the transplant window, the season-long care, and exactly what to look for at harvest. The savable Brussels Sprouts at a Glance card is waiting at the bottom once you have the full picture.
When to Start Seeds: Indoors or Direct Sow
Brussels sprouts need 90 to 100 days from transplant to harvest, and they taste best after a light frost sweetens them up. That means you are working backward from your first fall frost date, not your last spring one.
Start seeds indoors about 12 to 16 weeks before your first expected fall frost, which in most regions lands in late spring to early summer. If you would rather direct sow, do it 14 to 18 weeks before that same fall frost date, straight into the garden bed.
Gardeners in mild-winter, cooler-summer climates can also start a spring crop, seeded six to eight weeks before the last spring frost, but expect the flavor to run milder and the timing to be tighter since summer heat can push the plants to bolt before sprouts form well.
Get the calendar right first, because no amount of good care fixes a crop planted for the wrong season.
Sowing Brussels Sprouts Step by Step
Depth and medium
Sow seeds a quarter inch to half an inch deep in a seed-starting mix or directly in loosened garden soil. Brussels sprouts seeds are small but not fussy about soil texture, they just need consistent contact with moisture.
Temperature
Soil temperature between 60 and 70°F germinates seeds fastest and most reliably. Below 50°F, germination slows way down or stalls out; above 85°F, you will get spotty, weak germination.
Light and placement
Seeds don’t need light to germinate, but seedlings need it immediately after they emerge, ideally 12 to 16 hours a day under grow lights kept just a couple inches above the leaves, or the brightest window you have. Weak light here is the number one reason indoor-started seedlings turn into tall, floppy, pale stems that never recover properly.
Get the light right from day one, because the next stage moves fast and gives you almost no warning.
Germination: What to Expect and When to Worry
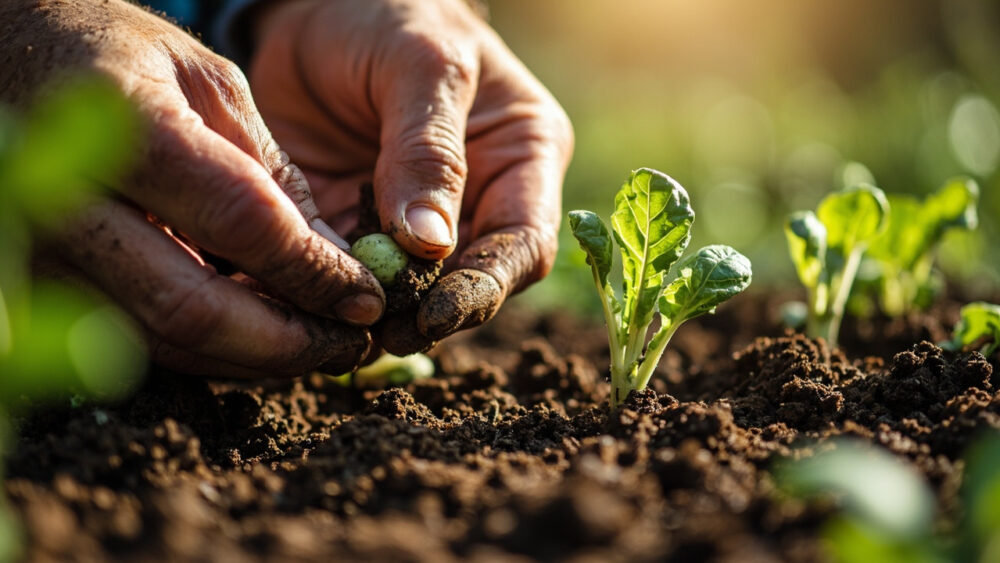
Expect germination in 5 to 10 days under good conditions. You will see a small loop of stem push up first, then two round seed leaves (cotyledons) unfurl.
If you assumed slow germination means bad seed, that guess sends a lot of gardeners to resow too early. Cool soil, even at a fine 60°F, can stretch germination out to 12 or even 14 days without anything being wrong.
Actually worry if you hit the 14 to 16 day mark with nothing showing, or if seedlings emerge and then rot at the soil line, which usually points to soil that is staying too wet and too cold at once. Let the surface dry slightly between waterings and keep the tray somewhere that doesn’t dip below 55°F overnight.
Once true leaves appear, the countdown to hardening off begins.
Hardening Off and Transplanting
Seedlings are ready to move outside once they have 2 to 3 true leaves beyond the seed leaves, usually 4 to 6 weeks after sowing. Harden them off over 7 to 10 days: an hour or two of outdoor shade the first day, building up to a full day of sun and wind exposure by the end of the week.
Skipping this step is the mistake that quietly ruins more crops than anything else on this list. Seedlings that go straight from a warm windowsill into full sun and open air can scorch, stall, or simply sit there sulking for two weeks while stronger transplants race ahead of them.
Space plants 18 to 24 inches apart in rows 24 to 30 inches apart. Brussels sprouts get tall and top-heavy, and crowding them invites poor airflow and disease later in the season.
Plant slightly deeper than they sat in their pots, burying an inch or so of stem, which helps anchor these top-heavy plants against wind and the weight of a fully loaded stalk.
Once they’re in the ground, the real work of the season starts.
Care Through the Season
Brussels sprouts are heavy feeders. Work compost or a balanced fertilizer into the bed before planting, then side-dress with a nitrogen-rich feed 4 to 6 weeks after transplanting to fuel the long growth ahead.
Water consistently, about 1 to 1.5 inches per week, keeping soil evenly moist rather than alternating between soggy and bone-dry. Inconsistent water is a common cause of loose, split, or bitter sprouts later on.
Mulch around the base to hold moisture and keep soil temperatures steady through summer heat. Stake tall plants in windy spots, since a six-foot stalk loaded with sprouts catches wind like a sail.
Watch for cabbage worms and aphids, which target brussels sprouts as reliably as any plant in the garden. Handpick worms when you see them, and if populations get out of hand, an insecticidal soap or a product labeled for caterpillar and aphid control on brassicas works, applied exactly per the label.
Around 6 to 8 weeks after transplant, once the plant is 12 to 18 inches tall, start removing the lower leaves just below where sprouts are forming. This directs the plant’s energy upward and makes room for sprouts to swell.
All that leaf removal and feeding is building toward one specific moment, and it isn’t the one most people expect.
When Brussels Sprouts Are Ready to Harvest
Here is the honest answer to the question you’re already forming: it is not about the plant’s overall size. It’s about the sprouts themselves, which should be firm, tight, and 1 to 2 inches across, a bright to deep green depending on variety.
Harvest from the bottom up, since sprouts mature along the stalk from the base toward the top over several weeks. Twist or cut sprouts off individually as each one reaches size, rather than waiting for the whole stalk to finish at once.
Flavor genuinely improves after one or two light frosts, 28 to 32°F, which convert starches to sugars and take the edge off any bitterness. This is the one crop where a frost warning is good news, not an emergency.
If a hard freeze is coming, you can cut the entire stalk and store it in a cool spot, sprouts still attached, and they’ll hold for several weeks.
That long, cool finish is exactly why the timing you set back at the start of this whole process matters so much.
Brussels Sprouts at a Glance
- When to plant: start seeds indoors 12 to 16 weeks before your first fall frost, or direct sow 14 to 18 weeks before that same date.
- Depth and spacing: sow a quarter to a half inch deep, transplant 18 to 24 inches apart in rows 24 to 30 inches apart.
- Best germination temp: 60 to 70°F soil, sprouting in 5 to 10 days.
- Hardening off: 7 to 10 days of gradually increasing outdoor exposure before transplanting.
- Water and feed: 1 to 1.5 inches of water weekly, plus a nitrogen side-dress 4 to 6 weeks after transplanting.
- Days to harvest: 90 to 100 days from transplant, sprouts 1 to 2 inches across, harvested bottom to top.
- Flavor tip: one or two light frosts, 28 to 32°F, sweeten the sprouts noticeably.
Get the fall-frost math right at the start and everything downstream gets easier. Everything else on this list is just steady, patient upkeep toward that first sweet, frost-touched harvest.