Here is how to care for bromeliad plants without killing them in month three: bright, indirect light, water that sits in the central cup instead of being poured over the soil, and a potting mix that drains fast because bromeliad roots barely do anything except anchor the plant. Get those three things right and the rest is maintenance.
Most people lose their bromeliad the same way, and it is not from neglect. It is from treating it like a normal potted plant and watering the soil the way you would a pothos, which slowly rots the roots while the leaves look fine right up until they do not.
There is also a bigger question nobody tells you the answer to until it is too late: your bromeliad’s colorful center will eventually fade, the whole plant will start to decline no matter what you do, and that is not a mistake, that is the plant finishing its one and only bloom cycle. Stick with me and you will know exactly what to do when that happens, plus the save-able Bromeliad at a Glance card at the very bottom for quick reference on your phone.
Light, Placement, and Temperature
Bromeliads want bright, indirect light, the kind you get a few feet back from an east or west window, or right up close to a north window. Direct, hot afternoon sun through south or west glass will scorch the leaves, especially on the softer-leafed, colorful varieties sold as houseplants.
Too little light shows up slowly: the plant stays green and technically alive but never colors up, and growth gets loose and pale.
Temperature-wise, they want what you want. Anywhere from about 65 to 80°F during the day is comfortable, and most tolerate a drop into the high 50s at night without complaint. What they do not tolerate is cold drafts, so keep them off a windowsill that gets frosty at night or a spot near an AC vent blasting cold air directly on the leaves.
Light sets the color, but water is what actually keeps the plant alive.
Watering: The Part Almost Everyone Gets Backward
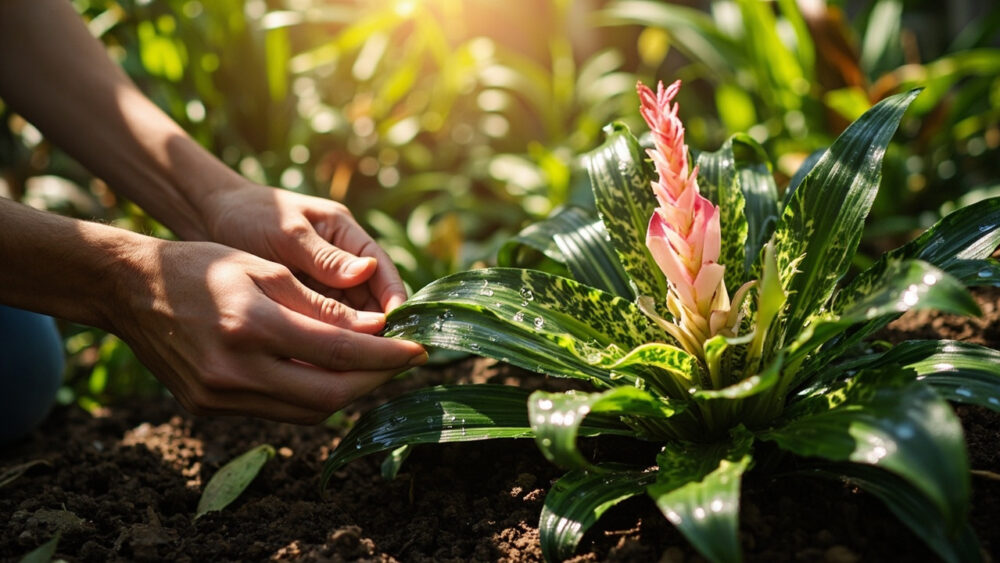
Most bromeliads sold as houseplants (the tank types, like Guzmania and Vriesea) have a natural cup formed by their overlapping leaves, and that cup is where the water goes, not the soil. Fill it with about half an inch to an inch of water and let it sit there, refreshing it every one to two weeks so it does not stagnate and turn stagnant or grow algae.
If you assumed more water at the roots means a happier plant, that guess is what actually kills most of them. Bromeliad roots in cultivation are mostly there to hold the plant upright, not to drink, and soil kept constantly wet rots them fast.
The soil itself only needs a light watering every couple of weeks, just enough to keep the mix from going bone dry. Let the top inch dry out between waterings. Empty and refresh the cup water more often in a hot, dry room, less often somewhere cool and humid.
Get the cup-versus-soil balance right and feeding becomes the easy part.
Soil, Potting Mix, and Feeding
Skip regular potting soil entirely. Bromeliads want a fast-draining, chunky mix, something like an orchid bark blend, or standard potting soil cut with perlite and orchid bark at roughly equal parts. The goal is a mix that never stays soggy for more than a day.
These are light feeders. A quarter-strength balanced liquid fertilizer, applied to the cup or lightly misted on the leaves once a month during spring and summer, is plenty. Skip feeding in fall and winter when growth slows way down.
Overfeeding is more likely to hurt a bromeliad than underfeeding, showing up as brown, crispy leaf tips and weak, floppy new growth. When in doubt, feed less.
With light and food dialed in, the routine upkeep is almost hands-off, but the timing on a couple of tasks actually matters.
Pruning, Repotting, and Cleaning, and When to Actually Do Them
Bromeliads do not need routine pruning. Just snip off any fully brown, dead leaves at the base with clean scissors as they show up, which keeps air moving through the plant and looks tidier.
Repotting is rarely urgent since the root system stays small. Most bromeliads never need a pot larger than 6 to 8 inches, and many live their whole life in the nursery pot they arrived in. Repot only if roots are pushing hard out of the drainage holes or the plant is visibly top-heavy and tipping.
Wipe the broad leaves down with a damp cloth every few weeks to clear dust, which matters more than it sounds since dust-coated leaves take in noticeably less light.
That is the entire maintenance list, so the real test of your care shows up in what the plant does next.
The Bloom Fades: What Everyone Gets Wrong About This Stage
Here is the follow-up question every bromeliad owner eventually has: why is my plant’s center turning brown and dying after months of looking perfect? The honest answer is that it is not dying from a mistake you made. It bloomed once, and now it is finishing its natural life cycle.
A bromeliad flowers exactly once. After that colorful bract fades, usually over several months to a year, the mother plant slowly declines no matter how well you care for it. This is normal, not a symptom of bad care.
Before it fully browns, though, it produces “pups,” small offset plants that grow at its base. Let a pup reach at least a third the size of the parent, then cut it away with a clean knife, keeping some roots attached if it has them, and pot it separately in the same fast-draining mix.
Once you know the mother plant’s decline is expected, the only real question left is whether the plant was thriving before that point, so here is how to read that.
Signs Your Bromeliad Is Actually Thriving
A healthy bromeliad has firm, upright leaves with good color for its variety, whether that is solid green or the pink, red, or purple blush of a colored type. New growth emerges from the center looking tight and pale green before hardening off.
Watch for pups starting to form once the plant is mature, usually within a year or two of you bringing it home. That is the clearest sign the plant is happy enough to reproduce.
Trouble signs to catch early include soft, mushy leaf bases (usually crown or root rot from too much water sitting at the base), fine webbing with tiny specks on the underside of leaves (spider mites, especially in dry indoor air), and brown, scaly bumps that do not wipe off (scale insects). For any pest problem, an insecticidal soap or horticultural oil applied according to the product label usually handles it if you catch it early.
Bromeliads are non-toxic to cats and dogs according to the ASPCA’s plant list, though any plant material can cause mild stomach upset if chewed on. If a pet eats a large amount or seems unwell afterward, call your veterinarian.
Once you can read these signs, you have everything you need, so here is the whole thing distilled onto one card.
Bromeliad at a Glance
- Light: bright, indirect light, a few feet from an east or west window, no direct hot afternoon sun.
- Watering: fill the central cup with half an inch to an inch of water, refresh every one to two weeks, water the soil lightly only every couple of weeks.
- Temperature: 65 to 80°F by day, no colder than the high 50s at night, no cold drafts.
- Soil: fast-draining orchid bark or bark-and-perlite mix, never dense potting soil alone.
- Feeding: quarter-strength liquid fertilizer once a month, spring through summer only.
- Repotting: rarely needed, only when roots crowd the drainage holes or the plant tips over.
- Bloom cycle: flowers once, then slowly declines over months while producing pups, which is normal.
If you remember one thing, remember this: water the cup, not the soil.
The bloom will fade no matter what you do, but the pups it leaves behind mean the plant never really has to end.