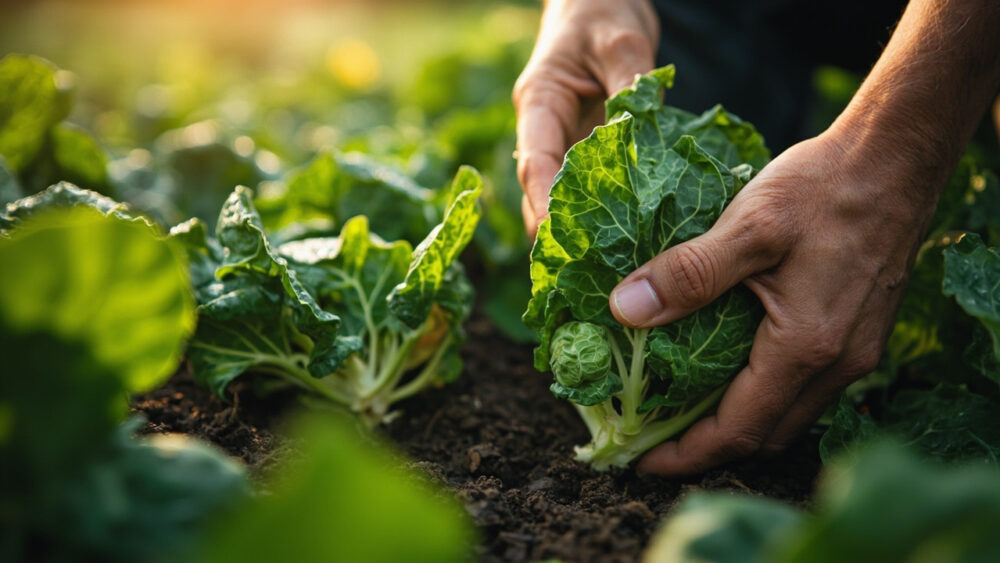
Brussels sprouts move through six distinct stages over 80 to 100 days: germination, seedling, vegetative leaf growth, stalk elongation with sprout initiation, sprout bulking, and finally the post-frost sweetening that most gardeners never time right. If you can name which stage your plant is in right now, you know exactly what it needs and what to leave alone.
Most people ruin this crop at the same point, and it is not the stage you would guess. It is not planting time and it is not harvest.
It is the moment the sprouts start forming, when the plant looks fine on top but is quietly demanding something specific underground. I will tell you exactly what that is when we get there, and I will also cover the sign everyone misreads as disease when it is actually just the plant doing its job. Stick around to the bottom for a save-able Brussels Sprouts at a Glance card with every timeframe and number in one place.
Stage 1: Germination (Days 1 to 10)
Seeds sprout when soil temperature sits between 45 and 85 F, though 65 to 75 F gives you the fastest, most even germination. Sow seeds about a quarter to half inch deep, whether directly in the ground or in cell trays for transplanting later.
You will see a small loop-shaped shoot break the surface first, followed by two rounded seed leaves within a few days. Keep the soil consistently moist but never soggy. This stage needs almost nothing from you except patience and a spray bottle or gentle watering can.
Once those first true leaves appear, the plant shifts gears fast.
Stage 2: Seedling Stage (Weeks 2 to 4)
The seed leaves give way to true leaves that actually look like miniature cabbage foliage, rounded with slightly ruffled edges. By three to four weeks old, seedlings should have four to six true leaves and be ready for transplant if you started them indoors or in a nursery bed.
This is when timing against your calendar actually matters. Brussels sprouts want a long, cool season, so count backward from your first fall frost date and aim to transplant seedlings outside 12 to 16 weeks before that frost hits. In most regions that means starting seed in late spring to early summer for a fall harvest.
Space transplants 18 to 24 inches apart in rows 24 to 36 inches apart. Crowding them now is the single easiest way to get tall, floppy plants with undersized sprouts later.
Get spacing right at this stage and you are set up for everything that follows.
Stage 3: Vegetative Growth, the Leafy Stalk (Weeks 4 to 8)
This is the stage everyone underestimates. The plant is building a thick central stalk and a rosette of large, cabbage-like leaves, often reaching 18 to 24 inches tall with leaves spreading just as wide.
It looks like nothing is happening besides leaf production, and that is exactly the point. Brussels sprouts spend weeks doing what looks like all show and no substance, but that leaf canopy is the engine that will feed sprout formation later.
Feed heavy here. Brussels sprouts are hungry plants, and a side dressing of a nitrogen-leaning fertilizer or a few inches of compost worked into the soil around week 5 or 6 makes a real difference in final sprout size. Keep soil evenly moist, about an inch of water a week between rain and irrigation, since drought stress now shows up as small, loose sprouts two months from now.
Once the stalk starts elongating and tiny bumps appear where leaves meet stem, the plant has moved into the stage that decides your whole harvest.
Stage 4: Sprout Initiation, the Stage Where Most Gardens Fail
Around week 8 to 10, small nubs form in the leaf axils along the lower stalk. These are baby sprouts, and this is the true turning point of the whole crop.
Here is the mistake that costs most people their harvest: they assume the plant now needs less water and less fertilizer since it is “almost done growing up.” The opposite is true. Sprout initiation is the most nutrient and water-demanding stage of the entire crop, because the plant is now running two jobs at once, still stretching upward while also filling dozens of tiny buds.
Nitrogen should taper slightly now in favor of potassium, since too much nitrogen at this exact point produces loose, leafy sprouts that never tighten up. A balanced vegetable fertilizer or a potassium-rich feed works better here than another dose of high-nitrogen compost.
Consistent soil moisture matters more now than at any other point, so do not let this bed dry out between waterings.
Stage 5: Sprout Bulking (Weeks 10 to 16)
Sprouts thicken from marble size to golf-ball size, filling in from the bottom of the stalk upward. This is where the plant can reach its full height, often 24 to 36 inches, sometimes taller in ideal conditions.
Here is the sign almost everyone misreads. Lower leaves start yellowing and dropping off during this stage, and gardeners panic, assuming disease or nutrient deficiency. In most cases this is completely normal. The plant is shedding older leaves it no longer needs as it redirects energy into sprout production, the same way a tomato plant drops lower foliage once fruit is loading up.
Some gardeners snap off the lowest leaves on purpose once the sprouts below them have started to swell, which can encourage slightly faster bulking. It is optional, not required.
Watch the bottom of the stalk closely now, because that is where your first harvestable sprouts will show up.
Telling Healthy Progress From a Stall
Healthy plants add new leaf growth at the top every one to two weeks and show sprouts steadily thickening from the bottom up. A stalled plant stops producing new top growth, sprouts stay pea-sized for three or more weeks, or the whole plant looks pale rather than deep green.
Stalls almost always trace back to one of three things: heat above 80 F for extended stretches, which brussels sprouts hate and respond to by pausing sprout development, nitrogen deficiency showing as overall pale color, or root competition from weeds or overcrowding. Check soil moisture an inch down; if it is bone dry, that alone can stall a plant that otherwise looks fine.
A genuine stall from summer heat usually resolves once temperatures drop back into the 60s, so this is one problem that often fixes itself with patience rather than intervention.
Once sprouts along the lower stalk feel firm and reach an inch or slightly more across, you are into harvest territory.
Stage 6: Harvest and the Post-Frost Sweetening Everyone Asks About
Here is the honest answer to the question every reader has next: yes, frost genuinely improves brussels sprouts, and it is not a myth. One or two light frosts trigger the plant to convert stored starches into sugars as a cold-tolerance response, which measurably softens the bitter edge these vegetables are known for.
Start harvesting from the bottom of the stalk once sprouts are firm and about 1 to 1.5 inches across, twisting or cutting them off individually. The plant keeps producing new sprouts higher up the stalk for weeks after you start picking the bottom ones.
You can harvest right through several hard freezes down into the low 20s F; the sprouts hold on the stalk far better than most vegetables tolerate cold. Many gardeners deliberately leave a final harvest until after the first real frost specifically for the flavor improvement.
That patience is the last real skill this crop asks of you, and it is the one that pays off most on the plate.
Brussels Sprouts at a Glance
- Days to maturity: 80 to 100 days from transplant, longer from direct seed.
- When to plant: transplant seedlings 12 to 16 weeks before your first fall frost date.
- Spacing: 18 to 24 inches between plants, 24 to 36 inches between rows.
- Soil and water: rich, well drained soil, about 1 inch of water weekly, never let it dry out during sprout initiation.
- Feeding: nitrogen-heavy early for leaf growth, shift to balanced or potassium-leaning feed once sprouts start forming.
- Harvest window: pick from the bottom up once sprouts reach 1 to 1.5 inches and feel firm.
- Frost tolerance: survives well into the low 20s F, and light frost sweetens the flavor.
If you remember one thing from all of this, remember that sprout initiation is the stage that makes or breaks the whole crop, not planting day and not harvest day.
Feed and water hardest right when the plant looks like it needs it least, and let a frost or two finish the job for you.