The method that actually works for boston fern is division, not cuttings. This plant grows from a crown of rhizomes packed with fiddleheads, and pulling that root mass apart into smaller rooted sections is the only reliable way to propagate boston fern at home. Do it in spring or early summer when the plant is actively pushing new fronds, and you will have usable new plants within a few weeks.
Most people try to root a cut frond in water like they would a pothos cutting, and that is the mistake that wastes an entire season. A frond alone has no way to grow roots, no matter how long you leave it sitting in a jar on the windowsill.
Below you will find the sign everyone misreads as failure during the first two weeks, the honest timeline week by week, and a save-able “Boston Fern at a Glance” card at the very bottom with everything worth writing down.
Why Division Beats Every Other Method
Boston fern (Nephrolepis exaltata) does not propagate from leaf or stem cuttings the way many houseplants do. Its fronds are not capable of independently producing roots.
What it does have is a dense underground network of rhizomes, plus wiry runners that root where they touch soil, and sometimes small plantlets at the base. Division exploits that structure directly. You are not asking the plant to do anything unnatural, you are just separating what it was already going to spread into on its own.
This is also why division succeeds so much faster than any rooting attempt: the new section already has roots attached before you even plant it.
That head start is the whole reason this method works when others fail.
Step by Step: Dividing a Boston Fern
Choosing and Preparing the Plant
Pick a fern that is pot-bound or has multiple visible crowns, clumps of fronds emerging from separate points rather than one central tuft. Water it well the day before you divide, dry root balls tear instead of pulling apart cleanly.
A stressed, drought-wilted fern gives you weak divisions that struggle to establish.
Taking the Division
Slide the whole plant out of its pot and shake or rinse off loose soil so you can actually see the crown structure. Look for natural separation points where rhizome clumps are only loosely connected.
Use a clean knife or your hands to pull or cut sections apart, aiming for divisions with at least 3 to 5 fronds and a healthy chunk of roots attached, roughly the size of your fist or larger. Smaller slivers survive, but they take much longer to look like a real plant.
Rooting Medium and Immediate Aftercare
Pot each division into a fresh, well-draining mix, a standard peat-free potting soil with perlite or a houseplant mix labeled for ferns works well. Plant at the same depth the crown was sitting before, buried rhizomes rot, exposed ones dry out.
Water thoroughly right after potting, then keep the soil consistently moist, not soggy, for the next several weeks while roots reestablish.
Getting the division right matters, but what happens in the following two weeks is where most people panic unnecessarily.
Conditions That Actually Matter
Boston ferns want bright, indirect light, an east or filtered south window is close to ideal. Direct hot sun scorches the fronds, especially on a freshly divided plant with a reduced root system.
Humidity is the piece most indoor growers underestimate. This fern evolved in humid, shaded forest floor conditions, and dry indoor air, especially near heating vents, causes browning fronds regardless of how well you watered.
Aim for temperatures between 65 and 75°F. A pebble tray, nearby humidifier, or grouping plants together all help more than people expect.
Get the light and humidity right and the rooting itself takes care of itself.
The Timeline: What to Expect Week by Week
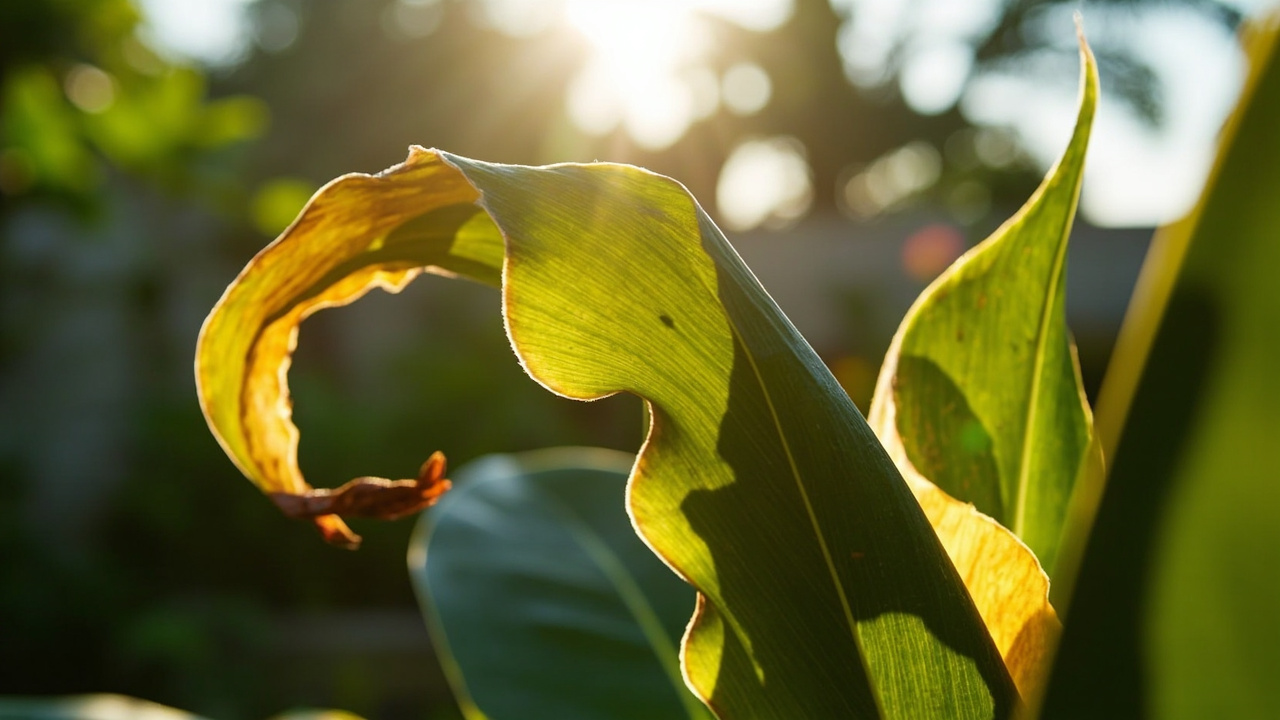
Here is the sign that trips up almost everyone: in the first one to two weeks after division, the plant often looks worse, not better. Fronds may yellow, flop, or drop entirely. This is transplant shock from root disturbance, not a dying plant, and it is the single most common reason people assume they failed and give up.
- Week 1 to 2: Existing fronds may wilt or yellow, some drop off. No new growth yet, this is normal stress response.
- Week 3 to 4: New fiddleheads (tightly curled baby fronds) begin emerging from the crown if roots are establishing well.
- Week 5 to 8: Fronds unfurl and the division starts filling out, roots have anchored into the new soil.
- Week 8 to 12: The division looks like a proper small fern, ready for its permanent pot or spot.
If you see zero new growth by week five or six, check the crown for softness or a rotten smell before assuming it is dead, sometimes it just needs more time.
Once new fronds are unfurling reliably, it is time to think about where this plant actually lives long term.
Potting Up and Placement
Move a division into its next pot size once roots visibly reach the drainage holes or the plant dries out unusually fast between waterings, usually 6 to 10 weeks after dividing. Go up only one pot size at a time, 2 inches larger in diameter is plenty.
Boston ferns are almost always grown as houseplants or on shaded porches rather than planted directly in the ground, except in USDA zones 9 through 11 where they can live outdoors year-round in shaded, moist beds.
If you are moving one outdoors for summer, do it after nighttime temperatures stay reliably above 50°F, and keep it out of direct afternoon sun.
Space multiple divisions or plants at least 18 to 24 inches apart if planting in the ground, they get wide fast.
Placement solves half the battle, but there is still one honest answer about why these attempts fail that nobody gives you upfront.
Why Most Propagation Attempts Actually Fail
The most common failure is dividing too small. A tiny sliver with one or two fronds and barely any root mass simply does not have the stored energy to recover from the shock of separation.
The second failure is overwatering the freshly divided crown before roots exist to take up that moisture, which leads to crown rot, a soft, mushy, foul-smelling base that cannot be reversed. Underwatering during the shock phase is the opposite mistake and just as common, since people see wilting and assume more water is the fix.
If you assumed wilting means the soil is too dry, that guess kills more divisions than actual drought does, check the soil with a finger an inch down before adding water.
The third failure is low humidity combined with direct sun, a combination that browns fronds within days on a plant that has no root reserve left to recover with.
Avoid those three mistakes and division works almost every time, which brings us to the card worth saving.
Boston Fern at a Glance
- Best method: Division of the rhizome crown, not stem or leaf cuttings, which cannot root.
- When to divide: Spring through early summer, during active new growth, not while the plant is dormant or stressed.
- Division size: At least 3 to 5 fronds with a healthy attached root mass, roughly fist-sized or larger.
- Rooting medium: Well-draining, moisture-retentive potting mix with perlite, planted at the original crown depth.
- Ideal conditions: Bright indirect light, 65 to 75°F, high humidity from a pebble tray or humidifier.
- Timeline: Expect shock and yellowing weeks 1 to 2, new fiddleheads by weeks 3 to 4, a filled-out plant by week 8 to 12.
- Common killer: Overwatering a rootless crown or letting humidity drop while fronds sit in direct sun.
Division is slower to look impressive than a rooting jar full of cuttings, but it is the only version of this that actually produces new boston ferns. Give the shock phase its two weeks before you judge anything.