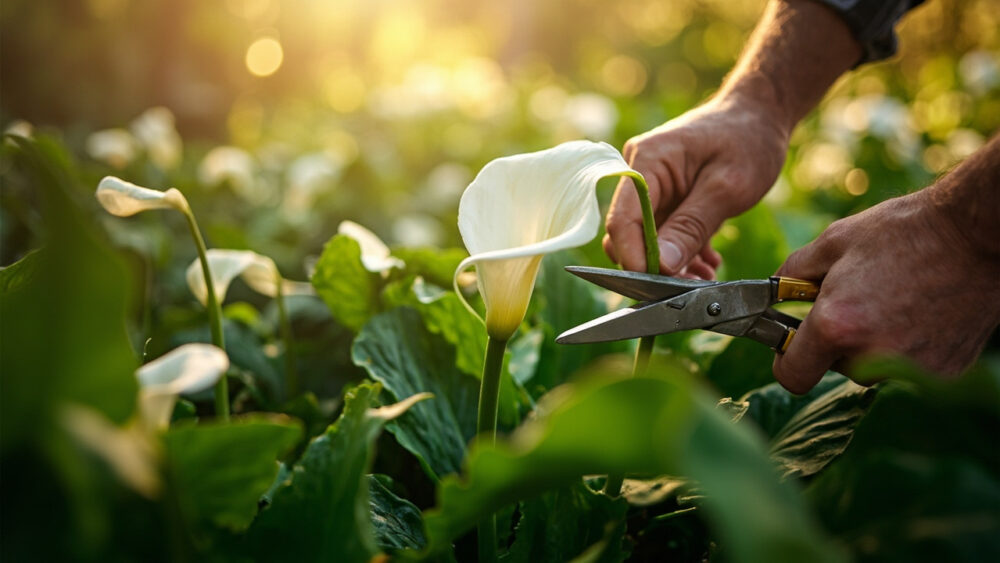
Here’s the honest answer on how to prune calla lilies: you don’t cut them like a rose bush or a hedge. You deadhead spent flower stalks right at the base as they finish, and you leave the leaves alone until they yellow and collapse on their own, usually 6 to 8 weeks after bloom. That’s most of the job. There’s no heavy structural pruning here because calla lilies aren’t woody plants, they’re growing from a rhizome, and every green leaf you remove too early is energy the plant can’t send back down to next year’s blooms.
That last part is where most people go wrong. The mistake that costs an entire season isn’t cutting in the wrong spot, it’s cutting the foliage while it’s still green because it looks a little tired and you want the bed to look tidy. That single decision can mean a rhizome too weak to flower well the following year.
There’s also a sign almost everyone misreads: a flower stalk that’s flopped over and faded looks dead, but the leaves around it are often still working hard, manufacturing the starch that gets stored underground. Stick with me and I’ll show you exactly where to cut, how much is too much, and what a healthy post-bloom calla actually looks like versus one in trouble. There’s a save-able Calla Lilies at a Glance card waiting at the bottom with the numbers on one screen.
When to Prune, and When to Leave It Alone
Deadhead as you go. The moment a flower spathe fades, twists, or turns papery, that stalk is done producing and can come out. This happens continuously through the bloom period, which usually runs 6 to 8 weeks depending on your climate and whether you’re growing calla lilies in the ground or in containers.
Leaf removal is a different calendar entirely. You don’t touch foliage until it yellows on its own, which for most gardeners is late summer into fall, roughly 8 to 10 weeks after the last flowers. If you garden in a zone where callas are hardy outdoors (zones 8 through 10 for most common types), the foliage dies back with the first light frost or cooling soil temperatures. If you’re lifting rhizomes to store for winter, wait until foliage is at least half yellowed before you dig.
The one time to skip pruning entirely is early in the season, while the plant is still pushing new growth and buds. Cutting anything green during active spring growth just removes future flowers.
Next, the two tools that actually matter, and the prep step people skip.
Tools and the One Prep Step That Matters
You need a clean, sharp pair of bypass pruners or simply your fingers for the softest stems. That’s genuinely most of the tool list. Calla stalks are fleshy and hollow, not woody, so anything sharper than garden snips is overkill.
The prep step that matters is sanitizing your blades before you cut, especially if you’ve handled other plants that day. Calla lilies are susceptible to bacterial soft rot, and a dirty blade can carry that rot straight into a healthy rhizome through the cut. Wipe blades with rubbing alcohol between plants, not just between garden visits.
Also worth knowing before you start: calla lily sap contains calcium oxalate crystals and is toxic if chewed or swallowed, and it can irritate skin. Wear gloves if you have sensitive skin, and keep curious pets and kids away from cut stems. If a pet ingests any part of the plant, call your veterinarian rather than waiting to see what happens.
With clean tools and gloves ready, here’s exactly where to make the cut.
How to Prune Calla Lilies Step by Step
Step 1: Deadhead the spent flower stalk
Follow the flower stalk down to where it emerges from the base of the plant, at or just above soil level. Cut there, not partway up the stem. Leaving a stub just rots and looks worse than the faded flower did.
Step 2: Twist-and-pull as an alternative
Many gardeners skip the pruners entirely and give the spent stalk a firm twist at the base, then pull. If it’s truly finished, it separates cleanly. If it resists, it’s not ready, cut it or leave it another few days.
Step 3: Leave healthy green leaves completely alone
Don’t shape them, don’t trim tips, don’t remove the biggest ones for a tidier look. Every green leaf is still photosynthesizing and feeding the rhizome below.
Step 4: Remove foliage only once it’s yellowed and limp
When a leaf has gone fully yellow or brown and pulls away with a gentle tug, take it off at the base. If it resists or is still partly green, it’s not ready yet.
Step 5: Cut everything down after full dieback, if you’re overwintering in place
In zones where the rhizome stays in the ground through winter, once the entire plant has collapsed and browned after frost, cut all foliage down to an inch or two above soil level and mulch over the crown.
That’s the full physical process, but knowing what happens next tells you whether you did it right.
What to Expect After Pruning
After deadheading, most calla lilies keep producing new flower stalks for several more weeks, especially the compact colored hybrids commonly sold as potted or bedding plants. Removing spent blooms promptly actually encourages this, since the plant stops trying to set seed and redirects energy into new buds.
After foliage removal at true season’s end, expect nothing above ground until next spring. That’s normal. The rhizome is dormant, not dead.
If you’re growing the white florist-type calla (Zantedeschia aethiopica) in a warm, wet spot, it may stay semi-evergreen through mild winters and skip dormancy almost entirely. Don’t force a dormant-season cutback on a plant that’s still actively growing.
Next comes the part that actually determines whether you get flowers next year at all.
The Mistakes That Cost You Flowers
Cutting green leaves for tidiness is the single biggest flower-killer here. It feels productive. It isn’t. Every leaf you remove early is stored energy the rhizome will never get.
Cutting the flower stalk too high, leaving a long stub, invites rot that can travel down into the crown. Always cut at the base.
Pruning during active spring growth, mistaking new shoots or unopened buds for something that needs cleanup, removes flowers before they even happen.
Lifting and storing rhizomes before foliage has substantially yellowed means storing an underfed rhizome that sprouts weak or not at all next season.
Using dirty pruners on a plant this prone to bacterial soft rot is how one infected cut turns into a collapsed, mushy rhizome by midsummer. Sanitize between cuts, not just between plants.
Get those five right and everything else about growing calla lilies gets easier, which brings us to the numbers worth saving.
Calla Lilies at a Glance
- When to deadhead: immediately after each flower fades or turns papery, cutting the stalk at the base, ongoing through the 6 to 8 week bloom period.
- When to remove leaves: only after they yellow and go limp on their own, typically 8 to 10 weeks after bloom or after first light frost.
- Never prune: green, upright foliage or unopened buds during active spring and summer growth.
- Tools needed: clean bypass pruners or bare hands for a twist-and-pull, sanitized with rubbing alcohol between cuts.
- Hardiness: zones 8 through 10 outdoors for most types, container or indoor growing everywhere else.
- Toxicity: sap and all plant parts are toxic if chewed or swallowed and can irritate skin, keep pets and kids away from cuttings and contact a veterinarian if ingestion is suspected.
- Storage timing: lift rhizomes for winter only after foliage is at least half yellowed, never while leaves are still green.
Prune the flowers as they fade, leave the leaves working until they quit on their own.
Get that timing right and the rest of calla lily care takes care of itself.