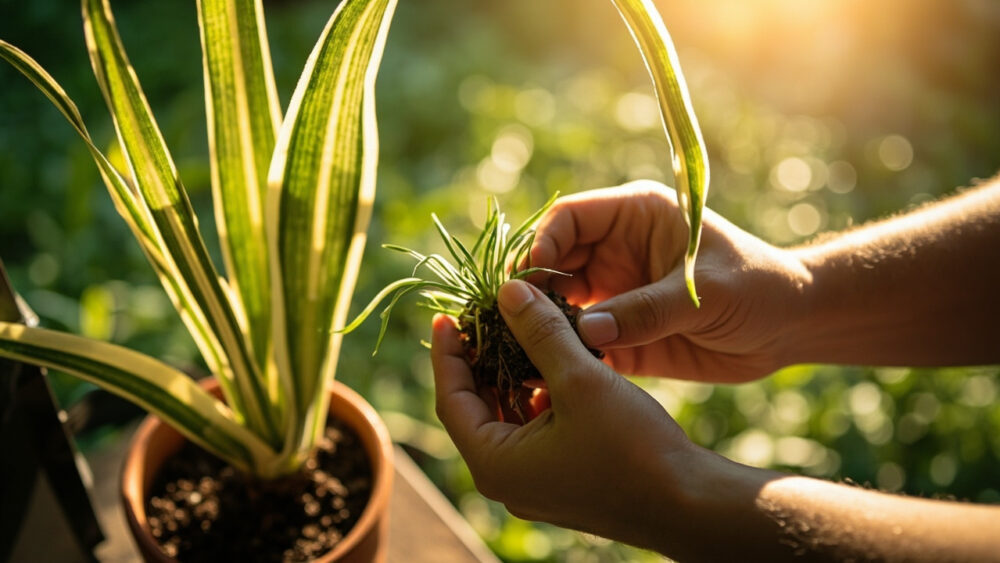
The fastest, most reliable way to propagate a spider plant is to root one of its baby plantlets, the little star-shaped clusters dangling off the long stems, either in water or directly in soil. Most plantlets grow roots within two to three weeks and are ready to pot on their own within a month. That is the whole method to propagate spider plant successfully, but the details of which plantlet to pick and how long to wait are where most people go wrong.
Here is the mistake that wastes the most time: cutting plantlets too early, before they have any root nubs of their own, and then wondering why they rot instead of root. There is also a sign almost everyone misreads, mistaking a plantlet’s dangling white threads for dead roots when they are actually the healthiest ones on the whole plant.
And if you are already wondering whether you can just skip cutting anything and divide the crowded mother plant instead, yes, and there is an honest answer below about when that is actually the better move. Stick around for the full breakdown, because the save-able Spider Plant at a Glance card at the bottom has the timeline and potting details you will want pulled up on your phone while you work.
Why Plantlets Beat Every Other Method
Spider plants hand you free clones on a silver platter. Those dangling plantlets, sometimes called pups or babies, are already genetically identical mini plants complete with tiny aerial roots forming at the base. You are not coaxing a stem to figure out how to root, you are just giving a plant that already knows how to root a place to do it.
Division works too, but it is a bigger, messier job that stresses the mother plant and only makes sense when you are repotting anyway. Stem cuttings, the method that works for pothos or philodendron, do not work here at all. Spider plants do not root from a cut stem, so do not waste a leaf cutting on this one.
The plantlet method wins on every count: speed, success rate, and zero damage to the parent plant.
Step by Step: From Plantlet to Rooted Baby
Pick the right plantlet
Look for a plantlet with small white or brown nubby bumps at its base, sometimes already a quarter inch of visible root. A plantlet with flowers but no root nubs yet is not ready. Wait another week or two rather than forcing it.
Take the cutting
Snip the plantlet from its stem with clean scissors, leaving about an inch of the connecting stem attached if you can. You can also leave the plantlet attached to the mother plant while it roots, called pinning, which some growers find has a slightly higher success rate.
Choose your rooting medium
Water is the easiest way to watch progress: set the base of the plantlet in a small jar so just the root nubs and bottom quarter inch touch water, keeping leaves dry. Soil works too, and skips the transplant shock of moving from water to soil later, so if you have the patience to check moisture by feel instead of sight, plant the plantlet directly into a small pot of standard, well-draining potting mix.
Conditions matter more than the medium you pick. Bright, indirect light and room temperature around 65 to 75°F get you the fastest roots regardless of water or soil.
Getting the cutting right is only half the job, what happens over the next few weeks decides whether it survives.
Week by Week: What Rooting Actually Looks Like
Week one is quiet and this is where people panic. The plantlet looks unchanged, maybe a little droopy from the stress of being cut. Nothing visible is happening on top, but underneath, the existing root nubs are lengthening.
By week two, in water, you should see new white roots branching off the original nubs, sometimes reaching an inch long. In soil, gently tug the plantlet, slight resistance means roots have grabbed.
Week three to four is when new growth starts, a fresh little leaf pushing up from the center. That is your confirmation the plantlet is a self-sufficient plant now, not just a rooted cutting hanging on.
Those dangling white threads you saw on the plantlet before you ever cut it were not dead roots, they were aerial roots already reaching for moisture, which is why plantlets root faster than almost any other houseplant cutting.
Once you see that new leaf, it is time to think about permanent housing.
Potting Up: When and How
Move a water-rooted plantlet to soil once roots are at least one to two inches long, usually around the three to four week mark. Waiting longer in water than that risks roots that are adapted to water and sulk for a week or two when finally planted, so do not leave it swimming for months out of caution.
Use a pot with drainage holes only slightly bigger than the root ball, around 3 to 4 inches across for a fresh plantlet. Oversized pots hold excess moisture around roots that cannot use it all yet, which invites rot.
Plant it at the same depth it was rooted, water it in, then keep soil lightly moist but never soggy for the first two weeks while it adjusts. After that, spider plants want to dry out somewhat between waterings, so ease off.
Getting the pot right solves half the failures, the other half happen earlier, before potting is even a question.
Why Most Attempts Actually Fail
The single biggest killer is cutting a plantlet with no root nubs at all and expecting it to root anyway just because it is a spider plant. Some do eventually, but many rot in water or shrivel in soil first. Patience at the harvesting stage saves more cuttings than anything you do afterward.
Second most common failure is leaves submerged in the water jar along with the base, which rots the leaf tissue and fouls the water fast. Only the root nubs and the very base should sit wet.
Low light stalls rooting to a crawl, and low humidity in a dry winter room can dry out a soil-rooted plantlet before roots ever establish. If you are dividing the whole mother plant instead of taking plantlets, do it only when repotting, since digging into a rootball you were not otherwise disturbing sets the plant back for no reason.
Avoid those four mistakes and there is genuinely very little left to go wrong with this plant.
Spider Plant at a Glance
- Best method: root a plantlet, the small baby plant dangling on a stem, in water or soil rather than attempting a stem cutting or leaf cutting, which will not root.
- When to take a plantlet: once it shows visible white or brown root nubs at its base, usually a quarter inch or longer, not before.
- Rooting medium: water in a small jar with only the base submerged, or straight into a well-draining potting mix, both work equally well.
- Conditions: bright, indirect light and 65 to 75°F room temperature for fastest, most reliable rooting.
- Timeline: visible roots by week two, new leaf growth by week three to four, ready to pot around one month.
- Potting up: move water-rooted plantlets to soil once roots reach one to two inches, using a pot only 3 to 4 inches across.
- Biggest mistake: cutting a plantlet before it has any root nubs, or submerging its leaves along with the base in water.
Wait for the root nubs, keep the leaves dry, and this is one of the easiest plants in the house to multiply for free.
Give it a bright windowsill and a month, and you will have more spider plants than pots to put them in.