Growing pinto beans means planting them in warm soil after all frost danger has passed, spacing seeds a few inches apart in full sun, and then leaving them alone for 90 to 120 days while pods dry right on the plant. That last part surprises a lot of first-timers. If you learn how to grow pinto beans expecting to pick them green like a snap bean, you will be disappointed and probably harvest at the wrong time.
There is one mistake that wrecks more pinto bean patches than anything else, and it has nothing to do with watering or fertilizer. There is also a moment in late summer when the whole plant looks half-dead, and that is exactly when most people panic and pull everything out a month too early.
Save this article, because the bottom has a quick-reference “Pinto Beans at a Glance” card with every number you need on hand for planting day and harvest day, no scrolling back through the article to find it.
When to Plant Pinto Beans
Pinto beans are a warm-season crop, and they will not forgive impatience. Wait until soil temperature is at least 60°F, ideally 65 to 70°F, which usually lands one to two weeks after your last spring frost date. Cold, wet soil rots the seed before it ever germinates.
In most of the country that means late spring, but there is no universal calendar date that works. Zone 3 to 5 gardeners are often planting in late May or June, while zone 7 and up can go in mid to late April. Watch the soil, not the calendar.
This is the guessable part people get wrong: they assume earlier is always better, the way it feels with peas or lettuce. With beans, early planting into cold soil just means replanting two weeks later after nothing came up.
Get the timing right and the rest of the season gets a lot easier.
Picking the Spot and Prepping the Soil
Pinto beans want full sun, at least 6 to 8 hours a day, and soil that drains well. Heavy clay that stays soggy will rot roots and stunt growth long before disease ever shows up.
Work the bed to a loose depth of 6 to 8 inches and mix in an inch or two of compost. Beans are legumes and fix their own nitrogen through soil bacteria, so skip the high-nitrogen fertilizer. Heavy nitrogen actually pushes leafy growth at the expense of pods.
Aim for a soil pH between 6.0 and 7.0. If you grew heavy nitrogen feeders like corn or tomatoes in that bed last year, rotate beans somewhere else this season if you can.
Soil ready, sun confirmed, now comes the part people rush.
Planting Pinto Beans Step by Step
1. Choose bush or pole habit
Most pinto beans grown for drying are bush type, staying compact at 18 to 24 inches without support. Confirm which type your seed packet describes before you plan spacing or supports.
2. Sow seed directly
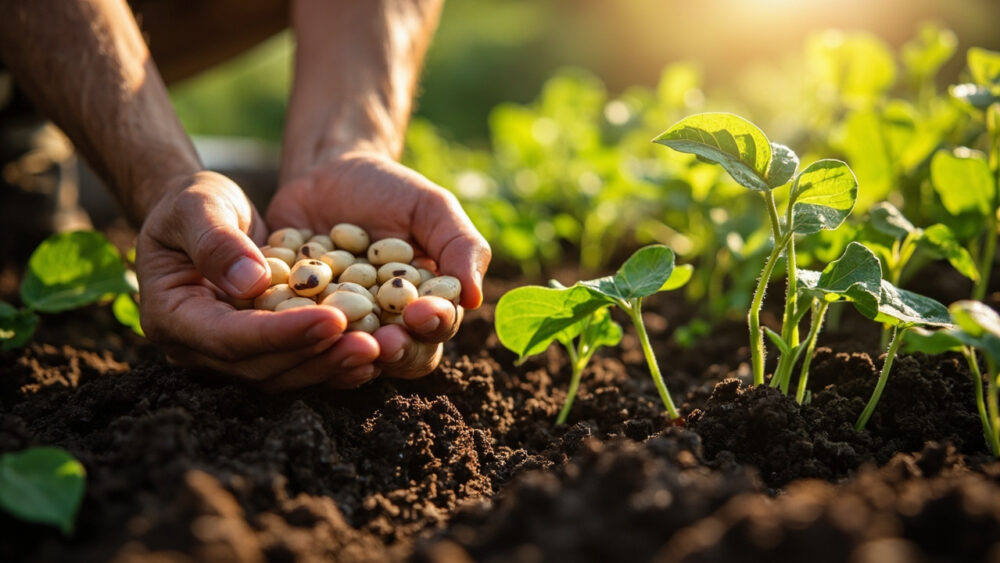
Pinto beans dislike transplanting and are almost always sown directly in the garden rather than started indoors. Plant seed 1 to 1.5 inches deep.
3. Space them right
Space seeds 3 to 4 inches apart within the row, with rows 18 to 24 inches apart. Crowded beans get poor air circulation and are more prone to fungal problems later.
4. Water them in once
Water gently right after planting to settle soil around the seed, then hold off until you see germination, usually 7 to 14 days depending on soil temperature.
Once seedlings are up and growing, the real work of the season is keeping them fed and watered without overdoing either.
Watering and Feeding Through the Season
Pinto beans want consistent moisture, roughly 1 inch of water per week, but they are far more forgiving of dry spells than of soggy roots. Check soil an inch down; if it is dry there, water, if it is still damp, wait.
Cut back on watering once pods begin drying near the end of the season. Wet conditions late in the game invite mold on the pods right when you need them to dry out.
Skip nitrogen fertilizer. A light dose of compost mid-season is plenty, and too much nitrogen delays flowering and pod set.
Now for the moment that scares almost everyone growing beans for the first time.
The Scary Part Nobody Warns You About
Sometime in late summer, your pinto bean plants will start looking terrible on purpose. Leaves yellow, then brown, then start dropping, and the whole plant looks like it is dying.
This is normal, and it is exactly what needs to happen. Pinto beans are drying beans, and the plant is shutting down so the pods can finish curing on the vine. Pulling plants at this stage, assuming disease or failure, is the single most common way people ruin a pinto bean harvest.
Real disease looks different: watch for powdery white coating on leaves (powdery mildew), reddish-brown pustules (rust), or water-soaked lesions that spread fast in humid weather (bacterial blight). Good spacing and avoiding overhead watering late in the season prevent most of these.
Mexican bean beetles and aphids can show up too; handpick beetles when you spot them and treat aphids with a strong water spray or insecticidal soap, always following the product label if you go that route.
Once you know that browning is the finish line and not a crisis, harvest timing gets much easier to read.
When and How to Harvest Pinto Beans
Pinto beans are ready for harvest 90 to 120 days after planting, when pods are fully dry, tan to brown, and rattle when you shake the plant. This is nothing like harvesting green beans, and that is the honest answer to the question most first-timers are quietly asking by midseason: no, you do not pick these young.
If a fall frost threatens before pods finish drying, pull entire plants and hang them upside down somewhere warm, dry, and ventilated, a garage or covered porch works well, until pods are crisp.
Shell dried pods by hand or toss a bagful and roll or step on it gently to crack pods open, then winnow away the chaff. Beans should be hard enough that you cannot dent them with a fingernail.
Cure shelled beans a few more days spread out on a screen or tray, then store in an airtight container in a cool, dry spot, where they will keep well over a year.
That is the whole arc from seed to storage jar, and here is the short version to keep on your phone.
Pinto Beans at a Glance
- When to plant: after all frost risk has passed, once soil is at least 60°F, ideally 65 to 70°F.
- Sun and soil: full sun, well-drained soil with compost worked in, pH 6.0 to 7.0, skip nitrogen fertilizer.
- Depth and spacing: sow seed 1 to 1.5 inches deep, 3 to 4 inches apart, rows 18 to 24 inches apart.
- Water needs: about 1 inch per week, check soil an inch down before watering, ease off once pods start drying.
- Days to maturity: 90 to 120 days from planting to fully dry, harvest-ready pods.
- Harvest signal: pods tan or brown and rattling with dry seed inside, not green and tender.
- Storage: cure a few days after shelling, then keep in an airtight container somewhere cool and dry.
The whole crop hinges on patience twice: once at planting, waiting for warm soil, and once at harvest, waiting for pods to finish drying instead of pulling them green.
Get those two moments right and pinto beans practically grow themselves.