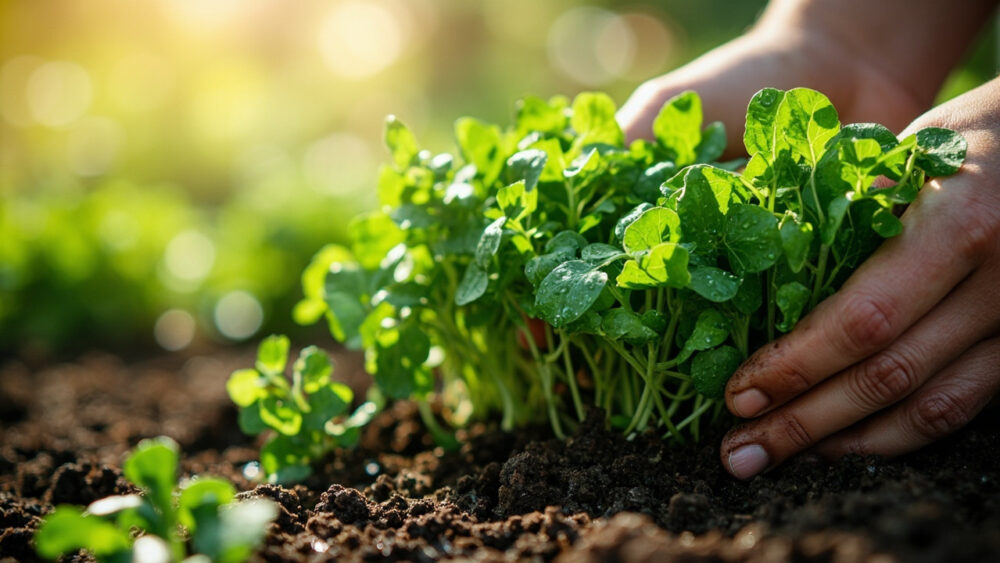
You can grow watercress from seed, cuttings, or even the leftover stems from a grocery store bunch, as long as you give the roots constant moisture and cool temperatures around 50 to 65°F. It grows fastest in soggy soil at the edge of a stream or pond, but a container kept sitting in a saucer of water works fine on a patio. That single requirement, roots that never dry out, is what decides whether your watercress thrives or turns bitter and dies in a week.
Here is the part nobody tells you before they hand you a seed packet: most watercress failures are not a disease or a pest, they are a gardener who treated it like lettuce and let the soil dry out between waterings. Watercress does not forgive that the way a tomato does.
Below I will walk you through timing, siting, planting, feeding, the real problems that show up, and exactly when to start cutting. Stick around to the end for the Watercress at a Glance card, the short save-able version with every number in one place.
When to Plant Watercress
Plant watercress as soon as the soil is workable in spring, once nighttime temperatures stay reliably above freezing, roughly two to three weeks before your last frost date. It actually prefers cool weather and will bolt or turn sharp and bitter once daytime temperatures push past 75°F for extended stretches.
In most zones that means an early spring planting, then a second round in late summer for a fall crop once the heat breaks. Gardeners in zones 6 through 9 often get two clean growing windows this way.
If you live somewhere with mild, wet winters, zones 7 and warmer, watercress can grow through the cold season with little trouble, since it tolerates light frost far better than heat.
Get the timing right and the next decision, where you actually put it, matters just as much.
Choosing the Spot and Prepping the Soil
Watercress wants constantly moist to wet soil, partial sun to light shade, and protection from hot afternoon rays. A spot near a downspout, a low boggy corner of the yard, or the shallow edge of a garden pond all work.
No natural wet spot? Grow it in a container with no drainage hole, or one sitting permanently in a water-filled tray, so the roots stay saturated at all times.
Use a rich, loose potting mix or garden soil amended heavily with compost. Watercress is not picky about fertility as long as drainage is slow and moisture is constant, aim for a soil pH around 6.5 to 7.5.
Once the bed or container is ready, the actual planting takes only a few minutes.
Planting Watercress Step by Step
Starting From Seed
- Scatter seeds thinly across moist soil, they need light to germinate so barely cover them, no more than 1/8 inch of fine soil or none at all.
- Keep the surface constantly wet, misting daily if the top is drying out, until germination in 7 to 14 days at 50 to 68°F.
- Thin seedlings to about 4 to 6 inches apart once they have two or three true leaves.
Starting From Cuttings
- Take 4 to 6 inch stem tips, from a store-bought bunch or an existing plant, and strip the lower leaves.
- Set the stems in a glass of water on a windowsill out of direct hot sun until roots appear, usually 5 to 10 days.
- Transplant into wet soil once roots are an inch or two long, burying the bottom third of the stem and spacing plants 4 to 6 inches apart.
Cuttings are the faster, more forgiving route, and it’s how most home gardeners actually start their first patch.
Either way you start it, keeping the soil wet from day one is non-negotiable, and that leads straight into the watering routine.
Watering and Feeding Through the Season
If you assumed watercress just needs “regular watering like other greens,” that assumption is the one that kills it. This plant wants standing moisture, soil that stays saturated or even has water pooling at the surface, not just damp.
Check it daily by pressing a finger into the top inch of soil. It should feel wet, not merely cool.
In containers, keep a tray underneath filled with an inch of water at all times, refilling every day or two depending on heat. In the ground, a soaker hose or drip line running near-continuously through warm stretches keeps things right.
Feed lightly every 3 to 4 weeks with a diluted balanced liquid fertilizer or a top-dressing of compost. Watercress grows fast in the right conditions and pulls nutrients from the water and soil quickly, so it responds well to steady, light feeding rather than one heavy dose.
Get the moisture habit locked in and you have already dodged the single biggest reason first attempts fail.
Problems That Actually Show Up
The two real threats are drying out and stagnant, dirty water, not the pests people usually brace for. Watercress grown in standing water needs that water refreshed regularly, stagnant conditions invite algae, mosquito larvae, and root rot.
- Wilting or crispy leaf edges: soil dried out, the single most common failure, fix by rewetting immediately and mulching to hold moisture.
- Bitter, sharp-tasting leaves: heat stress or the plant beginning to bolt, harvest hard and move the container somewhere cooler.
- Yellowing lower leaves: usually a nitrogen shortage, resolve with your regular light feeding.
- Slimy stems or a rotten smell: stagnant water or overcrowding, refresh the water and thin plants to improve airflow.
- Aphids or flea beetles: check the undersides of leaves regularly, rinse off small infestations with a strong spray of water, and treat persistent problems with an insecticidal soap labeled for edible crops, following the product label exactly.
None of these are difficult to manage once you know what you are looking at, and none of them mean starting over.
Handle those and you are on track for the part you actually clicked for, cutting the stuff.
When and How to Harvest Watercress
Watercress is ready to start harvesting 5 to 7 weeks after planting from seed, or as soon as 3 to 4 weeks from rooted cuttings, once stems reach 4 to 6 inches tall. The honest answer to the question you are probably about to ask: yes, you can keep cutting the same plants all season, watercress is a true cut-and-come-again crop as long as roots stay wet and you never take more than a third of the growth at once.
Snip stems just above a leaf node using scissors or your fingers, rather than pulling, so the plant regrows from that point. Morning harvest, after the coolest part of the day, gives you the mildest, least bitter flavor.
Left uncut through a hot stretch, watercress will send up small white four-petaled flowers and go to seed, at which point the leaves turn noticeably more peppery and tough. That is your cue to cut it back hard, harvest heavily, or let a few stems go to seed on purpose if you want to collect and replant.
Regular cutting is actually what keeps a patch producing tender leaves for months instead of bolting early.
Watercress at a Glance
- When to plant: two to three weeks before your last frost for a spring crop, or in late summer once heat breaks for a fall crop, soil and air between 50 and 65°F.
- Spacing and depth: seeds barely covered or left uncovered, thin to 4 to 6 inches apart, cuttings buried a third of their stem length at the same spacing.
- Site and soil: partial sun to light shade, constantly wet to saturated rich soil, pH 6.5 to 7.5.
- Watering: soil should stay wet or pooling, check daily, never let it dry between waterings.
- Feeding: light balanced liquid fertilizer or compost top-dress every 3 to 4 weeks.
- Main risks: drying out and stagnant water, both fixable immediately once spotted.
- Harvest: 3 to 7 weeks depending on start method, cut stems above a node, take no more than a third of growth at a time.
Keep the roots wet and keep cutting, and that is genuinely most of what growing good watercress comes down to.
Everything else on this page is just the details that make those two habits easier to keep.