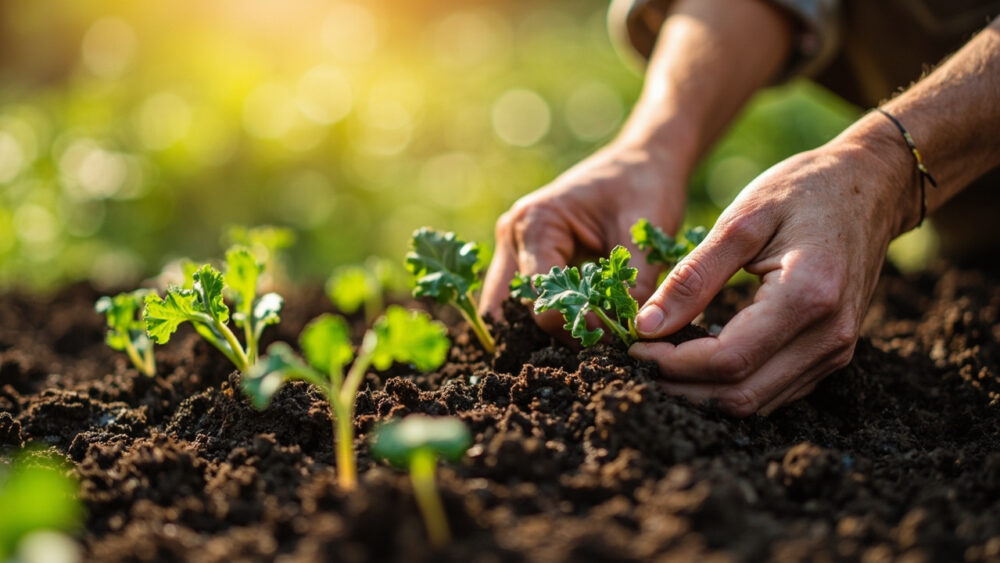
Growing kale from seed is genuinely one of the easier things you can do in a vegetable garden. Sow seeds a quarter inch deep in loose, moist soil once temperatures sit anywhere between 45 and 75 F, keep that soil consistently damp, and you will see sprouts in five to eight days. From there it is about eight weeks to baby leaves and closer to 55 to 75 days to full mature harvest, depending on the variety.
That is the short version. The part that trips people up is not the sowing, it is what happens in the six weeks after, when the plant looks fine but is quietly stalling because of one common spacing mistake, or bolting early because of a temperature swing nobody accounted for.
There is also a sign most gardeners misread right around germination, and a harvest question that only shows up once the plant is already producing. Stick with me through each stage and you will know exactly what to check and when. There’s a save-able Kale at a Glance card waiting at the bottom once you’ve got the full picture.
When to Start Kale Seeds: Indoors or Direct Sown
Kale tolerates cold better than almost anything else in the vegetable garden, which changes the whole timing conversation. You can direct sow outdoors two to four weeks before your last expected frost, as soon as soil can be worked and isn’t waterlogged. Soil temperature matters more than the calendar date, and kale germinates reliably once soil hits about 45 F, though 60 to 70 F is where it germinates fastest and most evenly.
Starting indoors gets you a head start, especially if your springs warm up fast and skip past kale’s favorite mild window. Start seeds indoors four to six weeks before your last frost date, then transplant out two to three weeks before that date since young kale shrugs off light frost without complaint.
Fall crops matter too, and kale is arguably better in autumn since cool weather sweetens the leaves. For a fall harvest, direct sow six to eight weeks before your first expected fall frost.
Getting the timing window right is only half the job, the sowing itself has its own small rules worth doing correctly.
Sowing Kale Step by Step
Depth and Medium
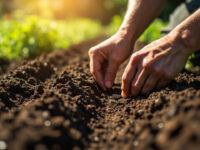
Sow seeds a quarter inch deep, no deeper. Kale seeds are small and store enough energy to push up through light cover, but buried an inch down they simply won’t make it.
Use a loose, well-draining seed-starting mix indoors, or in the garden, work compost into the top few inches so seedlings don’t fight crusted or compacted soil on their way up.
Spacing at Sowing
Space seeds 1 to 2 inches apart if you’re direct sowing, planning to thin later, or drop two to three seeds per cell if starting in trays. Rows should sit 18 to 24 inches apart to give mature plants room to spread.
Temperature and Light
Kale doesn’t need light to germinate, but it does need consistent moisture and a temperature in that 45 to 75 F range, with 60 to 70 F being the sweet spot for speed. Once seedlings emerge, they need strong light immediately, either full sun outdoors or a bright spot within a few inches of grow lights indoors, or they’ll stretch into thin, floppy stems that never recover fully.
Get the seed in the ground right and the next question is simply how long you wait, and what normal actually looks like.
Germination: What’s Normal and What Isn’t
Expect sprouts in 5 to 8 days under good conditions. Cooler soil, down near 45 to 50 F, can stretch that out to two weeks, which is normal and not a sign of failure.
Here’s the sign most people misread: the first thing to emerge is a pale, thin loop of stem, not a leaf. New gardeners see that pale curl and assume something’s wrong or that it’s a weed. It isn’t. That’s the hypocotyl straightening itself out, and true kale leaves follow within a day or two, quickly turning that classic blue-green.
What genuinely signals trouble is nothing at all after 14 days in warm soil, or seedlings that emerge then immediately collapse at the soil line, which usually means damping-off from soil kept too wet with poor airflow. If that happens, that batch is done, but a fresh sowing in slightly drier, better-ventilated conditions usually succeeds.
Once you’ve got real leaves and steady growth, the seedlings still need to survive the move outside.
Hardening Off and Transplanting
If seedlings were started indoors, they need seven to ten days of hardening off before they live outside full time. Set them outdoors in a sheltered, partly shaded spot for an hour or two the first day, then add an hour or two daily, gradually increasing sun exposure until they’re handling a full day outside.
Skipping this step is the single mistake that ruins the most kale starts. Plants that go straight from a windowsill to open garden sun often scorch, wilt hard, and either die outright or lose two to three weeks recovering, which sets your whole harvest timeline back.
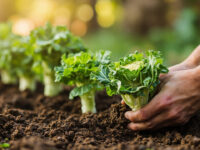
Transplant when seedlings have three to four true leaves, spacing plants 12 to 18 inches apart in rows 18 to 24 inches apart. Bury the stem up to the first set of leaves for a sturdier plant, water them in well, and give transplants some afternoon shade for the first few days if a heat wave happens to hit.
Once kale is settled into the garden, the real work becomes steady maintenance rather than fussing.
Caring for Kale Through the Season
Kale wants consistent moisture, about 1 to 1.5 inches of water a week, whether from rain or irrigation. Uneven watering is what turns leaves bitter and tough, far more often than the plant’s age does.
Feed with a balanced fertilizer or a nitrogen-rich side dressing every 3 to 4 weeks, since kale is a heavy leaf producer and pulls a lot from the soil to keep new growth coming. Mulch around the base to hold moisture and keep soil temperature steady.
Watch for cabbage worms and aphids, both common on any brassica. Handpick worms when you see chewed holes, and knock aphids off with a strong water spray or an insecticidal soap, following the product label exactly if you go that route. Cool weather actually helps you here, since most kale pests slow down noticeably once night temperatures drop.
The plant will keep producing for months, which raises the question everyone eventually has: when do you actually start cutting?
When Kale Is Ready to Harvest
You can start harvesting baby leaves at 25 to 30 days, once leaves reach about the size of your palm. For full-size leaves at mature harvest, expect 55 to 75 days from sowing depending on variety, with curly types like Vates on the faster end and heartier types like Lacinato or Red Russian sometimes taking a bit longer.
Here’s the honest answer to the question you’re about to ask: kale doesn’t have one single harvest day. It’s a cut-and-come-again crop. Harvest the outer, lower leaves first and leave the center growing point untouched, and the plant will keep producing new leaves from the top for weeks or months, well into cold weather and even light snow in many climates.
What ends the show is bolting, when the plant sends up a central flower stalk, usually triggered by a stretch of hot weather or, in overwintered plants, by the lengthening days of spring. Leaves get noticeably more bitter once that stalk appears, so harvest hard the moment you spot it forming.
Everything you actually need to remember from all of this fits on one short list, right below.
Kale at a Glance
- When to plant: direct sow 2 to 4 weeks before last frost, or start indoors 4 to 6 weeks before last frost, soil temperature 45 to 75 F with 60 to 70 F ideal.
- Sowing depth: a quarter inch deep, kept consistently moist until germination.
- Germination time: 5 to 8 days in warm soil, up to 2 weeks in cooler soil.
- Spacing: thin or transplant to 12 to 18 inches apart, rows 18 to 24 inches apart.
- Hardening off: 7 to 10 days of gradually increasing outdoor exposure before transplanting.
- Harvest window: baby leaves at 25 to 30 days, mature leaves at 55 to 75 days, harvesting outer leaves continuously for months.
- Watch for: bolting in hot weather, bitter leaves from uneven watering, cabbage worms and aphids on the undersides of leaves.
Kale forgives almost every mistake except skipped hardening off and a bare, sun-scorched transplant shock.
Get the seed depth and spacing right, water evenly, and this is one of the most reliable, longest-producing crops you’ll grow all year.