Learning how to grow daylilies comes down to three things: plant them in a sunny spot with decent drainage anytime from spring through about six weeks before your first fall frost, space the crowns 18 to 24 inches apart with the crown just an inch below soil level, and then mostly leave them alone. They are one of the most forgiving perennials you can put in the ground, which is exactly why so many people still manage to sabotage them in year one.
Most of the trouble comes down to planting depth, and almost everyone gets it wrong in the same direction. There is also a bloom-timing question every new daylily grower asks around week three that nobody answers honestly upfront, and a watering habit that looks responsible but actually starves the roots of oxygen.
I will walk through all of it, including the pest that shows up disguised as a nutrient problem. Stick with me to the bottom and you will find a saveable “Daylilies at a Glance” card with the numbers you will actually want on your phone when you are standing in the garden center parking lot.
When to Plant Daylilies
Daylilies planted from potted nursery stock can go in the ground anytime the soil is workable, from early spring right through fall, as long as you give them six to eight weeks before the ground freezes hard. That gives roots time to establish before winter.
Bare-root divisions are pickier. Plant those in early spring once soil temperature sits around 50°F, or in late summer to early fall so they are not trying to root in the heat of July.
In zones 3 through 5, spring planting is the safer bet since fall-planted divisions have a shorter window to establish before a hard freeze. In zones 6 through 9, fall planting often gives you a stronger bloom the following summer because roots get a head start with less top growth to support.
Get the timing right and the next decision, where you actually put the plant, matters even more.
Choosing the Spot and Prepping the Soil
Daylilies want six or more hours of direct sun for the heaviest bloom, though they will survive and even flower in partial shade with fewer, smaller blooms. Full shade is the one condition they genuinely cannot work around.
Soil matters less than people assume. Daylilies tolerate clay, sandy soil, and everything between, but they will rot in ground that stays soggy for days after rain. If water pools and sits for more than a few hours after a storm, raise the bed or pick another spot.
Work in an inch or two of compost before planting, aim for a soil pH in the 6.0 to 6.5 range, and skip heavy fertilizer at this stage. Rich, loose soil at planting time just encourages leafy growth at the expense of roots.
Once the site is chosen, the actual planting takes about ten minutes per plant.
Planting Daylilies Step by Step
1. Soak bare roots first
If you’re planting bare-root divisions, soak the roots in water for one to two hours before planting. Potted plants can go in straight from the container.
2. Dig a wide, shallow hole
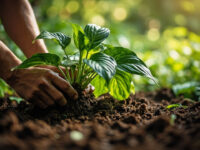
Dig about 12 inches wide and just deep enough that the crown, the pale knobby point where roots meet leaves, sits one inch below the final soil surface. This is the step almost everyone gets backward.
Bury the crown too deep and the plant survives but refuses to bloom for a year or two. Plant it too shallow, with the crown exposed above soil, and it dries out or heaves out of the ground over winter.
3. Spread the roots and backfill
Mound a small cone of soil in the hole’s center, drape the roots down and outward over it, then backfill and firm the soil gently with your hands, not your foot.
4. Space at 18 to 24 inches
Give each plant 18 to 24 inches from its neighbors. Daylilies bulk up fast, and clumps planted closer than that will need dividing within two or three years just to keep blooming well.
5. Water in immediately
Water thoroughly right after planting to settle soil around the roots and eliminate air pockets. Skip this step and you will see wilting within days even in cool weather.
Get the crown depth right and watering the rest of the season is almost boringly simple.
Watering and Feeding Through the Season
Newly planted daylilies want about an inch of water a week for their first season while roots establish. Once established, they are genuinely drought-tolerant and often coast through dry spells that would wilt less established perennials.
If you assumed more water always means a healthier plantthat habit is what actually causes the soft, mushy crowns and yellowing fans that gardeners mistake for disease. Daylilies planted in anything less than sharp drainage will rot from overwatering long before they suffer from underwatering. Water deeply, then let the top few inches of soil dry before watering again.
Feed lightly in early spring as new growth emerges, using a balanced fertilizer at about half the labeled rate, and skip a second feeding unless your soil is genuinely poor. Heavy nitrogen produces lush leaves and weak, floppy scapes with fewer blooms.
Get the water balance right and most of what strikes daylilies stops before it starts.
Problems That Actually Show Up
Thrips are the pest disguised as a nutrient deficiency: they cause streaky, distorted, pale buds that fail to open cleanly, which many gardeners mistake for a fertilizer problem and make worse by feeding more. Check buds closely for tiny slivers of insect movement before you reach for fertilizer.
Slugs shred young foliage in spring, especially in damp, shaded plantings; handpicking in the evening or using a labeled slug bait around the crowns handles it.
Daylily rust and leaf streak cause yellow or orange-brown streaking on foliage in humid climates. Remove and dispose of affected leaves rather than composting them, and space plants for airflow to prevent recurrence.
The most serious issue is crown rot from poor drainage, which softens the crown and kills the fan outright; there is no fixing an already-rotted crown, only preventing the next one by improving drainage before replanting.
If you’re growing daylilies around pets, know that the entire plant is considered toxic to cats specifically, and ingestion of even small amounts of any part of the plant has been linked to serious kidney injury in cats. Any cat you suspect has chewed on or eaten daylily foliage or flowers needs a veterinarian immediately. Do not wait to see if symptoms appear.
Handle those risks and the only real question left is when you finally get to see what all this work produces.
When Daylilies Bloom and How Long They Last
Most daylilies bloom in their second growing season, not their first, which is the honest answer to the question every new grower starts asking around week three. A few vigorous varieties will throw a scape or two the first year, but do not judge the plant by that first summer.
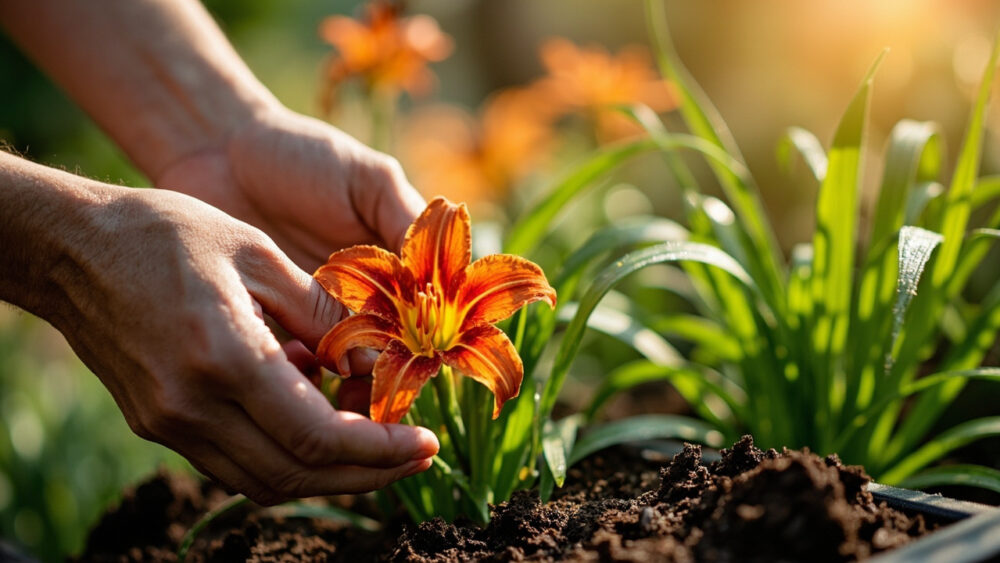
Bloom timing depends on variety: early types flower in late spring, midseason types in early to mid summer, and late types into early fall. Each individual flower lasts one day, hence the name, but a mature clump produces enough scapes and buds to bloom for four to six weeks straight.
“Reblooming” varieties like Stella de Oro send up a second or even third flush of scapes later in the season if you deadhead spent stalks and keep them watered through summer heat.
Once a clump is producing dozens of scapes and blooming feels crowded rather than sparse, usually in year three or four, it is time to divide, which is the daylily version of harvest and the surest way to keep the display going for another decade.
Daylilies at a Glance
- When to plant: potted plants anytime from spring through six to eight weeks before hard frost, bare-root divisions in early spring or late summer to early fall.
- Sun needs: six or more hours of direct sun for best bloom, tolerates partial shade with fewer flowers.
- Planting depth: crown one inch below the soil surface, never buried deep or left exposed.
- Spacing: 18 to 24 inches between plants to allow three or more years before dividing.
- Watering: one inch weekly while establishing, then drought tolerant, always let soil surface dry between waterings.
- Feeding: light, balanced fertilizer once in early spring, skip heavy nitrogen.
- First bloom: usually the second growing season, with four to six weeks of flowering once mature.
Get the crown depth and drainage right at planting and daylilies will outlive most other decisions you make in that bed.
Everything else, the feeding, the pests, the bloom count, is just fine-tuning around that one good start.