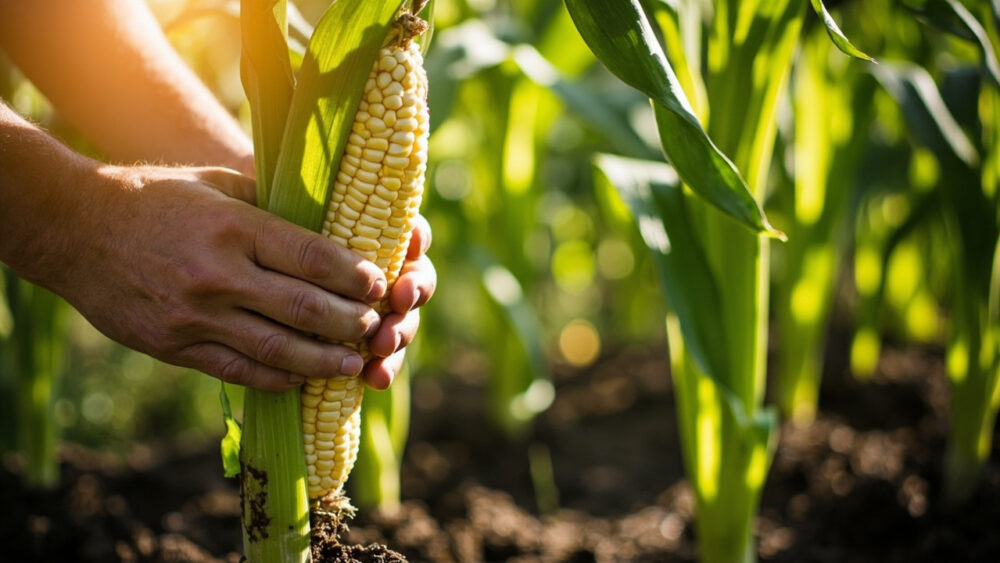
The short answer for how to grow corn: plant seeds directly in the ground 1 to 1.5 inches deep once soil temperature holds at 60°F or warmer, space rows so the plants can pollinate each other in blocks rather than single lines, and feed heavily since corn is one of the hungriest crops in the garden. Get those three things right and you are most of the way to a full harvest. Get them wrong and you end up with tall, healthy-looking stalks that produce half-filled ears or none at all.
That last part is the mistake that sinks most first-time corn growers, and it has nothing to do with watering or fertilizer. It is about how the plants are arranged in the ground, and almost nobody arranges them right the first time.
There are a few other honest answers coming too: the sign that tells you an ear is actually ready versus just big-looking, the specific way corn eats through nitrogen faster than nearly anything else you grow, and the pest almost every grower deals with at least once. Stick around for the Corn at a Glance card at the bottom, it is built to save to your phone before you head out to the garden.
When to Plant Corn
Corn is a warm-season crop that will rot in the ground before it sprouts if the soil is too cold. Wait until soil temperature at planting depth is consistently 60°F or higher, which is usually two to three weeks after your last spring frost date depending on your region.
In cooler zones (4 to 6), that often means late May into early June. In warmer zones (7 to 9), you can go in mid-April to May, and many gardeners there get a second planting in for a fall crop.
Soil that feels cold and damp to the touch an inch down is not ready yet, no matter what the calendar says.
Once the soil warms up, where you put those seeds matters just as much as when.
Choosing the Spot and Prepping the Soil
Corn wants full sun, at least 6 to 8 hours a day, and it wants room. This is not a crop for a shady corner or a container unless you are growing a compact variety in a large tub.
Work the bed deeply before planting, breaking up soil to at least 8 inches and mixing in a couple inches of compost or aged manure across the whole area. Corn is a heavy feeder from day one, and thin, depleted soil shows up later as pale, stunted stalks.
Aim for a soil pH between 5.8 and 6.8. If your soil is heavy clay, raised rows or hills help with drainage since corn roots hate sitting in water.
Good soil sets the table, but how you actually place the seeds decides whether you get full ears or empty ones.
Planting Corn Step by Step
This is where the block-versus-row mistake happens. Corn is wind-pollinated, and a single long skinny row often fails to pollinate itself well because pollen just blows past instead of landing on neighboring plants.
1. Plant in blocks, not lines
Use at least four rows side by side rather than one or two long rows, even in a small bed. A block of 4×4 feet minimum gives pollen a much better shot at reaching every ear.
2. Set the depth and spacing
Sow seeds 1 to 1.5 inches deep in most soils, going slightly shallower (about 1 inch) in heavier clay. Space seeds 8 to 12 inches apart within rows, with rows 24 to 30 inches apart.
3. Thin after germination
Corn germinates in 7 to 10 days in warm soil. Once seedlings hit 3 to 4 inches tall, thin to your final spacing so plants are not competing for water and nitrogen.
4. Stagger plantings if you want a longer harvest
Succession plant every 10 to 14 days, or plant an early and a late-maturing variety together, so you are not buried in ears all in one week.
Get the block planted and thinned, and the next job is keeping it fed through a season that asks a lot of the soil.
Watering and Feeding Through the Season
If you assumed corn just needs steady watering like most vegetables, that is true but incomplete, the feeding schedule matters just as much. Corn needs about 1 to 1.5 inches of water per week, more during the two to three weeks around tasseling and silking, since drought stress during that window is the single biggest cause of poorly filled ears.
Nitrogen is the real driver here. Feed at planting, again when stalks are about knee-high, and a third time when tassels start to appear. A balanced or nitrogen-heavy fertilizer works, and side-dressing with compost or a nitrogen source like blood meal between those feedings keeps growth from stalling.
Mulch around the base once plants are established to hold moisture and choke out weeds, which compete hard with corn’s shallow root system early on.
Even well-fed corn still runs into the same handful of problems almost every season, so it helps to know them before they show up.
Problems That Actually Show Up
The pest most growers eventually meet is the corn earworm, which tunnels into the tip of the ear and is often first noticed at harvest as a chewed, frass-filled tip. A few drops of vegetable oil applied to the silk tip just after pollination can deter early entry, and removing damaged tips at harvest usually saves the rest of the ear.
Raccoons and birds are often the bigger threat than insects, especially right as ears ripen. Electric fencing or row cover timed to the last two weeks before harvest is the most reliable defense.
Poor pollination shows up as ears with scattered bald patches of missing kernels. That is almost always the block-size or spacing issue from planting, not a fertilizer problem, so if you see it, plan a tighter block next season.
Fungal leaf diseases and corn smut can appear in wet, humid seasons; good airflow from proper spacing and avoiding overhead watering late in the day both help keep them down. If a fungal problem does take hold, a labeled fungicide applied according to the product instructions is the right cultural-level response.
Once the plant survives all that, the last real skill is knowing exactly when to pick.
When and How to Harvest Corn
Sweet corn is ready roughly 60 to 100 days after planting depending on the variety, but the calendar is a rough guide at best. The real signal is the silk: wait until the silks turn brown and dry while the husk is still green, usually about 20 days after the first silks appear.
If you assumed a big fat ear means it’s ready, that guess leads to a lot of disappointing, underfilled corn pulled too early. Peel back a bit of husk and press a kernel with your thumbnail. Milky white liquid means it is ready. Clear liquid means wait a few more days. No liquid and a dented, tough kernel means you waited too long.
Harvest by grasping the ear and twisting down and away from the stalk in one motion. Sweet corn sugars convert to starch fast, so pick it right before you plan to cook or preserve it, ideally the same day.
Everything above gets you to harvest, and the card below is the fast version to keep on hand.
Corn at a Glance
- When to plant: once soil hits 60°F or warmer, typically two to three weeks after your last frost.
- Depth and spacing: 1 to 1.5 inches deep, 8 to 12 inches apart in rows, rows 24 to 30 inches apart, planted in blocks of at least four rows.
- Sun and soil: full sun, 6 to 8 hours minimum, rich soil with pH 5.8 to 6.8 and plenty of compost worked in.
- Water needs: 1 to 1.5 inches weekly, increased during tasseling and silking.
- Feeding: nitrogen at planting, at knee-high, and at tasseling.
- Main threats: corn earworm, raccoons and birds near harvest, poor pollination from planting in thin rows.
- Harvest sign: silks brown and dry, husk still green, kernel juice milky white when pressed, usually about 20 days after silks first appear.
Plant in a block, feed it like the hungry crop it is, and let the silks tell you when to pick rather than the size of the ear.
That is the whole job, and corn rewards you fast once you stop guessing at it.