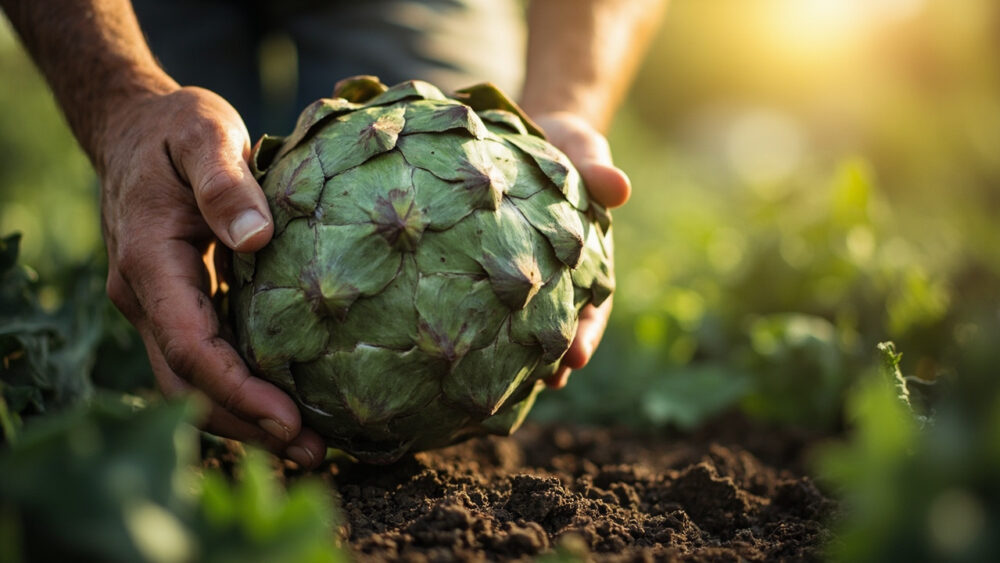
Here is how to grow artichokes without wasting a season: plant them once your soil hits about 50°F and the hardest frosts have passed, give each plant a good 4 feet of space in full sun and rich, well-drained soil, and be patient, because most varieties need a long stretch of cool weather early on to trigger the flower buds you actually eat. In mild-winter zones (roughly 7 through 11) artichokes are perennial and get better every year. Everywhere colder, you’re either growing them as a one-season annual with a cold trick up your sleeve, or overwintering the roots indoors.
That cold trick is the part almost nobody explains right, and it’s the single biggest reason first-time artichoke growers get a plant full of thistle-like leaves and zero buds. There’s also a widely repeated harvest sign that’s only half true, and a watering habit that quietly rots more artichoke roots than drought ever kills them.
Stick around for the full answer to all threeplus the save-able Artichokes at a Glance card at the very bottom with every number you’ll want to remember once you’re standing in the garden with dirt on your hands.
When to Plant Artichokes
Artichokes want a long, cool head start. In mild climates (zone 7 and warmer), plant crowns or transplants in early spring, 2 to 3 weeks before your last expected frost, or in fall for a late winter through spring harvest.
In colder zones, start seed indoors 8 to 10 weeks before your last frost, then give young plants a deliberate 10-day stretch of nighttime temperatures between 32°F and 50°F before setting them outside. That artificial chill is called vernalization, and skipping it is the single biggest reason gardeners get gorgeous foliage and no buds at all.
Soil temperature matters more than the calendar. Wait until it’s reliably above 50°F before transplanting outdoors.
Get the chill right and the rest of the season is mostly about feeding a hungry plant.
Choosing the Spot and Prepping the Soil
Artichokes need full sun, 6 hours minimum, and soil that drains well but holds moisture. They’re heavy feeders with deep roots, so this isn’t a bed you skimp on.
Work in 3 to 4 inches of compost or aged manure across the planting area before you put anything in the ground. Aim for a slightly acidic to neutral pH, roughly 6.5 to 7.0.
Pick a permanent spot if you’re in a perennial zone. A single artichoke plant can live and produce for 5 to 8 years and grows into a sprawling 4 to 5 foot mound, so don’t tuck it into a tight raised bed corner where it’ll swallow its neighbors by year two.
With the bed built, the actual planting is the easy part.
Planting Artichokes Step by Step
1. Choose crowns, transplants, or seed
Dormant crowns (root divisions) give you a head start and skip the vernalization guesswork since they’re already mature. Transplants are the next easiest. Seed is cheapest but slowest and most variable.
2. Dig the hole
For crowns, dig a hole about 8 to 10 inches deep and wide, and set the crown so the buds sit just below the soil surface. For transplants, plant at the same depth they were growing in the pot.
3. Space generously
Give each plant 3 to 4 feet in every direction, with rows 4 to 5 feet apart. Crowding is a slow, quiet yield killer; artichokes that are packed in stay smaller and produce far fewer buds.
4. Water in and mulch
Soak thoroughly at planting, then lay 2 to 3 inches of mulch around the base to hold moisture and suppress weeds while the roots establish.
Once they’re in the ground, the plant’s needs shift toward steady food and water.
Watering and Feeding Through the Season
Artichokes want consistent moisture, not soggy feet. Water deeply once or twice a week rather than a little every day, letting the top inch or two of soil dry slightly between waterings.
If you assumed more water always means a happier artichoke, that’s the habit that actually kills them. Waterlogged, poorly drained soil rots the crown faster than a dry week ever will, especially in heavy clay. Drainage matters as much as moisture.
Feed monthly through the growing season with a balanced fertilizer or a fresh side-dressing of compost. These plants are big and hungry, and thin feeding shows up as small, sparse buds later.
Even well-fed, well-watered artichokes still draw a specific set of pests and problems worth watching for.
Problems That Actually Show Up
Aphids cluster on the undersides of leaves and around developing buds; a strong water spray or insecticidal soap applied per the label handles most infestations early. Slugs and snails go after young seedlings, especially in damp mulch, so check under leaves in the morning.
Artichoke plume moth larvae bore into buds and stalks. Remove and destroy affected buds promptly rather than letting them sit. Root rot from soggy soil is the most serious threat and there’s no fixing a badly rotted crown, only prevention through drainage.
Powdery mildew can show up on leaves in humid conditions with poor airflow. Give plants their full spacing and water at the base, not overhead, to keep foliage drier.
- Aphids: spray off or treat with insecticidal soap per label.
- Slugs and snails: hand-pick in early morning, keep mulch from staying wet.
- Plume moth larvae: remove and discard affected buds.
- Root rot: prevent with drainage, since there’s no reviving a rotted crown.
Get past those and you’re on to the part everyone clicked for: the harvest itself.
When and How to Harvest Artichokes
Here’s the half-true harvest tip you’ve probably heard: “harvest before the bud opens.” True, but it’s not the size that tells you it’s ready, it’s the feel. Artichokes are ready to cut when the bud is firm and tight, still fully closed, and roughly the size of a tennis ball for the main terminal bud, smaller (fist-sized or a bit less) for the side buds that follow.
Squeeze the bud gently. A ready artichoke feels dense and firm, with tightly packed scales. A bud that feels light, spongy, or is starting to spread open at the tips is past its best window and turning tough and fibrous inside.
Cut the stem 1 to 2 inches below the bud with a sharp knife or pruners. The main center bud matures first, usually in early to mid summer depending on when you planted and your climate. Smaller side buds follow over the next several weeks.
In perennial zones, cut plants back hard after harvest and they’ll often push a second flush, or come back stronger the following spring. In annual-treatment climates, enjoy the one harvest and start the vernalization process again next year if you want to keep going.
Everything above is the reasoning. Here’s the short version to save.
Artichokes at a Glance
- When to plant: crowns or transplants 2 to 3 weeks before last frost in mild zones, or after a deliberate 10-day cold spell (32 to 50°F) for seedlings in colder zones.
- Soil and sun: full sun, rich well-drained soil with 3 to 4 inches of compost worked in, pH 6.5 to 7.0.
- Spacing and depth: 3 to 4 feet apart, crowns set 8 to 10 inches deep with buds just below the surface.
- Water and feed: deep watering once or twice weekly, monthly feeding, never let soil stay soggy.
- Watch for: aphids, slugs, plume moth larvae, and root rot from poor drainage.
- Harvest sign: bud feels firm and tight, tennis-ball size for the main bud, before scales start to spread.
- Zone note: perennial and reliable for years in zones 7 through 11, annual with a cold-treatment trick everywhere colder.
Get the chill right and the drainage right, and the buds take care of themselves.
Everything else is just patience with a knife in hand.