Growing ginger starts with buying a fresh rhizome, not seed, and pushing pieces of it into loose, rich soil about 1 to 2 inches deep once the soil has warmed past 55 F. From there it is a long, slow season: ginger takes 8 to 10 months to reach full maturity, so most home growers in temperate climates grow it in containers they can bring indoors before frost. That single fact surprises more first-time growers than anything else about this plant.
Most attempts fail for one of two reasons, and neither is what people expect. It is not cold and it is not neglect. It is planting grocery-store rhizomes that have been treated to stop sprouting, and it is impatience, pulling the pot apart in August to check on a crop that was never going to be ready before October.
There is also a sign everyone misreads: when the tall green shoots start yellowing and flopping in late summer, most people assume the plant is dying and dig it up early. It is not dying. Stick with this guide and you will know exactly what that means when we get there, and you will find the full save-able Ginger at a Glance card at the very bottom.
When to Plant Ginger
Wait until nighttime temperatures stay reliably above 50 F and the soil has warmed to at least 55 to 60 F before planting ginger outdoors or moving containers outside for the season. In most of the US that lands two to four weeks after your last spring frost date. Ginger sulks and rots in cold, wet soil, it will not just grow slowly, it can simply die in the ground before it ever sprouts.
If you live in zone 7 or colder, plan on growing ginger in a pot rather than in open ground. You get the whole season indoors on a windowsill or under lights before the weather is safe, which effectively adds a month or more to your growing window. Zones 8 and warmer can plant directly in garden beds once soil temperature holds steady.
Getting the timing right buys you almost nothing if the rhizome itself is wrong, and that is the first real mistake worth fixing.
Choosing the Right Rhizome, and Where to Plant It
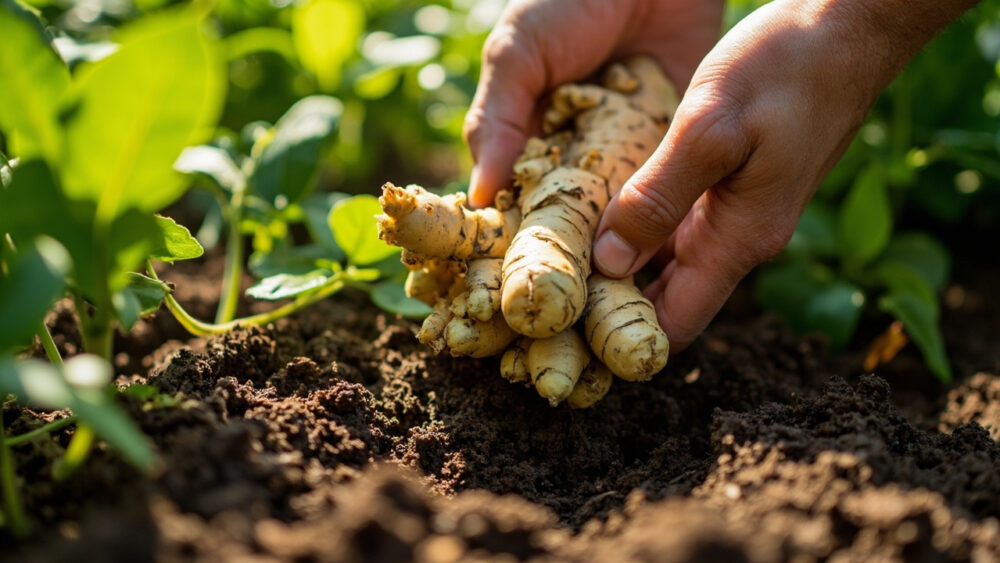
Buy ginger meant for planting, not the shrink-wrapped grocery store kind, whenever you can find it, because most supermarket ginger has been treated with a sprout inhibitor. If grocery ginger is your only option, look for plump pieces with visible eyes or buds, the small bumps that look like the eyes on a potato, and soak them in water overnight to encourage sprouting before you plant. Wrinkled, dry, or moldy pieces will not perform.
Ginger wants a spot with bright, indirect light or dappled shade, not blazing all-day sun, and it wants heat and humidity above almost anything else. It is a rainforest understory plant at heart.
Soil should be loose, rich in organic matter, and quick to drain. Work several inches of compost into garden beds, or use a potting mix cut with compost in containers, and skip heavy clay entirely unless you amend it hard.
Once the spot and the rhizome are both right, the planting itself is almost too simple to believe.
Planting Ginger Step by Step
- Cut or select pieces: use rhizome pieces about 1 to 2 inches long with at least one visible eye or bud each.
- Depth: plant 1 to 2 inches deep, eye or bud facing up.
- Spacing: space pieces 6 to 8 inches apart in beds, or one piece per 12-inch-wide pot, since ginger spreads horizontally as it grows.
- Container choice: use a wide, shallow container rather than a deep one, ginger grows sideways more than down.
- Cover and water: cover lightly with soil, water in well, then keep the soil moist but never soggy while you wait.
- Be patient: sprouts can take 2 to 4 weeks, sometimes longer, to show above the soil. This is normal, not failure.
Getting it in the ground is the easy part, keeping it alive all summer is where most people either overwater or underfeed.
Watering and Feeding Through the Season
Ginger wants consistently moist soil, closer to a wrung-out sponge than a dry garden bed, but it punishes standing water fast. Check the top inch of soil with a finger; if it is dry, water. If it feels wet an inch down, hold off, since soggy soil rots rhizomes before they ever get established.
Humidity matters almost as much as water. In dry climates or dry indoor air, mist the foliage occasionally or group pots together to raise humidity around the leaves.
Feed every 3 to 4 weeks during the growing season with a balanced liquid fertilizer, or work compost into the topsoil once a month. Ginger is a heavy feeder for a plant that looks so unassuming.
Even with perfect watering and feeding, a handful of problems show up almost every season, and most are avoidable.
Problems That Actually Show Up, and How to Head Them Off
Rot is the number one killer, and it almost always traces back to soil that stays wet too long or a container without real drainage holes. If a rhizome goes soft, mushy, or dark, remove it before it spreads to healthy neighbors.
Fungal leaf spots and occasional root rot show up more in cool, wet stretches. Improve airflow, avoid overhead watering late in the day, and if a fungicide is genuinely warranted, follow the product label exactly.
Watch for these common issues:
- Soft, mushy rhizomes: almost always overwatering or poor drainage, not disease you introduced.
- Yellowing lower leaves early in the season: often a nitrogen shortfall, respond with a feeding, not more water.
- Spider mites or aphids: more common on indoor or greenhouse plants, treat with insecticidal soap per the label if numbers climb.
- Slow or no sprouting after 4 to 5 weeks: check the rhizome for rot, it may simply need replacing.
None of this is dramatic once you know what you are looking at, and it sets you up for the one sign that confuses almost everybody.
When and How to Harvest Ginger
Full-size, mature rhizomes with that thick, fibrous skin are ready 8 to 10 months after planting, generally once the leaves and stalks yellow and start to die back in late summer or fall. If you assumed that yellowing means the plant is failing, that guess costs people a harvest every year, it is actually the plant telling you it is done bulking up and going dormant, exactly as intended.
You do not have to wait that long if you want tender young “baby” ginger instead. That can be harvested at 4 to 6 months, has thin, pale, easily peeled skin, and a milder, less fibrous bite than the mature root.
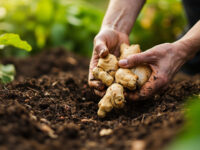
To harvest, dig gently around the outer edge of the clump with a hand trowel or fork, lift the whole rhizome mass, and break off what you need, leaving the rest to keep growing if the season allows. In containers, you can simply tip the whole pot out.
Before frost hits, dig up everything, since ginger has no cold tolerance and a hard freeze will turn the whole rhizome to mush overnight.
That is the entire arc from rhizome to harvest, and here is the whole thing condensed onto one card you can actually save.
Ginger at a Glance
- When to plant: once soil is 55 to 60 F and nights stay above 50 F, usually 2 to 4 weeks after last frost, or earlier indoors in containers.
- Planting depth and spacing: 1 to 2 inches deep, eyes facing up, 6 to 8 inches apart in beds or one piece per 12-inch pot.
- Light and soil: bright indirect light or dappled shade, loose rich soil amended with compost, fast drainage.
- Water and feed: keep soil evenly moist, never soggy, feed every 3 to 4 weeks with balanced fertilizer or monthly compost.
- Time to maturity: 8 to 10 months for full rhizomes, 4 to 6 months for tender baby ginger.
- Harvest sign: leaves and stalks yellowing and dying back means the rhizome is mature and ready.
- Before frost: dig up all rhizomes, ginger has zero cold tolerance and will rot in a hard freeze.
Ginger rewards patience more than skill, most of what goes wrong is rushing it or drowning it.
Get the moisture right and give it the months it needs, and the rest takes care of itself.