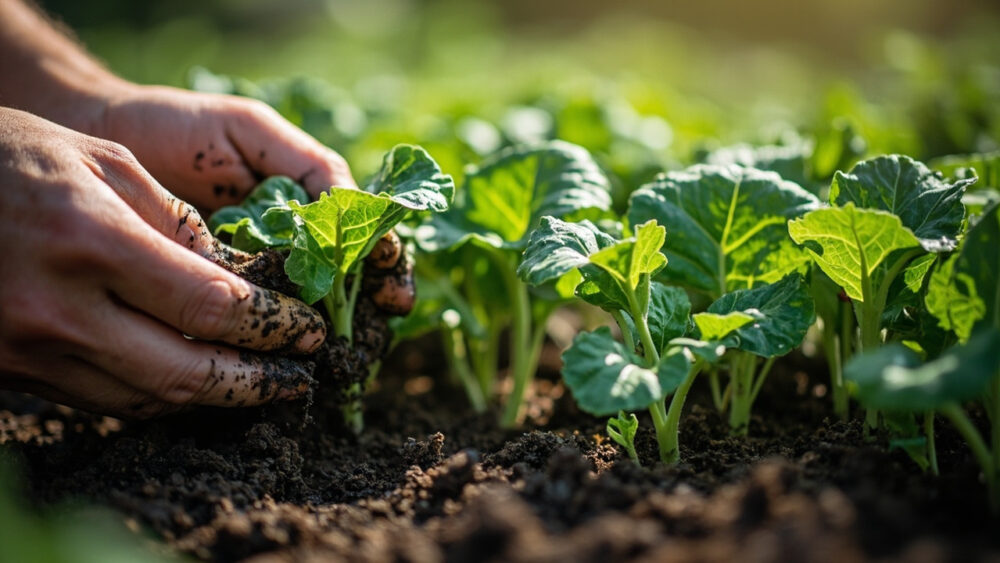
Here is the short version: sow collard seeds a quarter inch deep, 2 to 3 weeks before your last frost if starting indoors, or direct sow once soil hits 45 to 50°F, then thin to 18 to 24 inches apart and expect a harvest in 55 to 75 days depending on variety. That’s the mechanical answer. Growing collard greens from seed successfully has a lot more to do with timing your second planting and reading the leaves than it does with the actual sowing.
Most people get the germination part right and then blow it somewhere else. There’s one spacing mistake that quietly cuts yields in half without ever looking like a problem until the plants are 8 inches tall and crowding each other into stunted, bitter growth. There’s also a sign on the lower leaves that panics new growers into pulling perfectly fine plants, and a real answer to the question every collard grower eventually asks: why did mine bolt in June when the seed packet promised harvest by May.
Stick with me through the growing season and you’ll get all of it, plus a save-able Collard Greens at a Glance card at the very bottom with every number in one place.
When to Start Collard Seeds: Spring vs Fall Timing
Collards are a cool-season crop that tolerates heat better than most of its cabbage-family cousins, which gives you two real windows. For a spring crop, start seeds indoors 4 to 6 weeks before your last frost, or direct sow outside 2 to 3 weeks before last frost once soil has warmed past 45°F. For a fall crop, which many growers consider the better one, direct sow 10 to 12 weeks before your first fall frost.
That fall planting matters more than people assume. Collards sweeten after a light frost or two, and a fall crop dodges the flea beetles and bolt risk that spring plantings run into as days lengthen and heat climbs.
The timing you choose now decides whether you’re fighting the calendar all season or letting it work for you.
Sowing Collard Seeds Step by Step
Whether you’re starting indoors in trays or sowing straight into the garden bed, the mechanics are simple and forgiving. Collards are not fussy about soil the way some vegetables are, but they do want consistent moisture to germinate evenly.
Indoor Starting
- Medium: use a seed-starting mix, not garden soil, in cells or small pots.
- Depth: sow a quarter inch deep, two to three seeds per cell.
- Temperature: keep the medium at 65 to 75°F for the fastest, most even germination.
- Light: once seedlings emerge, give them 12 to 16 hours of strong light a day, a sunny window is rarely enough on its own.
Direct Sowing
- Depth: a quarter inch deep, same as indoors.
- Spacing at sowing: drop seeds every 2 to 3 inches, you’ll thin later.
- Soil check: soil should be workable and at least 45°F, colder soil just sits there and rots seed instead of sprouting it.
- Moisture: keep the top inch of soil consistently damp until seedlings are up, letting it dry out even once during germination is the single biggest cause of patchy stands.
Get the seed in at the right depth and moisture, and the plant does the rest on its own schedule.
Germination: What to Expect and When to Actually Worry
Collard seeds germinate fast for a brassica, usually 5 to 10 days at the temperatures above. If nothing has shown after two full weeks with consistent moisture, the seed lot or the soil temperature is the problem, not your patience.
Here’s the sign that worries new growers for no reason: the very first true leaves after the two seed leaves often look thin, slightly purple-tinged, or oddly small. That is not a nutrient deficiency and it is not disease.
It’s completely normal. Collard seedlings put energy into roots first, and the leaf color evens out to the deep blue-green you expect once the plant has three or four true leaves and is actually feeding itself.
What does deserve concern is damping off, seedlings that sprout fine and then collapse at the soil line within days, usually from overwatering in a low-airflow tray. There’s no rescuing a collapsed seedling, only prevention: don’t overwater, and give trays some air movement.
Once your seedlings clear that first couple of weeks, the next test is whether they can handle the real world outside.
Hardening Off and Transplanting
If you started indoors, don’t move seedlings straight from a windowsill to the garden. Harden them off over 5 to 7 days: a couple hours of outdoor shade the first day, building up to a full day of direct sun and some wind exposure by the end of the week.
Transplant when seedlings have 4 to 5 true leaves, usually 4 to 6 weeks after sowing indoors. Set them at the same depth they were growing in the cell, don’t bury the stem deeper.
The Spacing Mistake That Costs a Season
This is the mistake I mentioned. Collards look small and harmless at transplant size, so people space them 8 to 10 inches apart to fit more in the row. By midsummer those plants are fighting each other for light and root room, and every leaf comes in smaller, tougher, and more bitter than it should be.
Give them 18 to 24 inches between plants and 24 to 36 inches between rows. Collards get big, a full-grown plant can be 2 to 3 feet across, and the space you save now you pay for in quality later.
Once they’re in the ground at the right spacing, the season is mostly about keeping them fed and watered through the stretch to harvest.
Caring for Collards Through the Growing Season
Collards want consistent moisture, about 1 to 1.5 inches of water a week, and they’ll tell you when they’re short on it: leaves go dull and slightly limp before they wilt hard. Mulch around the base to hold moisture and keep soil temperatures steadier.
Feed them once with a balanced or nitrogen-leaning fertilizer 3 to 4 weeks after transplanting, since collards are heavy feeders and thin, pale new growth is usually a nitrogen shortfall, not a watering problem.
That common assumption, that yellowing lower leaves always mean overwatering, is wrong here. On collards, the lower leaves naturally yellow and drop as the plant ages and redirects energy upward. It’s only a problem if the yellowing climbs into the upper, newer leaves.
Watch for cabbage worms and flea beetles, both manageable with row covers early on or a labeled insecticide applied according to the product directions if damage gets ahead of you.
Keep that steady care going and you’ll start seeing the plant answer the real question: when does it actually bolt, and why.
Harvest Time and the Bolting Question
You can start harvesting the outer leaves once they’re 8 to 10 inches long, usually 55 to 75 days after sowing depending on variety, picking a few leaves per plant at a time so it keeps producing from the center. For a whole-head harvest, wait until the plant is a dense rosette 12 to 15 inches across.
Now, the bolting question. Collards that get hit with a stretch of heat, especially a spring crop sailing into early summer, will send up a tall flower stalk and the leaves turn sharply bitter.
The honest answer is that spring-planted collards are racing the heat from the day you put them in, and a warm spring simply wins that race some years no matter what you do. That’s exactly why a fall crop, maturing into cool weather instead of away from it, is the more forgiving planting and often the tastier harvest, sweetened rather than ruined by frost.
Everything above compresses down into the numbers you actually need on hand.
Collard Greens at a Glance
- When to plant: direct sow or transplant 2 to 3 weeks before last frost for spring, or direct sow 10 to 12 weeks before first fall frost for a sweeter fall crop.
- Seed depth: a quarter inch, kept consistently moist until germination.
- Germination: 5 to 10 days at 65 to 75°F soil temperature.
- Spacing: 18 to 24 inches between plants, 24 to 36 inches between rows.
- Water needs: about 1 to 1.5 inches per week, consistent moisture matters more than volume.
- Days to harvest: 55 to 75 days from seed, starting with outer leaves once they reach 8 to 10 inches.
- Best flavor: after a light frost, which is why fall-planted collards usually taste better than spring ones.
If you remember one thing, remember the spacing. Everything else about growing good collards is forgiving, but crowded plants never quite recover.