Cauliflower moves through six distinct stages from seed to harvest: germination, seedling, vegetative growth, curd initiation, curd development, and harvest, and the whole trip takes roughly 55 to 100 days depending on variety and how kind your weather is. The cauliflower growing stages that trip people up are curd initiation and curd development, because that’s where temperature swings and impatience do the most damage. Get through those two clean and the rest of the crop mostly takes care of itself.
Here’s the mistake that wrecks most first attempts: growers assume cauliflower is just broccoli with better manners, so they treat it the same way and end up with small, loose, bitter heads or plants that bolt straight to flower with no curd at all. It isn’t broccoli. It’s fussier about temperature, less forgiving of stress, and it gives you almost no warning before it goes sideways.
There’s also a stage where a perfectly healthy-looking plant just stops, and most people assume the worst and rip it out right when it was about to head up. I’ll tell you exactly how to tell a real stall from a normal pause. Stick around for the Cauliflower at a Glance card at the bottom, it’s the one worth saving to your phone before you’re standing in the garden guessing.
Germination: Days 1 to 10
Seeds sprout in 5 to 10 days when soil or seed-starting mix sits between 65 and 75°F. Below 55°F germination slows way down or stalls entirely.
Sow seeds a quarter inch deep, kept evenly moist, never soggy. A heat mat helps a lot if you’re starting indoors in a cool room.
You’ll see a pale, hooked stem push up first, then two small seed leaves unfold and turn green within a day or two.
This part is easy, the real decisions start at the next stage.
Seedling Stage: Weeks 2 to 4
True leaves appear and the plant builds its first real root system. Seedlings need 6+ hours of light a day, indoors that means a grow light, a sunny windowsill usually isn’t strong enough and you’ll get leggy, floppy stems.
Transplant outdoors 2 to 4 weeks before your last spring frost for a spring crop, or in mid to late summer for a fall crop, timed so curds mature in cool weather rather than summer heat.
Harden off over 5 to 7 days before transplanting, setting seedlings outside for a few hours at a time and building up exposure. Skipping this step is the second most common way people lose the whole tray to transplant shock.
Space transplants 18 to 24 inches apart, and that spacing decision matters more than people think.
Vegetative Growth: Weeks 4 to 8
This is the leafy, sprawling phase where the plant looks like it’s mostly just growing cabbage-like foliage and doing nothing else. That’s exactly what it should be doing.
Cauliflower needs consistent moisture here, about 1 to 1.5 inches of water a week, and steady nitrogen to build the big leaf canopy that will eventually feed and shade the curd.
Uneven watering during this stage is the quiet killer. A plant that gets stressed by drought now often skips straight to a small, premature curd or refuses to form one at all later, and you won’t see the damage until weeks after the mistake was made.
If you assumed the leafy stage doesn’t matter much because “the head is what counts,” that assumption is exactly what causes small, disappointing heads later.
Curd Initiation: The Stage Where Most Things Go Wrong
Somewhere around 6 to 8 weeks after transplant, the plant shifts from making leaves to starting the curd, that tight little white knot in the center of the plant. This shift is triggered by temperature, and it’s the single most failure-prone point in the entire crop.
Cauliflower wants steady temperatures in the 60 to 68°F range during initiation. A stretch of heat above 75°F, or a cold snap, especially combined with plants that were stressed as seedlings, causes buttoning: tiny, useless curds the size of a golf ball that never size up.
It can also cause bolting, where the plant skips the curd entirely and shoots up a flower stalk.
You cannot fix buttoning once it happens. There’s no feeding or watering schedule that reverses it, the plant has already made its decision. The only real prevention is planting timing that puts this stage in mild weather, plus never letting seedlings sit stressed, rootbound, or underfed before transplant.
Once you’re past this window without a button forming, you’re through the hardest part of the whole crop.
Curd Development: Weeks 8 to 12
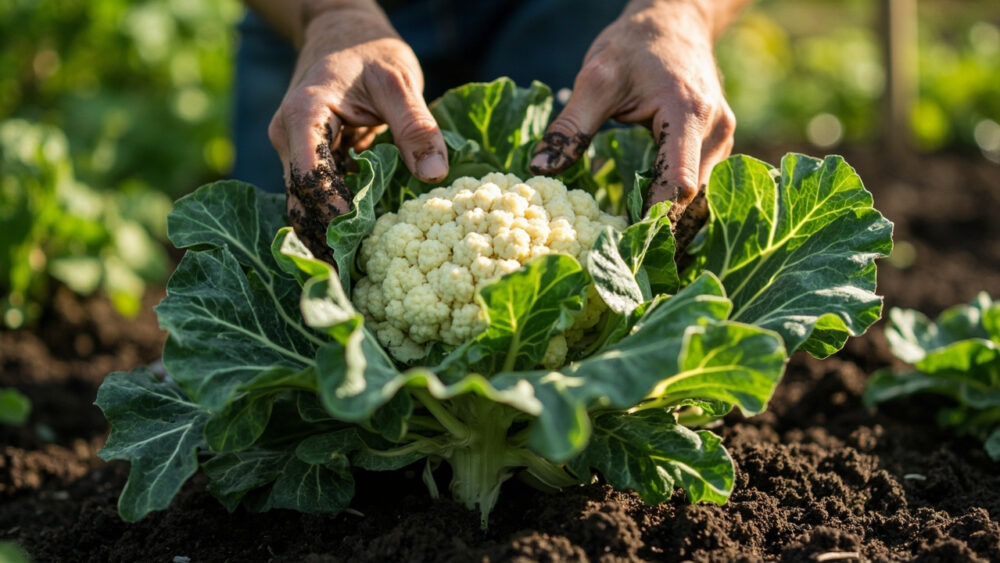
The curd goes from marble-sized to full head over roughly 2 to 3 weeks once it starts sizing up in earnest, growing fastest in cool, even weather.
For white varieties, blanching matters here: once the curd is egg-sized, pull the outer leaves up and over it and tie or clip them loosely to block sunlight. Skip this and you’ll get a curd that yellows, toughens, and loses its clean flavor. Purple, green, and orange types don’t need blanching, sunlight is part of what gives them their color.
Keep water consistent through this stage. A dry spell now shows up as a small, dense, oddly shaped head instead of the smooth dome you’re after.
Check under those tied leaves every few days, because development moves faster than people expect.
The Stall Everyone Misreads
Here’s the follow-up question every grower eventually asks: why did my plant just stop? Around the transition into curd initiation, cauliflower often pauses visibly, no new leaves, no visible curd yet, just sitting there for a week or two.
Most people assume this means the plant is dying or diseased and either yank it or dump on fertilizer to force it. Neither is right.
A true stall from stress or disease comes with other signs: leaves yellowing from the bottom up, wilting even when soil is moist, or purplish leaf undersides from cold shock. A normal pre-curd pause shows none of that, the leaves stay dark green and firm, the plant just isn’t visibly building anything new yet.
Give it 10 to 14 days before you assume trouble. This pause is the plant reorganizing its energy toward curd production, not a plant giving up.
Patience here is the difference between a full head and a plant you pulled out one week too early.
Harvest: Reading the Curd, Not the Calendar
Harvest when the curd is 6 to 8 inches across, compact, and the surface is still smooth and tightly packed. Days-to-maturity numbers on seed packets are a guideline, not a deadline, weather shifts the real timing by a week or more in either direction.
Once the curd starts to separate into loose, ricey-looking segments or the color dulls, it’s past peak and flavor turns bitter fast. Don’t wait for “a little bigger,” cauliflower doesn’t reward waiting the way winter squash does.
Cut the head with 2 to 3 inches of stem attached and a few wrapper leaves left on for protection in the kitchen.
That timing window is short, which is exactly why the reference card below is worth keeping handy.
Cauliflower at a Glance
- When to plant: transplant seedlings 2 to 4 weeks before last spring frost, or in mid to late summer for a fall harvest that matures in cool weather.
- Spacing and depth: sow seed a quarter inch deep, space transplants 18 to 24 inches apart in rows 24 to 36 inches apart.
- Ideal temperature: 60 to 68°F during curd initiation, consistent temperatures matter more than the exact number.
- Water needs: 1 to 1.5 inches per week, steady and even, never let it dry out between waterings.
- Blanching: tie outer leaves over white curds once they reach egg size, skip this step for purple, green, or orange types.
- Time to harvest: 55 to 100 days from transplant depending on variety and weather, harvest when curds hit 6 to 8 inches and stay smooth and tight.
- Biggest risk stage: curd initiation, where heat, cold, or stressed seedlings cause buttoning that cannot be reversed.
If you remember one thing, remember this: cauliflower’s fate gets decided at curd initiation, weeks before you see any curd at all.
Keep the seedlings unstressed and the temperatures steady through that window, and the rest of the stages mostly take care of themselves.