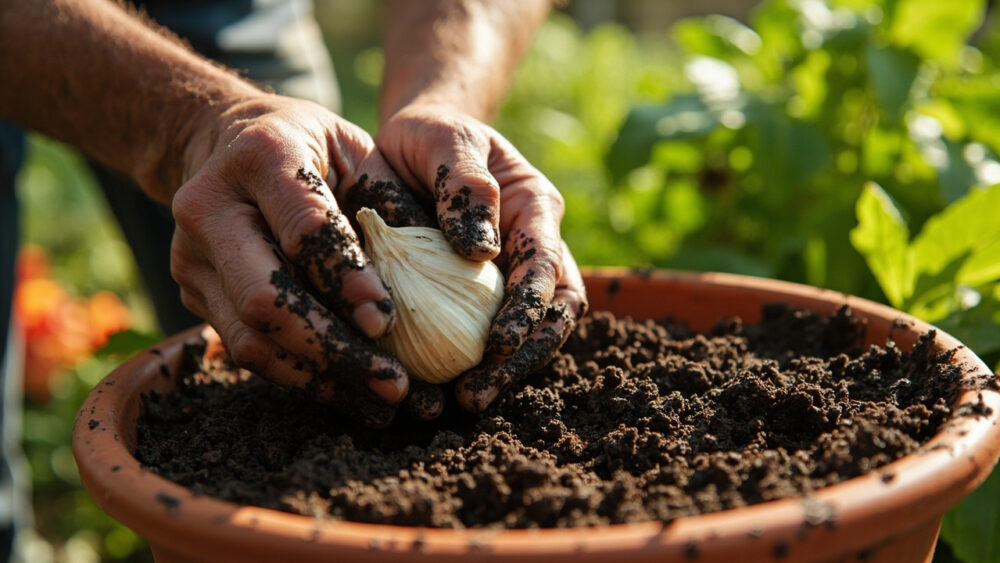
Growing garlic in containers works just fine as long as the pot is at least 12 inches deep and you plant individual cloves 3 to 4 inches apart, root end down, about 2 inches deep, sometime in fall before your ground freezes or in early spring where winters are brutal. Garlic does not need a raised bed or a farm plot. It needs cold exposure, decent drainage, and a pot deep enough that it is not fighting for root space by May.
That said, most container attempts fail for one boring reason that has nothing to do with soil or fertilizer, and I will get to it in the planting section because it is the mistake that quietly ruins the whole season before you even notice.
There is also a sign gardeners misread constantly around late spring, one that makes people panic and stop feeding right when the bulb needs it most, and an honest answer to the question you are probably already forming: can you really get full-size bulbs from a pot, or just those skinny little green shoots? I will answer that straight, no sugarcoating. Stick around for the Garlic at a Glance card at the very bottom, it is the one page worth saving to your phone before you buy a single clove.
When to Plant Garlic in Containers
Garlic wants cold before it wants growth. In most of the country, that means planting in fall, four to six weeks before your ground typically freezes hard, so the clove roots in but doesn’t push a lot of leaf growth before winter. In zones 7 and warmer, fall planting still works, and cloves will grow slowly all winter.
In zone 3 or 4 where fall pots can freeze solid, planting in very early spring, as soon as soil is workable and drops below 50°F, is the safer bet, though bulbs will run smaller than fall-planted garlic.
Garlic genuinely does not care how good your potting mix is if the timing is wrong. Timing is most of the battle.
Get the calendar right and the next decision, the pot itself, is where most container growers quietly shortchange the plant.
Choosing the Pot and Soil
Depth matters more than width. Garlic roots run deep before they run wide, so a container under 12 inches deep starves the bulb even if you give each clove plenty of elbow room sideways. A pot 14 to 16 inches deep and at least 12 inches across comfortably holds 4 to 6 cloves.
Drainage holes are non-negotiable. Garlic sitting in soggy soil over winter rots before it ever sprouts, and this is the single most common way a fall planting dies quietly underground with nothing to show for it by spring.
Use a loose, well-draining potting mix, not garden soil straight from the yard, which compacts hard in a container. Mix in some compost for fertility. Garlic likes a soil pH close to neutral, roughly 6.0 to 7.0, and does not tolerate waterlogged roots at any point in its life.
The soil is ready. Now for the part that actually determines whether you get real bulbs or a handful of green stubs.
Planting Garlic Step by Step
This is where the season gets won or lost, and the mistake that ruins most attempts is right here: planting whole bulbs, or planting cloves with the papery skin stripped off, or burying them too shallow so frost heave pops them right out of the pot over winter. Do it right and the rest is mostly waiting.
1. Break the bulb into cloves just before planting
Split the bulb apart no more than a day or two ahead. Keep the papery wrapper on each individual clove, it protects against rot.
2. Pick the biggest cloves
Bigger cloves grow bigger bulbs. Set aside the tiny inner cloves for the kitchen instead of the pot, they rarely produce anything worth the space.
3. Plant root end down, pointed tip up
This sounds obvious until you are holding a clove with no clear top. Look for the flatter, slightly rough end, that is the root base, and it goes down.
4. Set depth at 2 inches, spacing at 3 to 4 inches
Push each clove into loosened soil so the tip sits about 2 inches below the surface. In a 12 to 14 inch pot, four to six cloves fit comfortably without crowding.
5. Cover and mulch
Top with 2 to 3 inches of straw or shredded leaves, especially for fall planting. This insulates against hard freezes and keeps cloves from heaving out of loose container soil.
Cloves are in, mulch is down, and now the season shifts to a different kind of work entirely.
Watering and Feeding Through the Season
Fall-planted garlic needs almost nothing from you until spring. Water once at planting, then let winter handle the rest, checking only that the pot never dries out completely during a warm dry stretch.
Spring growth is where people misread the plant. If you assumed yellowing lower leaves in late spring mean the garlic is dying and needs more water and more fertilizer, that guess is backwards and it costs a lot of gardeners their harvest size.
Lower leaves yellowing and browning while the top stays green is normal maturing, not distress, and it is actually your cue to ease off water and stop feeding entirely, not ramp up.
Earlier in spring, though, active growth does want support. Feed every 3 to 4 weeks with a balanced fertilizer or fish emulsion once green shoots are a few inches tall, and stop feeding entirely once you see a flower stalk (scape) forming, usually 6 to 8 weeks before harvest.
Water consistently, about 1 inch per week equivalent, keeping soil moist but never soggy. Containers dry out faster than garden beds, so check soil an inch down with a finger during warm weeks, you will be watering more often than in-ground garlic.
Cut water back hard about two weeks before you plan to harvest, this firms up the wrapper skins instead of leaving you with soft, short-storing bulbs.
Feeding and watering right gets you most of the way to a real bulb, but a few problems can still undo it fast.
Problems That Actually Show Up in Container Garlic
Rot is the number one killer, almost always from poor drainage or overwatering during dormancy. Soft, mushy cloves that never sprouted in spring mean the container sat too wet over winter.
White rot and other fungal issues show as yellowing, stunted growth with fuzzy white fungal growth at the base when you dig in. There is no cure once it takes hold; pull affected plants, do not replant garlic or onions in that soil, and start the next batch in fresh potting mix.
Thrips are the most common pest, showing up as silvery streaks on leaves in warm, dry weather. A strong water spray knocks populations down, and insecticidal soap applied per the product label handles persistent infestations.
- Yellow leaf tips in summer heat: usually just heat stress or underwatering, not disease.
- No bulb, all leaf: most often too little cold exposure, undersized cloves planted, or overcrowding.
- Scapes never appear: normal for softneck garlic varieties, which do not reliably send up a flower stalk.
Head off most of this with good drainage and correct spacing, and there is not much left to go wrong.
Which brings up the question every first-time container grower is really asking.
When and How to Harvest
Here is the honest answer: yes, containers produce real, full-size bulbs, not just green shoots, provided the pot was deep enough and cloves had room. You are not settling for a lesser garlic by growing in a pot.
Harvest when the lower one-third to half of the leaves have browned while five or six upper leaves are still green. This typically lands in early to mid summer, roughly 7 to 9 months after fall planting or about 3 to 4 months after an early spring planting.
Do not wait for the whole plant to brown. Garlic left too long in the ground splits its wrapper and does not store well.
Loosen soil around the bulb with a hand trowel and lift gently, container soil is soft enough that pulling straight up rarely works and risks snapping the stalk.
Brush off loose soil but do not wash bulbs. Cure them somewhere warm, dry, and out of direct sun with good airflow for 2 to 4 weeks before trimming roots and stems and storing.
That is the whole cycle, and the card below is the version worth keeping on hand for next season.
Garlic at a Glance
- When to plant: fall, 4 to 6 weeks before your ground typically freezes, or very early spring in harsh winter zones.
- Pot size: at least 12 inches deep, ideally 14 to 16 inches, with drainage holes.
- Depth and spacing: plant cloves 2 inches deep, 3 to 4 inches apart, root end down.
- Soil: loose, well-draining potting mix with compost, pH around 6.0 to 7.0.
- Feeding: balanced fertilizer every 3 to 4 weeks once spring growth starts, stop when a flower stalk appears.
- Watering: about 1 inch per week equivalent, cut back hard 2 weeks before harvest.
- Harvest time: when the lower third to half of leaves brown but 5 to 6 upper leaves stay green, usually early to mid summer.
Get the pot deep, the cloves right side up, and the water off two weeks before you dig, and container garlic outperforms most people’s expectations.
Everything else is just patience.