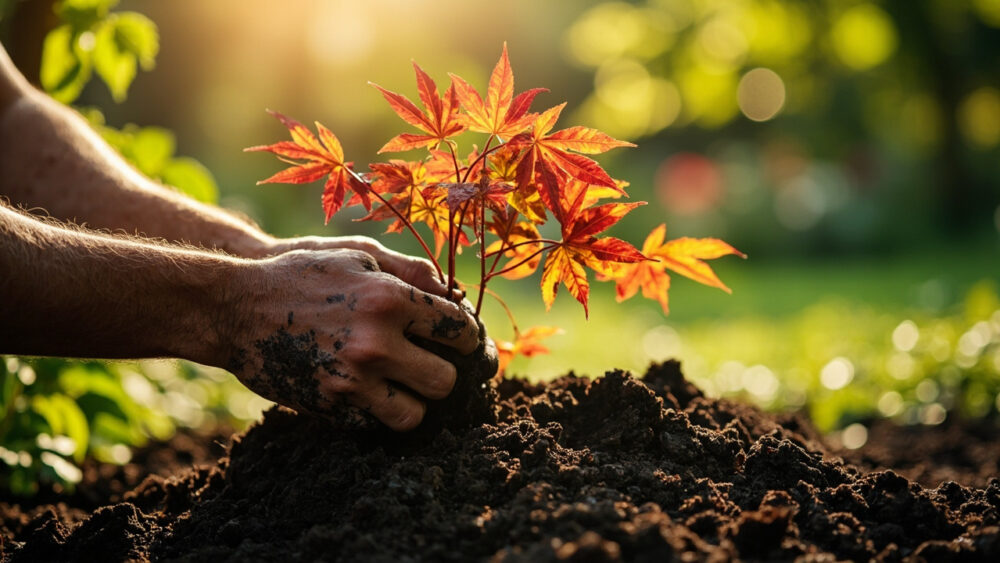
Learning how to grow Japanese maple comes down to three things: give it dappled shade and shelter from wind, plant it in soil that drains but never dries to dust, and resist the urge to fuss over it once it’s in the ground. Get the spot right and this tree will forgive almost everything else. Get the spot wrong and no amount of feeding or watering will save it.
Most people who kill a Japanese maple make the same mistake, and it happens before the tree even goes in the hole. There’s also a sign of stress everyone misreads as disease when it’s actually just the sun, and a follow-up question about pruning that has a more honest answer than most articles give. Stick with me and I’ll walk through all of it, including the mistake that costs people an entire tree in its first August.
Stick around for the save-able Japanese Maple at a Glance card at the bottom. It’s the short version of everything below, worth screenshotting before you head out to the nursery or the planting spot.
When to Plant a Japanese Maple
Fall is the best window, roughly six to eight weeks before your ground typically freezes, because it gives roots a full cool season to settle before summer heat arrives. Early spring, right after the ground thaws and before buds push hard, is the second-best window.
What you want to avoid is planting in the middle of summer heat, which is exactly when most big-box nurseries push these trees hardest. A maple planted in July has to establish roots while also fighting heat stress, and that combination is what kills more of these trees than any pest or disease.
Japanese maples are reliably hardy in USDA zones 5 through 8, with some cultivars stretching into zone 9 if they get afternoon shade. If you’re in zone 4 or a hot pocket of zone 9, talk to a local nursery before you commit, because both extremes narrow your variety choices.
Timing is only half the equation, though. The spot you pick matters just as much as the calendar.
Choosing the Spot and Prepping the Soil
Here’s the mistake that ruins most attempts: planting a Japanese maple in full, unbroken afternoon sun because it looked fine at the nursery in a pot. In the ground, with roots that haven’t spread yet, that same tree scorches. Morning sun with afternoon shade, or dappled light all day under taller trees, is the sweet spot for most cultivars. Red-leaved varieties in particular hold their color better and burn less with some afternoon relief.
Wind is the other thing people forget. These trees have thin bark and delicate leaf margins, and a spot that funnels wind will shred the leaves by midsummer regardless of sun exposure.
Soil needs to drain well but hold some moisture, think loamy, slightly acidic, never the kind of clay that stays soggy for days after rain. If water pools in the planting hole after a heavy rain, that’s your answer: pick a different spot or build a raised mound.
Work compost into the top 12 inches of a wide area, not just the hole itself, since these are shallow-rooted trees that spread wide rather than deep.
Once the spot is right, the actual planting is almost simple by comparison.
Planting a Japanese Maple Step by Step
1. Dig the hole wide, not deep
Dig two to three times as wide as the root ball but no deeper than the root ball itself. Planting too deep is one of the most common ways people accidentally suffocate these trees over a few years.
2. Check the root flare
The point where the trunk widens into roots should sit at or just above the soil surface once you’re done, never buried.
3. Loosen circling roots
If the tree is potbound, tease apart or lightly score any roots circling the root ball. Left alone, they’ll keep circling and can eventually strangle the trunk years later.
4. Backfill and water in
Fill with your amended soil, firming gently as you go, then water slowly and deeply to settle air pockets. Skip the fertilizer at planting time; it’s not needed yet and can actually stress new roots.
5. Mulch, but keep it off the trunk
A 2 to 3 inch layer of mulch out to the drip line holds moisture and moderates soil temperature. Keep it a few inches back from the trunk itself, since mulch piled against bark invites rot.
Spacing depends on the cultivar’s mature size, dwarf types need only 4 to 6 feet of room, while full-size upright varieties want 15 to 20 feet to spread without crowding a structure or another tree.
Planting day is the easy part, honestly. What happens over the next few months is where trees are actually won or lost.
Watering and Feeding Through the Season
A newly planted Japanese maple needs consistent moisture for its entire first year, watering deeply once or twice a week depending on heat and rainfall, more often in containers or sandy soil. Check by feeling the soil 2 to 3 inches down: if it’s dry there, water. If it’s still damp, wait.
That crispy, browned leaf margin you see in July or August isn’t a disease and it isn’t a pest. It’s called leaf scorch, and it means the tree is losing water through its leaves faster than its roots can replace it, usually from too much sun, wind, or an underwatered stretch during a heat spike. The fix is shade adjustment and steadier watering, not a fungicide.
Once established, generally after the first full year, Japanese maples are fairly drought-tolerant and need supplemental water mainly during real dry stretches.
Skip heavy nitrogen fertilizer altogether. These trees actually prefer to grow slowly, and pushing fast growth with fertilizer creates weak, leggy branches and can even scorch roots. If you feed at all, a light application of a balanced, slow-release fertilizer in early spring is plenty.
Watering right solves most problems before they start, but a few will find your tree anyway.
Problems to Watch For
Beyond leaf scorch, the most common issues are verticillium wilt, aphids, and scale. Verticillium wilt shows up as sudden branch dieback on one side of the tree, often with leaves wilting despite adequate water, and it’s a soil-borne fungus with no cure once established, though a plant can sometimes be pruned to remove affected limbs and monitored. There’s no home treatment that reverses it, so if you suspect it, a certified arborist can confirm and advise on whether the tree is salvageable.
Aphids and scale are far more common and far less scary. Look for sticky residue on leaves or a black sooty mold coating, both signs of aphid activity, and treat with insecticidal soap or horticultural oil, following the product label exactly.
Root rot from soggy soil is really the same root cause as most other problems on this list: a planting spot that doesn’t drain. That’s the whole reason spot selection matters more than anything you’ll do afterward.
Get through the pests and the wilt years, and you’re left with the part everyone actually planted this tree for.
When Japanese Maple “Matures”: Color and Canopy Timing
There’s no harvest here in the vegetable-garden sense, but there is a real payoff schedule worth knowing. Most Japanese maples take 5 to 10 years to reach a mature, filled-out canopy shape, though they’ll look attractive well before that.
Fall color, the reason most people plant these in the first place, typically peaks over a two to three week window in mid to late fall depending on your climate, triggered by shortening days and the first real cool nights rather than a specific date.
If you were about to ask when to prune for shape, here’s the honest answer: prune in mid-summer or the dead of winter, never in spring, because these trees bleed sap heavily if cut while actively growing. Remove only dead, crossing, or crowded branches, and do it lightly. Japanese maples have a naturally graceful branching habit that heavy pruning ruins fast, and it doesn’t grow back the same way.
Everything above boils down to a handful of facts worth keeping on hand, and that’s exactly what’s below.
Japanese Maple at a Glance
- When to plant: fall, six to eight weeks before your ground typically freezes, or early spring right after thaw, avoiding summer heat entirely.
- Where to plant: morning sun with afternoon shade or dappled light all day, sheltered from strong wind.
- Soil and depth: loamy, slightly acidic, well-draining soil, with the root flare planted level to or just above grade.
- Spacing: 4 to 6 feet for dwarf cultivars, 15 to 20 feet for full-size upright varieties.
- Watering: deep watering once or twice weekly through the first year, checking soil moisture 2 to 3 inches down before watering after that.
- Feeding: light, slow-release balanced fertilizer in early spring at most, never heavy nitrogen.
- Pruning: mid-summer or deep winter only, light touch, removing just dead or crossing branches.
Pick the right spot and this tree does most of the work itself for the next several decades.
Everything else on this list is just protecting that first good decision.