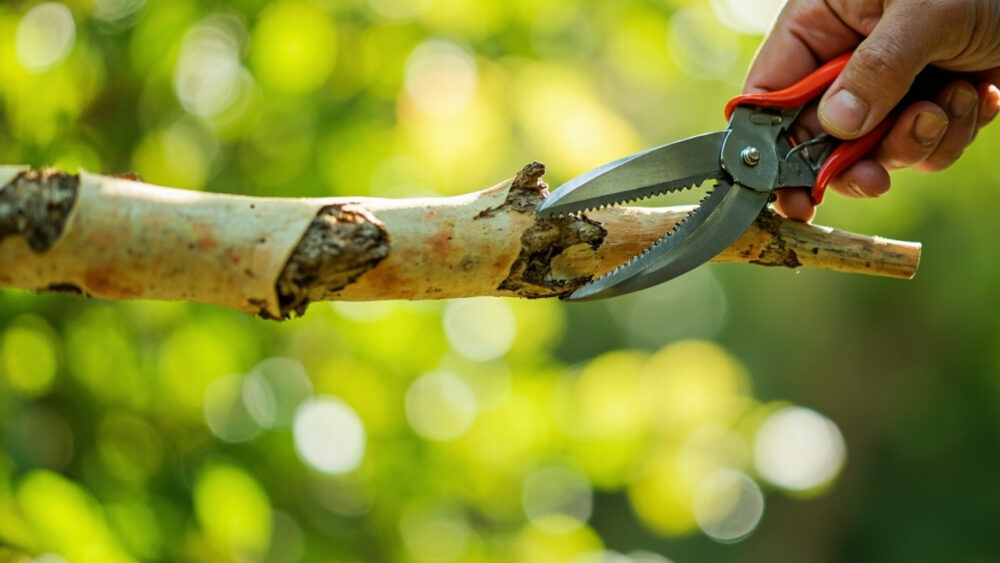
The right time to prune a river birch is mid to late summer, once the leaves are fully out, not late winter like most trees. Cut it while it is dormant and the wound will bleed sap for weeks, sometimes months, which weakens the tree and looks alarming even though it usually will not kill it. Take out no more than 10 to 15 percent of the live canopy in any single year, always cutting back to a main stem or trunk rather than leaving stubs.
That is the honest, usable answer if you are standing under one right now with loppers in hand. But there are a few things about pruning river birch that trip up nearly everyone, including the mistake that has more of these trees looking lopsided or stressed by year three than any pest ever does.
There is also the multi-trunk question, which nobody explains clearly, and the sap-bleeding issue, which panics people every single spring. Stick with me through the how-to and I will hand you a save-able River Birch at a Glance card at the bottom with the timing, cut sizes, and tool list all in one place.
When to Prune, and the Season Everyone Gets Backwards
Most people prune trees in late winter or very early spring, while everything is dormant and bare. That is correct advice for apples, oaks, maples in some cases, most shade trees. It is the wrong move for river birch.
Birches are heavy sap producers, and cutting them while dormant, roughly late winter into early spring before leaf-out, opens wounds that bleed sap for an extended stretch. It rarely harms the tree outright, but it stresses it and looks bad enough that people assume they killed it.
Wait instead until the tree is in full leaf, usually early summer through late summer depending on your zone. Sap flow slows dramatically once leaves are transpiring water, so cuts made then seal faster and bleed far less.
Avoid pruning in fall entirely, since fresh wounds heading into winter dormancy heal slowly and invite decay organisms with nowhere fast to seal.
Once you know the calendar, the next question is what you actually need in hand before the first cut.
Tools and the One Prep Step That Matters
For a young river birch, hand pruners handle anything under about half an inch thick. Move up to loppers for branches up to an inch and a half, and a pruning saw for anything larger, including major limbs on a mature multi-trunk specimen.
Clean your blades before you start, and again between trees if you are working on more than one. Birches are susceptible to bronze birch borer and various cankers, and a dirty blade is a decent way to move disease from one wounded tree to the next.
Step back and look at the whole tree before you cut anything. River birch is almost always grown as a multi-trunk clump, three to five stems rising from one base, and it is easy to start snipping without a plan and end up removing the wrong stem entirely.
Decide first which stems you are keeping for structure, because that decision drives every cut that follows.
Reading the Tree Before You Touch It
Walk the full circle around the trunk. Look for stems that cross, rub against each other, or grow back toward the center of the clump instead of outward.
Those are your priority removals, not random branches on the outside of the canopy.
With that map in your head, you are ready for the actual cuts.
How to Prune River Birch Step by Step
Step 1: Remove the dead, damaged, and diseased wood first
Cut out anything obviously dead, snapped, or showing dark, sunken cankers before you make a single aesthetic cut. Cut back to healthy wood or all the way to the trunk, never leaving a partial stub.
Step 2: Take out crossing and rubbing branches
Where two branches cross and rub bark, remove the smaller or worse-positioned one entirely. Rubbing wounds are chronic entry points for pests and decay over the years.
Step 3: Cut to the collar, never flush and never a stub
Find the branch collar, the slightly swollen ring where a branch meets the trunk or a larger limb. Cut just outside it, angled slightly away from the trunk. Cutting flush against the trunk removes the tree’s own ability to seal the wound, and leaving a long stub just gives decay a dead-end tunnel to grow into.
Step 4: Thin the interior lightly, do not top it
Remove some interior twiggy growth to improve airflow, but never cut back the leader or main upward stems to control height. River birch does not respond well to topping. It reacts with a mess of weak, whippy shoots right at the cut, which is uglier and structurally worse than the height you were trying to fix.
Step 5: Stop at 15 percent
Stand back after every few cuts and reassess. Once you have removed somewhere between 10 and 15 percent of live canopy, stop for the year, even if you are tempted to keep shaping.
Making the cuts correctly matters, but what the tree does in the following weeks tells you whether you got it right.
What to Expect Afterward
If you pruned in summer, you should see minimal to no sap bleeding, just clean cuts that darken slightly and begin to callus over within a few weeks. Some light bleeding is still normal on a warm, humid day and is not a sign of failure.
If you pruned in late winter by mistake, expect sap to drip, sometimes visibly, for several weeks into spring. It looks worse than it is. The tree is not draining itself of life, it is losing sugary sap water, and established trees tolerate it, though repeated late-winter pruning year after year does add up as unnecessary stress.
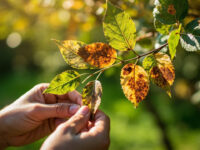
New growth should emerge from just below your cuts within the same growing season or the following spring. If a whole stem you left standing suddenly wilts and yellows weeks after pruning, that points to a root or vascular problem unrelated to the pruning itself, and it is worth having a certified arborist look at the tree rather than guessing.
Healthy response is one thing, but most of the disappointing results with river birch trace back to a short list of avoidable errors.
The Mistakes That Cost You a Healthy Tree
- Pruning in late winter or early spring: causes heavy, prolonged sap bleeding that stresses the tree unnecessarily.
- Topping the leader to control height: triggers weak, whippy regrowth and permanently damages the tree’s natural form.
- Removing more than 15 percent in one year: shocks the tree and can trigger stress-related pest and disease issues, particularly bronze birch borer.
- Cutting flush against the trunk: removes the branch collar and slows the tree’s ability to seal the wound.
- Leaving long stubs: creates a direct channel for decay organisms to move inward toward the trunk.
- Removing the wrong trunk in a multi-trunk clump: permanently changes the tree’s shape, since river birch will not regrow a lost main stem.
Skip that list and you have already avoided the mistakes that account for most disappointing river birch outcomes.
River Birch at a Glance
- When to prune: early to late summer, once leaves are fully out, never late winter or early spring.
- How much to remove: no more than 10 to 15 percent of live canopy per year.
- Where to cut: just outside the branch collar, angled slightly away from the trunk, never flush and never a stub.
- Tools needed: hand pruners under half an inch, loppers up to an inch and a half, a pruning saw for anything larger, all cleaned between cuts and trees.
- Priority cuts: dead, damaged, or diseased wood first, then crossing and rubbing branches.
- Never do this: top the main stems to control height, since it triggers weak regrowth instead of a shorter tree.
- Normal aftercare: some sap weeping is fine in summer, new growth should appear the same season or by the following spring.
If you remember only one thing, remember the season: summer cuts, not winter ones.
Everything else on this page is just the detail that keeps a good-timed cut from becoming a bad one.